259
6
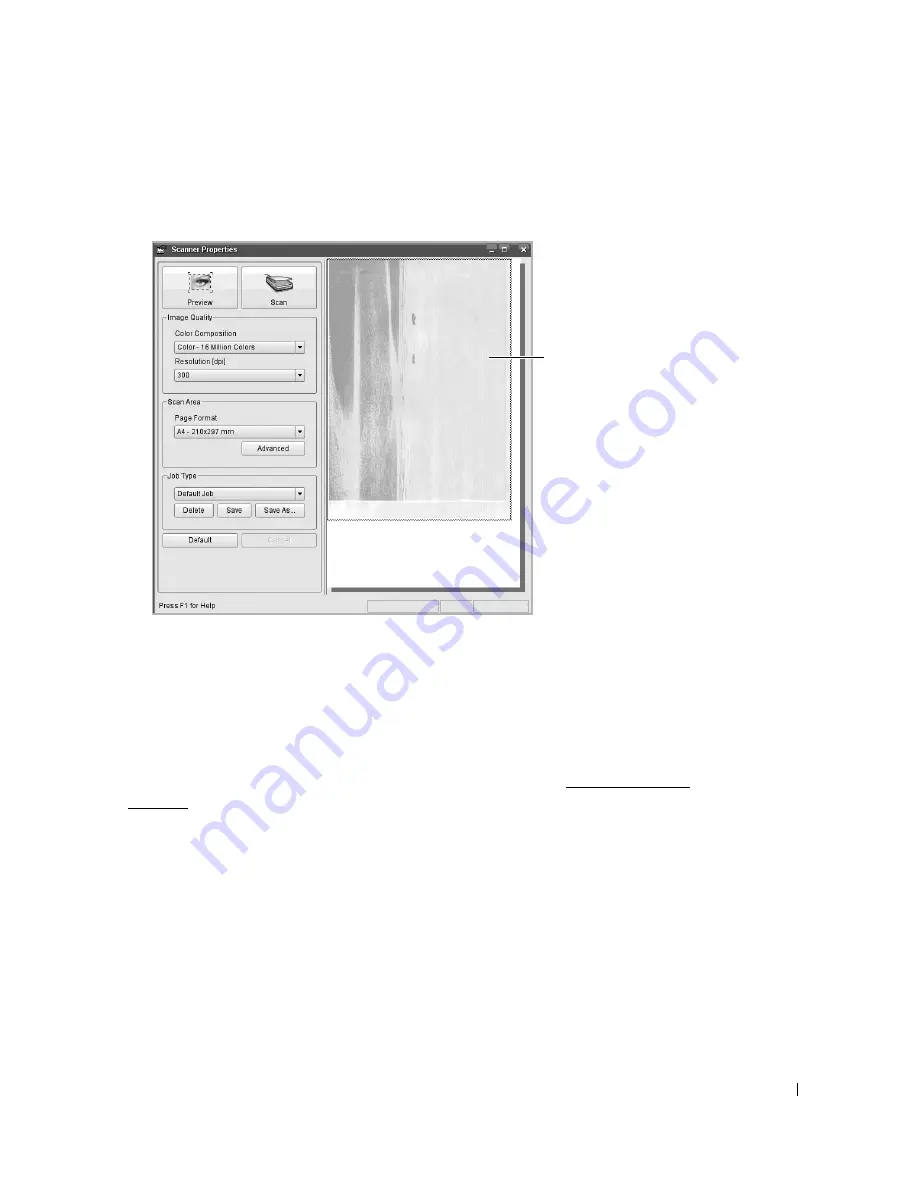
Click
Preview
in the
Scanner Properties
window.
The document is scanned and the image preview appears in the
Preview
Pane.
7
Change the scan options in the
Image Quality
and
Scan Area
sections.
•
Image Quality
: allows you to select the color composition and the scan resolution for the
image.
•
Scan Area
: allows you to select the page size. The
Advanced
button enables you to set the
page size manually.
If you want to use one of the preset scan option settings, select from the
Job Type
drop-down list. For details about the preset
Job Type
settings, see "Adding Job Type
Settings".
You can restore the default setting for the scan options by clicking
Default
.
8
When you have finished, click
Scan
to start scanning.
The status bar appears on the bottom left of the window to show you the progress of the
scan. To cancel scanning, click
Cancel
.
Drag the pointer to set the
image area to be scanned.
Summary of Contents for 2355dn
Page 1: ...Dell 2355dn Laser MFP User s Guide ...
Page 77: ...76 4 Click Browse and select the downloaded firmware file 5 Click Update Firmware ...
Page 79: ...78 ...
Page 107: ...106 ...
Page 139: ...138 ...
Page 197: ...196 ...
Page 229: ...228 ...
Page 230: ...229 Macintosh Installing Software for Macintosh Setting Up the Printer Printing Scanning ...
Page 249: ...248 4 Click Next 5 Click Finish ...
Page 321: ...320 ...
Page 329: ...328 ...


