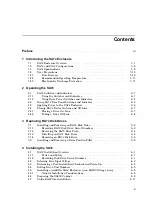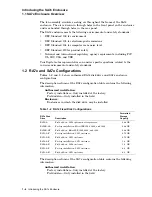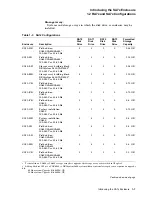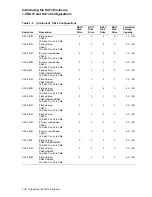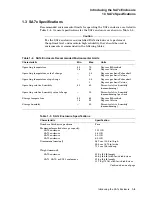
Contents
Preface
. . . . . . . . . . . . . . . . . . . . . . . . . . . . . . . . . . . . . . . . . . . . . . . . . . . . . . . . . . . .
vii
1 Introducing the SA7x Enclosure
1.1
SA7x Enclosure Overview . . . . . . . . . . . . . . . . . . . . . . . . . . . . . . . . . . . . .
1–1
1.2
RA7x and SA7x Configurations . . . . . . . . . . . . . . . . . . . . . . . . . . . . . . . . .
1–6
1.3
SA7x Specifications . . . . . . . . . . . . . . . . . . . . . . . . . . . . . . . . . . . . . . . . . .
1–9
1.4
User Precautions . . . . . . . . . . . . . . . . . . . . . . . . . . . . . . . . . . . . . . . . . . . .
1–10
1.4.1
Data Recovery . . . . . . . . . . . . . . . . . . . . . . . . . . . . . . . . . . . . . . . . . . .
1–10
1.4.2
Recommended Operating Temperature . . . . . . . . . . . . . . . . . . . . . . . .
1–11
1.4.3
Electrostatic Discharge Protection . . . . . . . . . . . . . . . . . . . . . . . . . . . .
1–11
2 Operating the SA7x
2.1
SA7x Switches and Indicators . . . . . . . . . . . . . . . . . . . . . . . . . . . . . . . . . .
2–1
2.1.1
Using the Switches and Indicators . . . . . . . . . . . . . . . . . . . . . . . . . . . .
2–1
2.1.2
Using Drive Power Switches and Indicators . . . . . . . . . . . . . . . . . . . .
2–4
2.2
Using SA7x Rear Panel Switches and Indicator . . . . . . . . . . . . . . . . . . . . .
2–5
2.3
Applying Power to the SA7x Enclosure . . . . . . . . . . . . . . . . . . . . . . . . . . .
2–6
2.4
Placing RA7x Drives On Line and Off Line . . . . . . . . . . . . . . . . . . . . . . . .
2–7
2.4.1
Placing a Drive On Line . . . . . . . . . . . . . . . . . . . . . . . . . . . . . . . . . . . .
2–7
2.4.2
Taking a Drive Off Line . . . . . . . . . . . . . . . . . . . . . . . . . . . . . . . . . . . .
2–8
3 Replacing RA7x Disk Drives
3.1
Installing and Removing an RA7x Disk Drive . . . . . . . . . . . . . . . . . . . . . .
3–2
3.1.1
Recording RA7x Disk Drive Serial Numbers . . . . . . . . . . . . . . . . . . . .
3–3
3.1.2
Reversing the RA70 Shoe Plate . . . . . . . . . . . . . . . . . . . . . . . . . . . . . .
3–4
3.1.3
Installing an RA7x Disk Drive . . . . . . . . . . . . . . . . . . . . . . . . . . . . . . .
3–6
3.1.4
Removing an RA7x Disk Drive . . . . . . . . . . . . . . . . . . . . . . . . . . . . . . .
3–6
3.2
Installing and Removing a Drive Position Filler . . . . . . . . . . . . . . . . . . . .
3–8
4 Installing the SA7x
4.1
SA7x Installation Overview . . . . . . . . . . . . . . . . . . . . . . . . . . . . . . . . . . . .
4–1
4.1.1
Power and Safety . . . . . . . . . . . . . . . . . . . . . . . . . . . . . . . . . . . . . . . . .
4–1
4.1.2
Recording Disk Drive Serial Numbers . . . . . . . . . . . . . . . . . . . . . . . . .
4–1
4.2
Selecting Line Input Voltage . . . . . . . . . . . . . . . . . . . . . . . . . . . . . . . . . . .
4–2
4.3
Performing a Post-Installation Checkout and Power-Up . . . . . . . . . . . . . .
4–2
4.4
Setting Drive Unit Numbers . . . . . . . . . . . . . . . . . . . . . . . . . . . . . . . . . . .
4–5
4.5
Installing an Add-On SA7x Enclosure in an SA900 Storage Array . . . . . .
4–6
4.5.1
General Installation Considerations . . . . . . . . . . . . . . . . . . . . . . . . . . .
4–6
4.6
Preparing the SA900 Cabinet . . . . . . . . . . . . . . . . . . . . . . . . . . . . . . . . . .
4–9
4.7
Guide Rail Plate Installation . . . . . . . . . . . . . . . . . . . . . . . . . . . . . . . . . . .
4–11
iii

