Operating the SA7x
2.4 Placing RA7x Drives On Line and Off Line
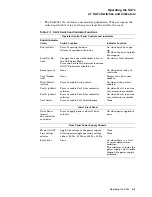
f. If the Fault/Set No. indicator remains lit, the drive has detected a fault.
Press the Fault/Set No. switch to obtain a blinking OCP error code. The
light pattern converts to a two-character error code. (See Chapter 5.)
Pressing the Fault/Set No. switch a second time commands the drive to
attempt to clear the error and return online.
3. Press the Port A, Port B, and Write Protect switches as required. These
functions are turned off by pressing the switch a second time.
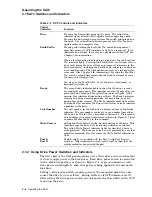
The Ready and Run indicators remain lit during normal operation, although the
Ready indicator may flicker during heavy activity. The Write Protect indicator is
lit if the drive is write protected and off if the drive is write enabled. The Port A
and Port B indicators light only while their respective ports are selected by the
system controller.
2.4.2 Taking a Drive Off Line
Taking a disk off line first requires you to dismount the drive as described in
Steps 1 and 2 of the following procedure. To remove the drive from the enclosure
you must complete Steps 3 through 5.
1. Dismount the disk drive using the proper system commands.
2. Press and release the Port A and Port B switches to turn off both ports of the
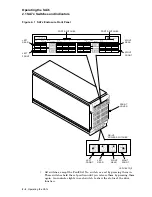
disk drive. (Refer to Figure 2–1.) Wait for the port indicators to go out.
3. Press and release the appropriate Run switch on the OCP. Wait for the Run
indicator to go out.
4. Set the drive power switch to off. The switch indicator goes out to show that
power has been removed from the drive. If the indicator does not go out,
there may be a faulty switch.
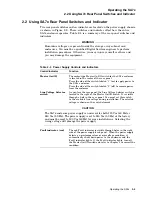
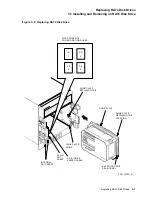
5. Remove power from the enclosure by turning off the Master On/Off switch.
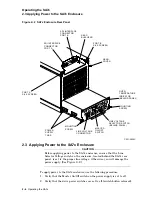
(See Figure 2–2.)
You are now ready to remove the disk drive from the enclosure. Refer to
Chapter 3 for complete instructions.
2–8 Operating the SA7x

