DATA FORMAT
PRODUCT REFERENCE GUIDE
329
Label ID: Set Individually Per Symbology
To configure a Label ID individually for a single symbology:
1. Scan the ENTER/EXIT bar code.
2. Select Label ID position as either BEFORE (Enable as Prefix) or AFTER (Enable as
suffix) by scanning the appropriate bar code in the section "
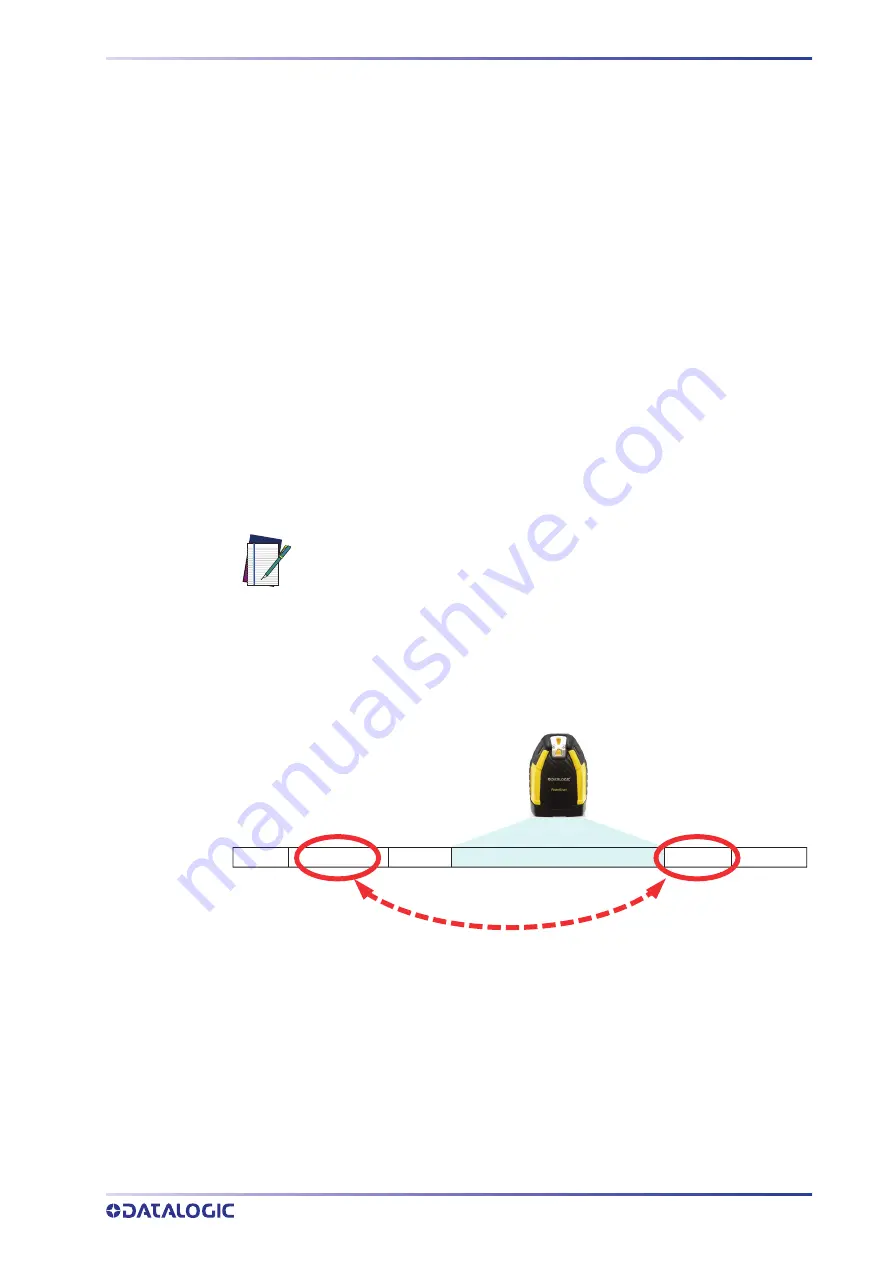
. Reference Figure 13 for Label ID positioning options if multiple identifi
-
cation features are enabled.
3. Scan a bar code to select the symbology for which you wish to configure a custom
Label ID from the section "
Label ID Symbology Selection" on page 103
.
4. Determine the desired character(s) (you may choose up to three) which will repre
-
sent the Label ID for the selected symbology.
5. Turn to the ASCII Chart on
on the inside back cover of this manual and
find the equivalent hex digits associated with your choice of Label ID. For example,
if you wish to select an equal sign (=) as a Label ID, the chart indicates its associ
-
ated hex characters as 3D. Turn to Keypad, in
, and scan the bar codes
representing the hex characters determined. For the example given, the charac
-
ters ‘3’ and ‘D’ would be scanned. More examples of Label ID settings are provided
6. Scan the ENTER/EXIT bar code to exit Label ID entry.
7. Scan the ENTER/EXIT bar code once again to exit Programming Mode.
This completes the steps to configure a Label ID for a given symbology.
Figure 13 Label ID Position Options
NOTE: If you make a mistake before the last character, scan the CANCEL
bar code to abort and not save the entry string. You can then start again at
the beginning.
OR
Prefix
Suffix
Label ID
Label ID
Bar Code Data
Aim ID


