26
Printer and Laminator Settings
Introduction to Printer and Laminator Settings
Three
main
tools
allow
you
to
create
or
modify
settings
that
determine
how
the
printer
performs
and
how
cards
are
printed
and
laminated:
Printer
Driver:
Settings
made
on
the
Printing
Properties
dialog
box
or
the
Printing
Preferences
dialog
box
are
written
to
the
printer
driver.
These
dialog
boxes
allow
you
to
specify
many
of
the
settings
that
affect
how
your
SR200
or
SR300
card
printers
function.
Status
Monitor:
Settings
made
on
the
Status
Monitor
are
written
to
the
PC.
In
cases
where
a
setting
can
be
made
through
either
the
printer
driver
or
on
the
Status
Monitor,
the
printer
driver
takes
precedent
over
the
Status
Monitor
and
changes
made
to
encoding
in
the
driver
are
not
displayed
in
the
Status
Monitor
or
on
the
LCD
panel.
LCD
Panel:
The
printer’s
LCD
panel
allows
you
to
view
many
current
printer
and
laminator
settings
as
read
‐
only.
To
change
those
settings,
use
the
Status
Monitor,
or
the
Printing
Preferences
or
Printing
Properties
dialog
box.
Some
printer
functions
can
be
performed,
and
some
settings
entered,
using
the
LCD
panel.
Printing Properties
The
Printing
Properties
dialog
box
options
are
set
up
when
the
printer
is
installed,
or
by
your
system
administrator.
1.
Select
Start
from
the
Windows
task
bar.
2.
Open
your
PC’s
Printers
or
Devices
and
Printers
window,
following
the
steps
for
your
operating
system.
3.
Locate
the
Datacard
card
printer
icon.
The
printer
driver
must
be
installed
for
the
printer
icon
to
be
present.
SR
‐
CP
U1
is
the
default
name
of
the
printer
(or
SR
‐
CP
LAN,
if
a
network
printer).
The
name
of
your
printer
might
be
different.
4.
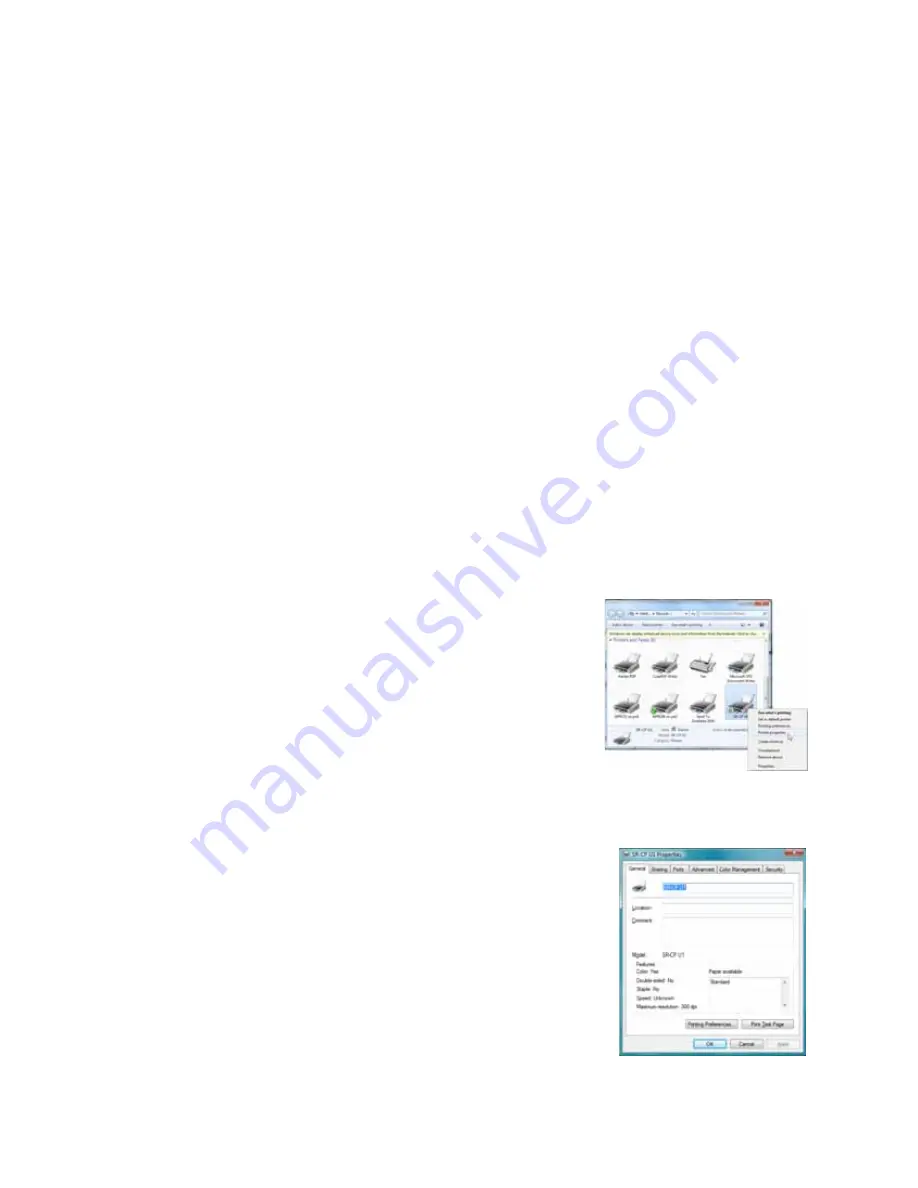
Right
‐
click
the
printer
icon
and
select
Printer
Properties
.
The
Properties
dialog
box
opens.
5.
Use
the
tabs
to
set
up
Sharing,
Ports,
Color
Management,
Security,
and
Advanced
options.
6.
Click
OK
to
save
and
close,
or
click
Cancel
to
close
without
saving
changes.


