33
0
3
9
7
5
4
•
V
e
rsi
o
n
2
.0
•
0
8
.0
3
.2
0
1
1
EN
EN
EN
EN
EN
Preventive maintenance
Introduction
To keep the home application ventilation unit fit to meet the specifications, preventive
maintenance has to be carried out.
The unit needs preventive maintenance with specific intervals to avoid breakdown or
inefficient operation and to maximize the lifetime. It is important to notice that intervals
between maintenance can vary depending on the specific environment.
The following parts need preventive maintenance:
Filters
Fans
The maintenance instructions are listed later in this section.
Caution
Switch off the power supply before working on the unit!
Filters
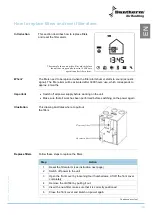
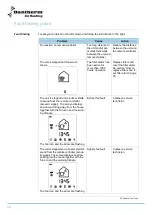
Check/replace the filters when the filter alarm is buzzing. The filter alarm is activated af-
ter 3000 hours, corresponding to approx. 4 months’ use.
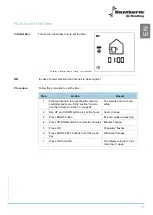
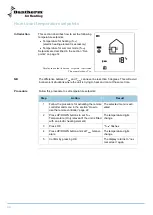
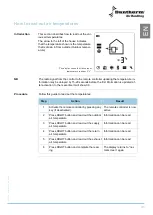
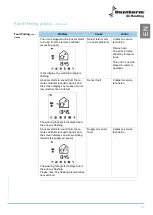
When the filter alarm is activated a buzzer starts to sound and the filter icon inside the
house icon in the middle of the display starts to flash, provided that the remote control-
ler is active.
The unit can run for 1000 hours more, then the unit stops, if the filter alarm has not
been reset. For more information, please see the section ”Fault finding guide” page 40.
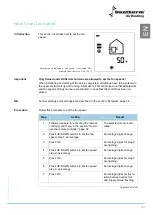
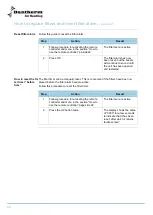
Reset the filter timer after having changed the filters. See how to do it in section ”How
to replace filters and reset filter alarm
Cleaning
Keep the unit clean to ensure its flawless operation and hygiene.
Check the inner surface of the unit. If dirty, clean with a damp cloth, brush, vacuum
cleaner or similar.
Fans
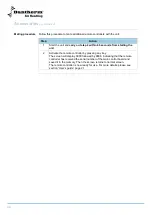
Caution!
Only trained and certified technicians are allowed to service the fans
Switch off power supply before working on the unit
Make sure that all work has been performed before switching on the power
again.Clean the fan blades with compressed air or with a brush. Each blade has to
be so clean that the fan stays balanced. Take care not to remove or move the bal-
ancing pieces attached to the fan blades.
Continued overleaf
Summary of Contents for HRV 5
Page 1: ...Focus Trust Initiative HRV 5 Service manual DA GB DE No 039994 rev 2 0 08 03 2011...
Page 2: ...2005 layout...
Page 3: ...HRV 5 Service manual EN DA DE No 039994 rev 2 0 08 03 2011...
Page 54: ...52...
Page 104: ...52...
Page 138: ...36 Fortsetzung auf der n chsten Seite...
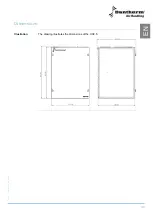
Page 148: ...46 Abmessungen Abbildung Die Abbildung zeigt die Abmessungen eines HRV 5...
Page 154: ...52 Firmenstempel Datum und Unterschrift...
Page 157: ...2005 layout...

