20
Mounting and installation,
continued
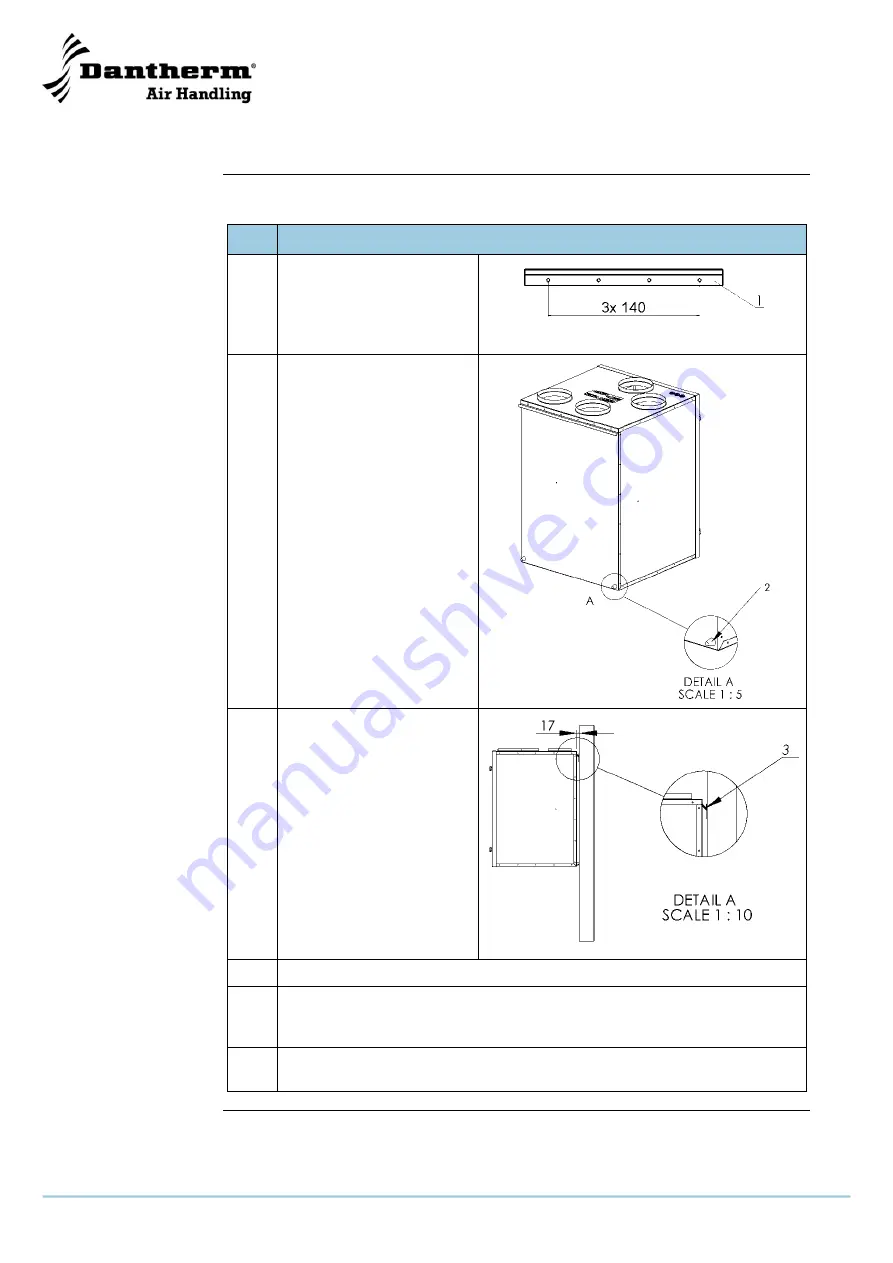
Mounting
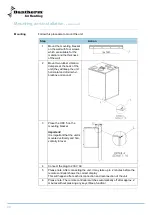
Follow this procedure to mount the unit:
Step
Action
1
Mount the mounting bracket
on the wall with four screws
which are suitable for the
material and the thickness
of the wall
2
Mount two rubber vibration
dampers at the back of the
unit (they will keep the unit
horizontal and diminish vi-
brations and sound)
3
Place the HRV 5 on the
mounting bracket
Important!
It is important that the unit is
mounted vertically and hori-
zontally in level
4
Connect the plug to 230 V AC
5
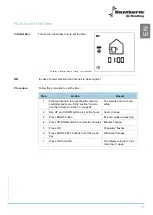
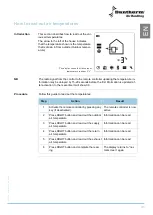
Please note: After connecting the unit, it may take up to 2 minutes before the
remote controller shows the correct display
This will happen after each disconnection and reconnection of the unit
6
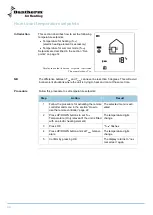
Please note: The remote controller switches automatically off after approx. 2
minutes without pressing any keys (Sleep function)
Summary of Contents for HRV 5
Page 1: ...Focus Trust Initiative HRV 5 Service manual DA GB DE No 039994 rev 2 0 08 03 2011...
Page 2: ...2005 layout...
Page 3: ...HRV 5 Service manual EN DA DE No 039994 rev 2 0 08 03 2011...
Page 54: ...52...
Page 104: ...52...
Page 138: ...36 Fortsetzung auf der n chsten Seite...
Page 148: ...46 Abmessungen Abbildung Die Abbildung zeigt die Abmessungen eines HRV 5...
Page 154: ...52 Firmenstempel Datum und Unterschrift...
Page 157: ...2005 layout...

