1.
Use cable clamps to connect the shield to the
conductive backplate on the adjustable frequency
drive and to the metal cabinet of the brake
resistor.
2.
Size the brake cable cross-section to match the
brake torque.
No.
Function
81, 82
Brake resistor terminals
Table 7.71 Brake Resistor Terminals
See the
Brake Resistor Design Guide
for more details.
NOTICE!
If a short circuit in the brake IGBT occurs, prevent power
dissipation in the brake resistor by using a line switch or
contactor to disconnect the line power from the
adjustable frequency drive. Only the adjustable
frequency drive should control the contactor.
CAUTION
Note that voltages up to 1099 V DC may occur on the
terminals.
F-Frame Requirements
Connect the brake resistor(s) to the brake terminals in each
inverter module.
7.6.4 How to Connect a PC to the
Adjustable Frequency Drive
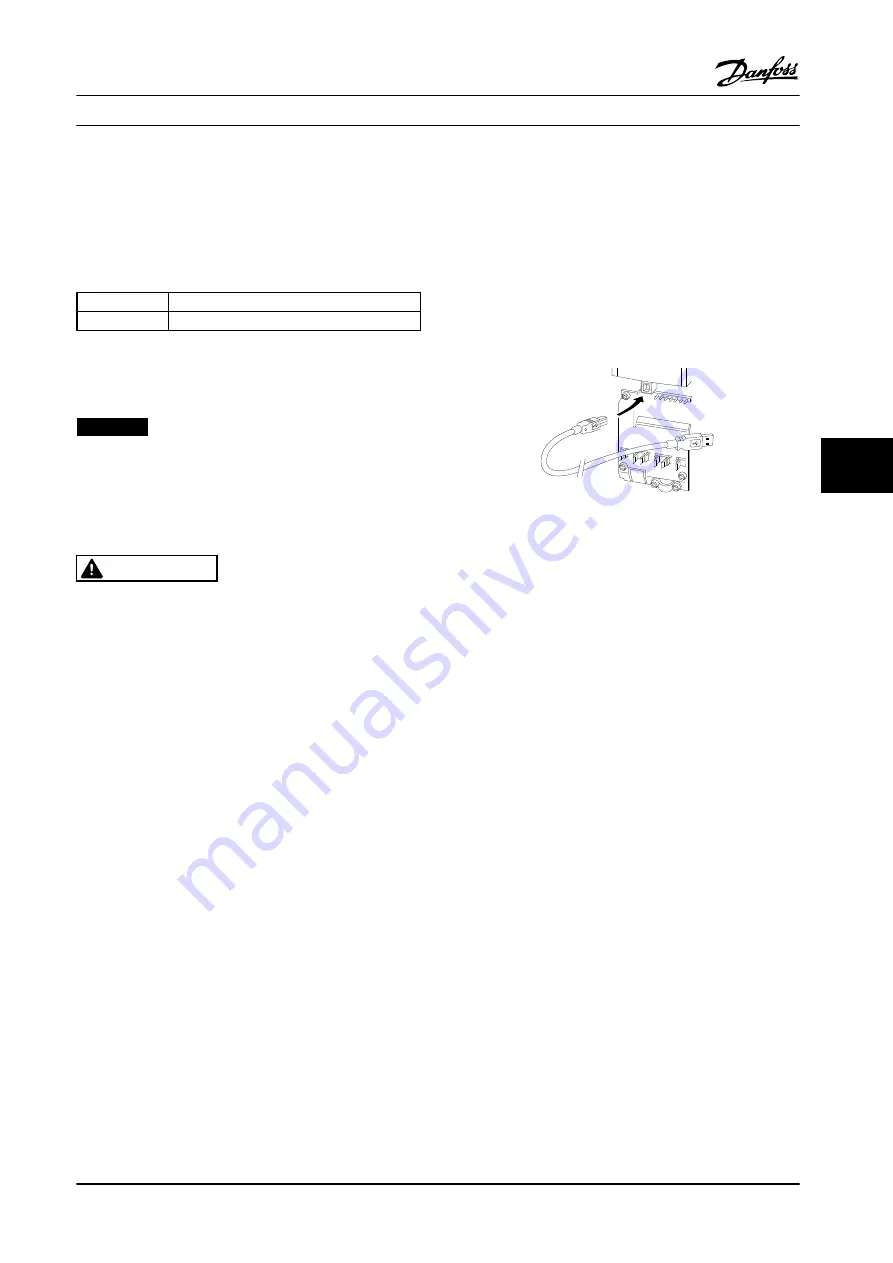
To control the adjustable frequency drive from a PC, install
the MCT 10 Set-up Software. The PC is connected via a
standard (host/device) USB cable, or via the RS-485
interface as shown in the section
Bus Connection
in the
Programming Guide.
USB is a serial bus utilizes four shielded wires with ground
pin 4 connected to the shield in the PC USB port. All
standard PCs are manufactured without galvanic isolation
in the USB port.
Follow the ground recommendations described in the
Connection to Line Power and Grounding
,
VLT
®
AutomationDrive Instruction Manual
to prevent damage to
the USB host controller through the shield of the USB
cable.
When connecting the PC to the adjustable frequency drive
through a USB cable, Danfoss recommends using a USB
isolator with galvanic isolation to protect the PC USB host
controller from ground potential differences. It is also
recommended not to use a PC power cable with a ground
plug when the PC is connected to the adjustable
frequency drive through a USB cable. This reduces the
ground potential difference, but does not eliminate all
potential differences due to the ground and shield
connected in the PC USB port.
130B
T308.10
Figure 7.55 USB Connection
7.6.5 PC Software
To store data in PC via MCT 10 Set-up software, use the
following steps:
1.
Connect a PC to the unit via the USB COM port.
2.
Open MCT 10 Set-up software.
3.
Select the USB port in the “network” section.
4.
Select “Copy”.
5.
Select the “project” section.
6.
Select “Paste”.
7.
Select “Save as”.
All parameters are now stored.
To transfer data from PC to adjustable frequency drive via
MCT 10 Set-up software, use the following steps:
1.
Connect a PC to the unit via the USB COM port.
2.
Open MCT 10 Set-up software.
3.
Select “Open”– stored files will be shown.
4.
Open the appropriate file.
5.
Select “Write to drive”.
All parameters are now transferred to the adjustable
frequency drive.
A separate manual for
MCT 10 Set-up Software
is available.
Electrical Installation
Design Guide
MG34S222
Danfoss A/S © Rev. 2014-02-10 All rights reserved.
233
7
7
Summary of Contents for VLT AutomationDrive FC 300
Page 2: ......


