xStack
®
DGS-3400 Series Layer 2 Gigabit Ethernet Managed Sw itch
335
3.
Configure the encryption algorithm that SSH will use to encrypt and decrypt messages sent between the SSH client and
the SSH server, using the
SSH Authentication Mode and Algorithm Settings
window.
4.
Finally, enable SSH on the Switch using the
SSH Server Configuration
window.
After completing the preceding steps, a SSH Client on a remote PC can be configured to manage the Switch using a secure, in
band connection.
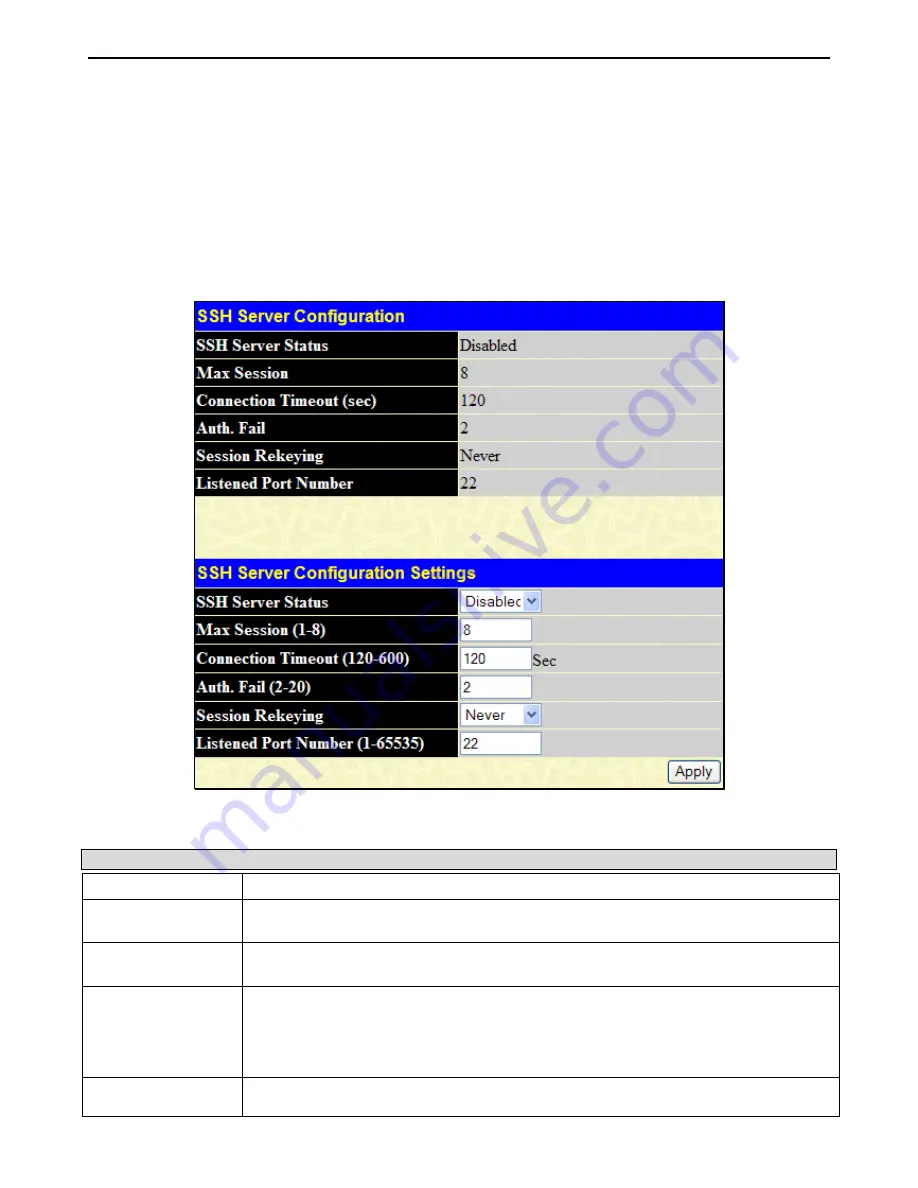
SSH Server Configuration
The following window is used to configure and view settings for the SSH server.
To view this window, click
Security > SSH > SSH Server Configuration
, as shown below.
Figure 6 - 67 SSH Server Configuration Settings window
To configure the SSH server on the Switch, modify the following parameters:
Parameter Description
SSH Server Status
Use the pull-down menu to enable or disable SSH on the Switch. The default is
Disabled
.
Max Session (1-8)
Enter a value between
1
and
8
to set the number of users that may simultaneously access
the Switch. The default setting is
8
.
Connection TimeOut
(120-600)
Allows the user to set the connection timeout. The user may set a time between
120
and
600
seconds. The default setting is
120
seconds.
Auth. Fail (2-20)
Allows the Administrator to set the maximum number of attempts that a user may try to log
on to the SSH Server utilizing the SSH authentication. After the maximum number of
attempts has been exceeded, the Switch will be disconnected and the user must reconnect
to the Switch to attempt another login. The number of maximum attempts may be set
between
2
and
20
. The default setting is
2
.
Session Rekeying
This field is used to set the time period that the Switch will change the security shell
encryptions by using the pull-down menu. The available options are
Never
,
10 min
,
30 min
,


