


Software User Manual
D-Link Unified Access System
12/10/09
Document
34CSFP6XXUWS-SWUM100-D7
Router
Page 305
C
ONFIGURED
(S
TATIC
) R
OUTES
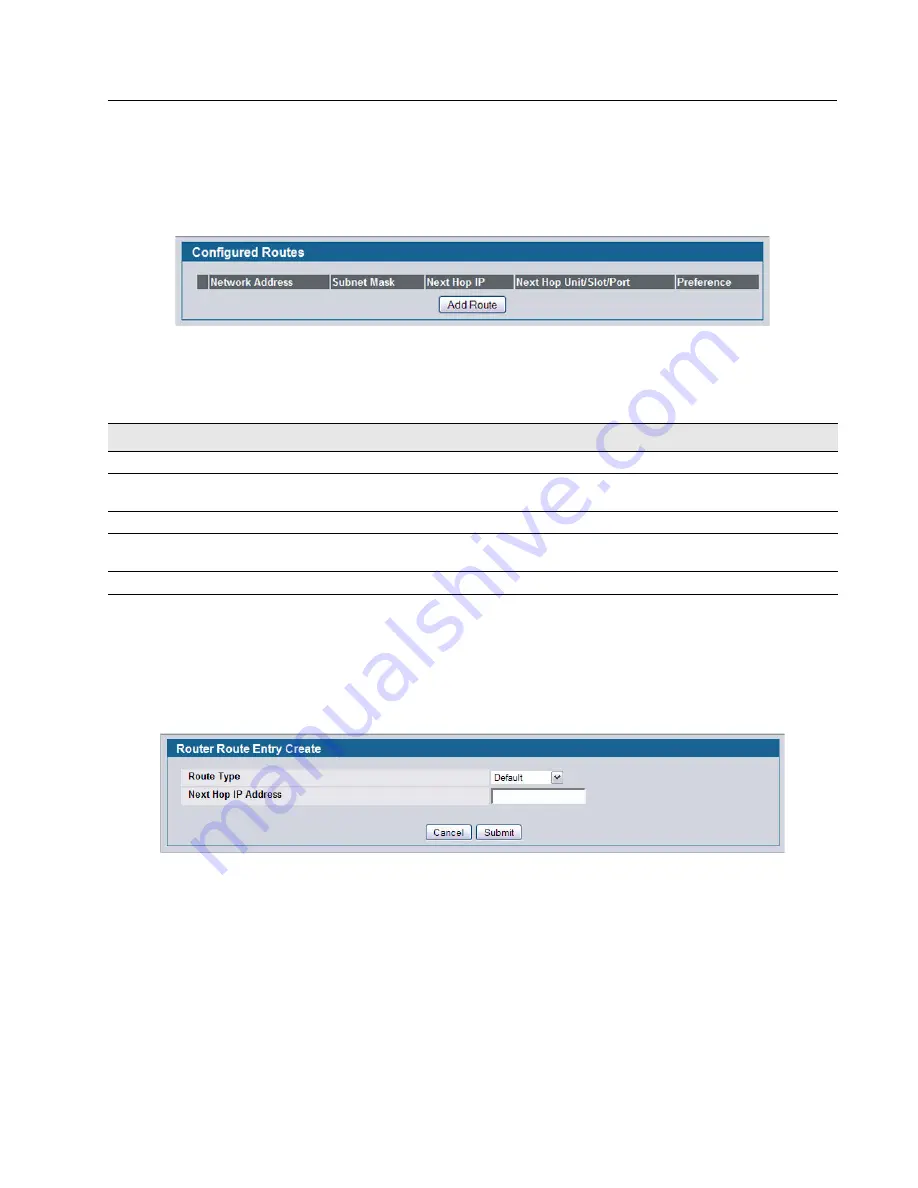
Use the Configured Routes page to create and display static routes.
To display the page, click
LAN > L3 Features > Router > Configured Routes
in the navigation tree.
Figure 210: Configured Routes
Adding a Static Route
1
Open the Configured Routes page.
2
Click
Add Route
.
The
Router Route Entry Create
page displays:
Figure 211: Create Default Route Entry
3
Next to
Route Type
,
select
Default
route,
Static
or
Static Reject
from the menu.
Default
: Enter the default gateway address in the
Next Hop IP Address
field.
Static
: Enter values for
Network Address
,
Subnet Mask
,
Next Hop IP Address
, and
Preference
.
Static Reject
: Packets to these destinations will be dropped.
If you select Static as the route type, the screen refreshes and additional fields appear, as
shows.
Table 191: Configured Routes Fields
Field
Description
Network Address
The IP route prefix for the destination.
Subnet Mask
Also referred to as the subnet/network mask, this indicates the portion of the IP
interface address that identifies the attached network.
Next Hop IP
The next hop router address to use when forwarding traffic to the destination.
Next Hop Slot/Port
The outgoing interface to use when forwarding traffic to the destination. For static
reject routes it would be Null0.
Preference
The preferences configured for the added routes.


