21
Protecting Your Digital Assets
TM
CRU Ditto Shark User Manual
•
Logs:
Controls the ability to delete log fi les from the “Logs” screen.
•
DiskView:
Controls the ability to HexView and Snapshot media via the “Disks” panel on the
“Home” screen.
6.3 ADDING A NEW USER
To add a new user, click the
Add User button
, enter the user’s information, and set the permission levels.
When fi nished, click on the
Commit Add button
.
6.4 EDITING AN EXISTING USER
To update a user’s name, password, or permissions, click on the user account under the “User Name”
column, update the information, and then click the
Commit Edits button
.
6.5 DELETING A USER
To delete a user, click on the user account under the “User Name” column and click on the
Delete User
button
. Do
not
click this button unless you are absolutely certain you wish to delete the account.
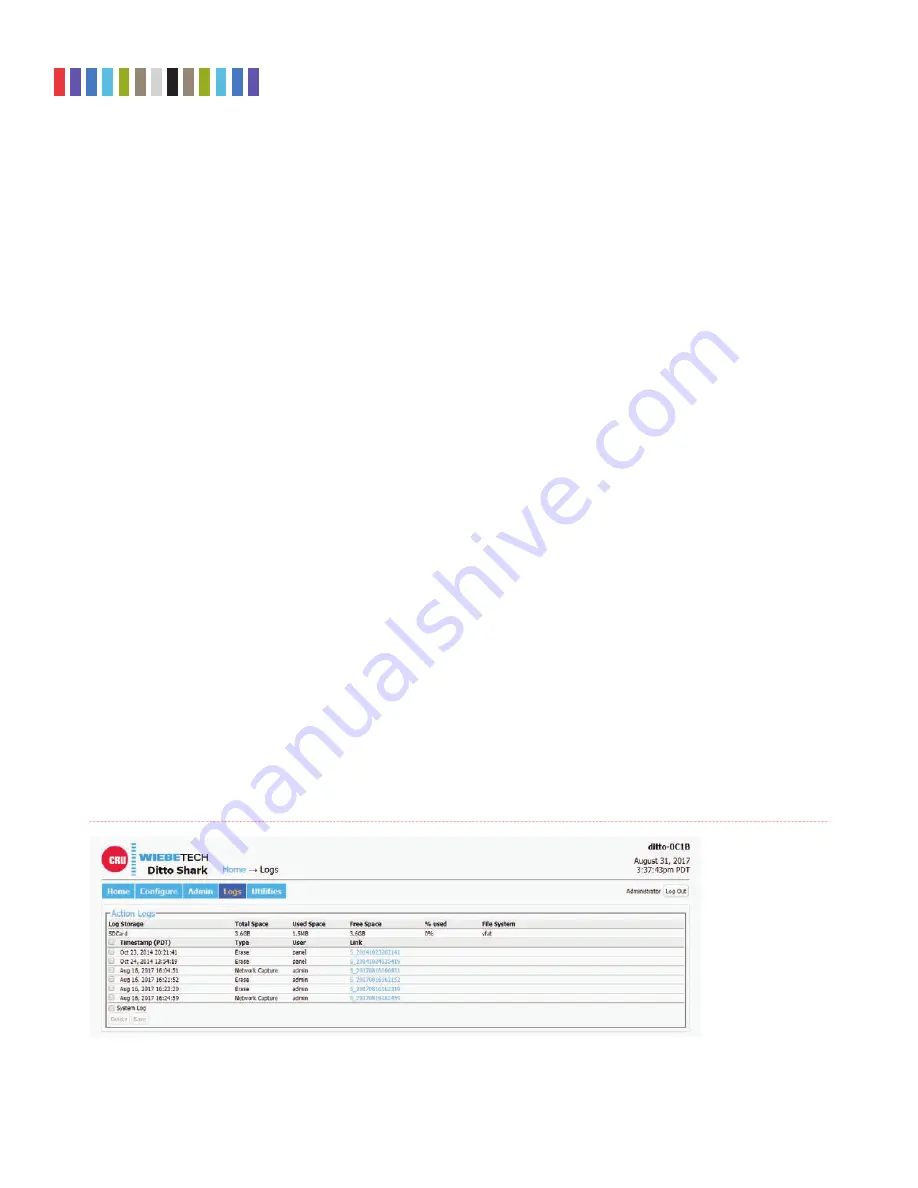
7 LOGS SCREEN
The “Logs” screen provides information about the Ditto Shark’s actions. Click on the
Logs tab
to access the
“Logs” screen from the Browser Interface.
Action logs show the timestamp, the type of action performed, the user who performed the action, and a link to
the “Action Log” screen that provides more information about the performed action. Click on that link to view
that information.
7.1 DELETE LOG
Check the box next to each log fi le you wish to delete. To delete the system log, check the box next to
“System Log” at the bottom of the Logs tab. Then click the
Delete button
. Finally click the
Yes button
on
the dialog box that pops up to delete the checked logs.
7.2 SAVE LOG
Check the box next to each log fi le you wish to save to your local computer system. To save the system log,
check the box next to “System Log” at the bottom of the Logs tab. Then click the
Save button
. The “Save
Figure 23.
The “Logs” screen.


