17
Protecting Your Digital Assets
TM
CRU Ditto Shark User Manual
5.3 ERASE
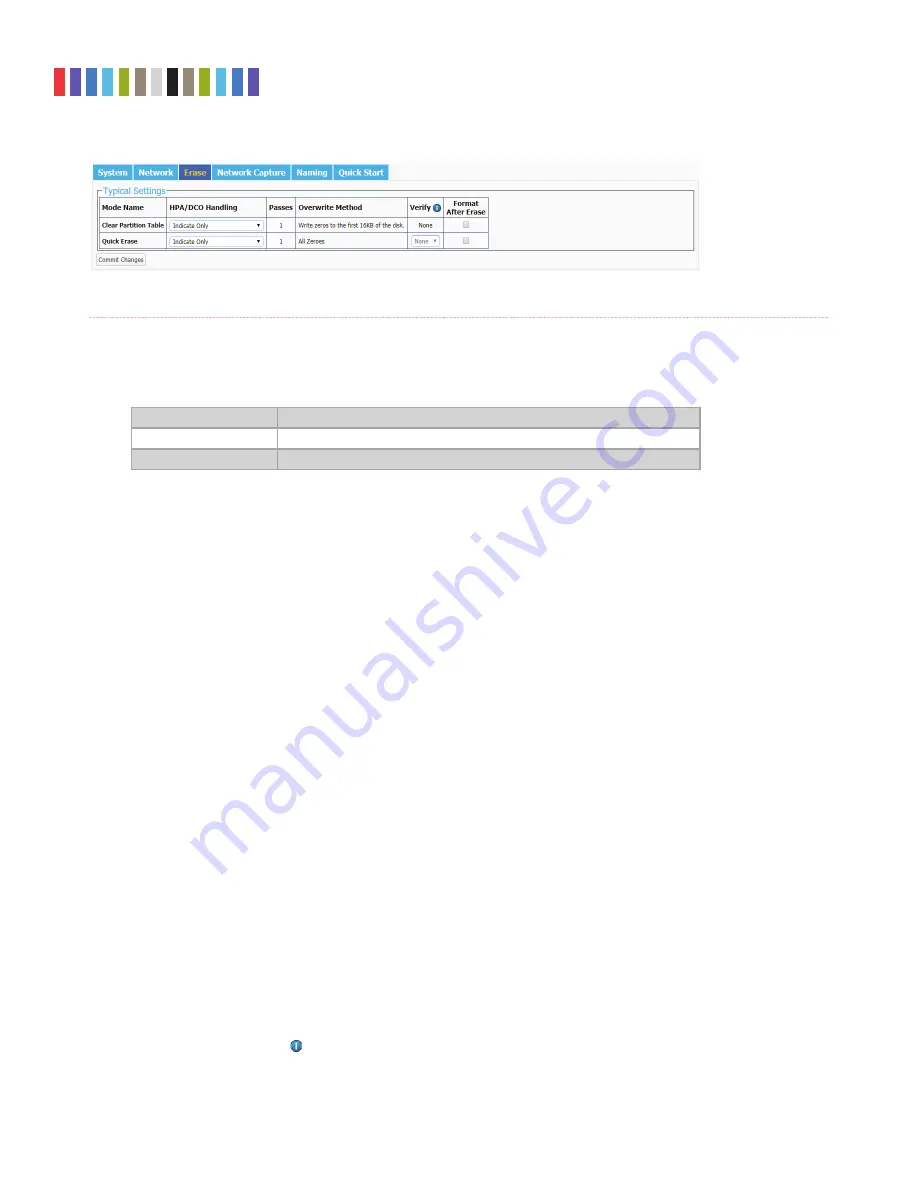
The Ditto Shark allows you to view and customize settings for how the Ditto Shark erases disks.
5.3.1 Available Erase Modes
ERASE MODE
EXPLANATION
Clear Partition Table
Removes the partition table on the disk.
Quick Erase
Performs a single pass writing all zeroes.
5.3.2 Customizable Settings
Some Erase Modes require several of the following settings to be confi gured a certain way as part of
their standard. In these cases, the settings cannot be modifi ed.
•
HPA/DCO Handling:
Sets how erase actions using the specifi ed erase mode should handle HPAs
and DCOs. It can indicate in the log that there is an HPA (host protected area) or DCO (device con-
fi guration overlay) present, temporarily bypass the HPA, permanently unhide the HPA, or perma-
nently unhide both the HPA and DCO.
•
Verify:
This is a planned feature that is not currently implemented. The “Verify” drop-down box
will allow you to verify the erased disk after it has been fully erased. If “Quick” is selected, the
beginning, middle, and end of the disk will be read to ensure that the last pattern was actually
written. If “Full” is selected, the entire disk will be read to ensure that the last pattern was actually
written. If “None” is selected, no verifi cation will be performed.
•
Format After Erase:
Check this box to format the disk with the default format. The default format
can be set in the “System” tab on the “Confi gure” screen (see Section 5.1).
5.4 NETWORK CAPTURE
The “Network Capture” tab allows you to view and customize the following settings for all network capture
actions. When you are fi nished, click the
Commit Changes
button to save the changes.
5.4.1 Network Capture Settings
•
Image File Count:
Specifi es the maximum number of image fi les that are created on the destina-
tion disk. When the number is reached, the Ditto Shark will begin overwriting the oldest fi le on the
disk for each new fi le that is created. Set this to ‘0’ to fi ll the disk until it reaches capacity.
•
Image File Segment Size:
Allows you to specify the size in bytes that each image fi le should be.
The minimum size is 1M (megabyte). The maximum size is limited by the target fi le system. If this
fi eld is left blank, the maximum size will be used. When the specifi ed size is reached, a new image
fi le is created. Click the
Information icon
for more information.
Figure 19.
The “Erase” tab on the “Confi gure” screen, showing the available erase modes and their customiz-
able settings.


