Apr 02
Compuprint PageMaster 402N User Guide
8-7
Installing the High Capacity Feeder
11.
Insert the plug of the power cord into the AC outlet, and turn the printer on by pressing
[ I ] on the power switch on the right side of the printer.
12.
Check the display to make sure the printer is ready for printing.
NOTE:
If an error message is shown when you turn on the printer, see the Chapter titled “Error Messages”
in the User Manual.
Installing Only the High Capacity Feeder
Use the following procedure to install the high capacity feeder:
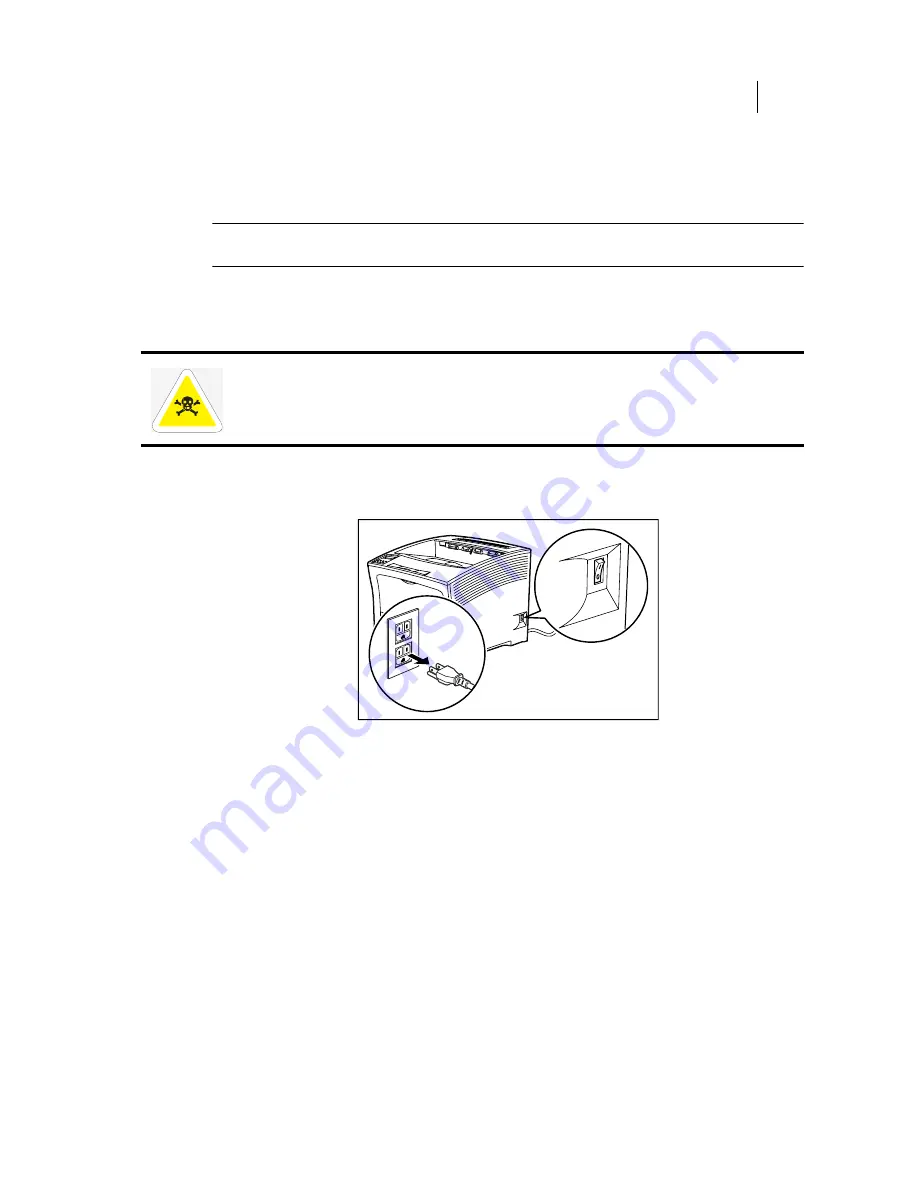
1.
Turn the printer off by pressing [ O ] on the power switch on the right side of the unit, and
disconnect the power cord from the AC outlet.
WARNING: Before installing any options, turn the printer off by pressing [ O ] on the power
switch on the right side of the unit and disconnect the power cord from the AC outlet. These
precautions are necessary to avoid the risk of electric shock.
Summary of Contents for PageMaster 402N
Page 1: ...Apr 02 Compuprint PageMaster 402N User Guide...
Page 14: ...Apr 02 6 Compuprint PageMaster 402N User Guide About the Printer...
Page 24: ...Apr 02 1 10 Compuprint PageMaster 402N User Guide Paper Path...
Page 42: ...Apr 02 2 18 Compuprint PageMaster 402N User Guide Output Options for Oversize Print Media...
Page 60: ...Apr 02 3 18 Compuprint PageMaster 402N User Guide Status Menu...
Page 88: ...Apr 02 4 28 Compuprint PageMaster 402N User Guide Storing the Printer for Long Periods of Time...
Page 134: ...Apr 02 6 4 Compuprint PageMaster 402N User Guide Installing the Duplexer 4 5 6...
Page 144: ...Apr 02 6 14 Compuprint PageMaster 402N User Guide Removing the Duplexer...
Page 174: ...Apr 02 7 30 Compuprint PageMaster 402N User Guide Moving the 500 Sheet Feeder...
Page 212: ...Apr 02 9 16 Compuprint PageMaster 402N User Guide Moving the Stacker...
Page 216: ...Apr 02 A 4 Compuprint PageMaster 402N User Guide Regulatory Compliance...


