100
Adjusting the Image
■
Selecting an Aspect Ratio
Select an aspect ratio type based on the input signal type, aspect ratio of the screen
and resolution.
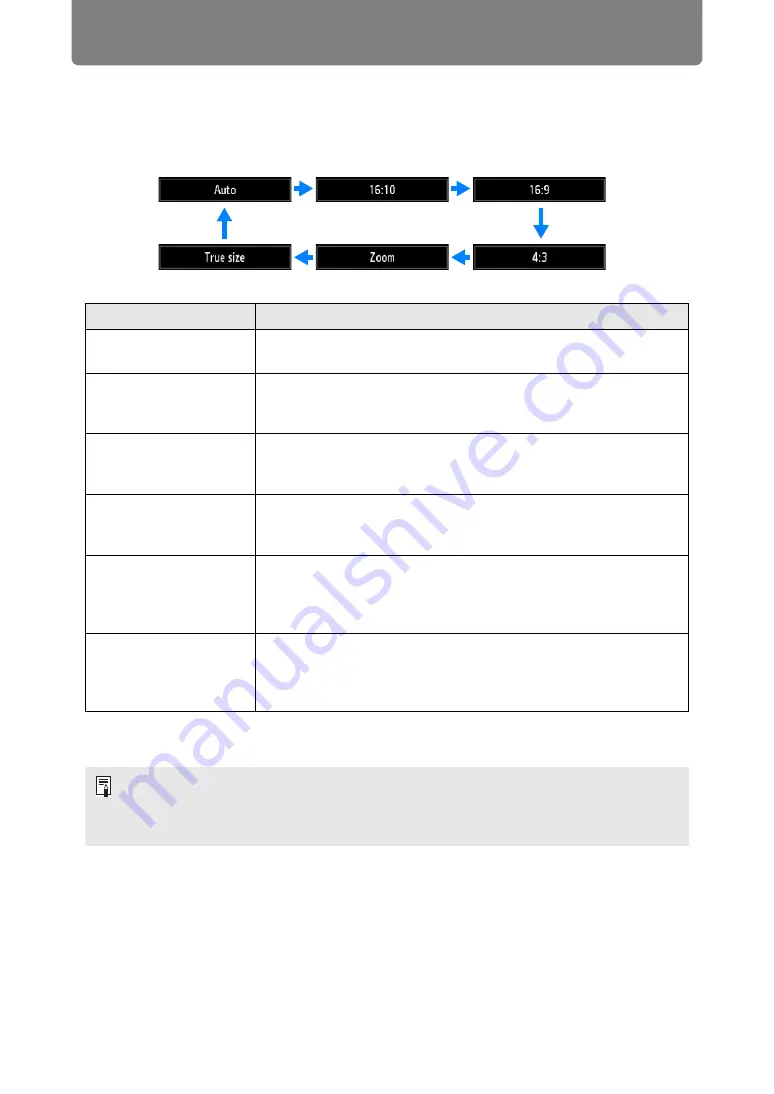
Press the
ASPECT
button on the remote control to change the aspect ratio type.*
* There may be some cases when this cannot be selected, depending on the input
signal and/or resolution. Menus that are not available are grayed out or hidden.
Option
Function
Auto
An image is projected at the aspect ratio of the input signal. Select
this mode for normal image projection.
16:10*
The image is projected using an input signal aspect ratio of 16:10.
Select this if an image of 16:10 aspect ratio cannot be correctly
projected in [Auto] mode.
16:9
The image is projected using an input signal aspect ratio of 16:9.
Select this if an image of 16:9 aspect ratio cannot be correctly
projected in [Auto] mode.
4:3
The image is projected using an input signal aspect ratio of 4:3.
Select this if an image of 4:3 aspect ratio cannot be correctly
projected in [Auto] mode.
Zoom*
This cuts the upper/lower or left/right part of the screen according
to the screen aspect and zooms in the center of the image. Select
this if a letter box is displayed (black lines at the top/bottom of the
screen) when watching video.
True size*
The image is projected with the original resolution of the input
signal. Screens of computers with a lower display resolution than
the projector are displayed smaller but clearer than in other aspect
ratios.
• For LAN and USB input, [Auto] is selected automatically.
• Different contents are displayed for different screen aspects or input signal types.
• The aspect ratio type can also be switched from the menu accessed from [Input
).


