Photos
!
117
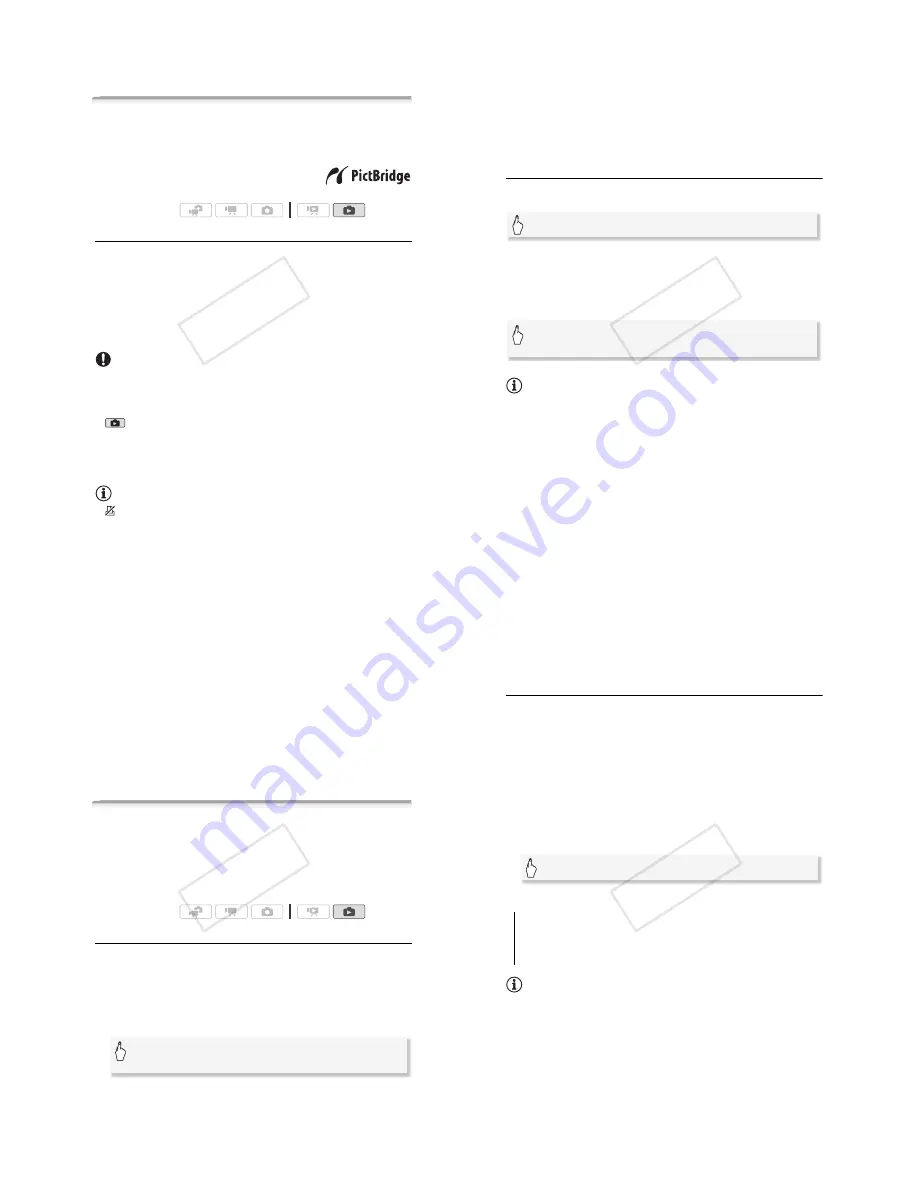
Printing Photos
Printing Photos (Direct Print)
The camcorder can be connected to any PictBridge-compatible
printer. You can mark in advance the photos you want to print and set
the desired number of copies as a print order (
"
119).
Canon printers:
SELPHY printers of the CP,
DS and ES series and PIXMA printers carry-
ing the PictBridge logo.
Connecting the Camcorder to the Printer
1 In single photo view, select a photo you want to print.
2 Turn on the printer.
3 Connect the camcorder to the printer using the supplied USB
cable.
• Connection
%
. Refer to
Connection Diagrams
(
"
124).
• If the device selection screen appears, touch [Computer/Printer].
•
C
appears and changes to
2
.
IMPORTANT
• If
C
continues to flash (for more than 1 minute) or if
2
does not
appear, the camcorder is not correctly connected to the printer. In such
case, disconnect the USB cable and turn off the camcorder and the
printer. After a short while, turn them on again, set the camcorder to
mode and restore the connection.
• During the following operations, even if you connect a printer to the
camcorder it will not be recognized.
- Deleting all photos
- Removing all print orders
NOTES
•
will appear for photos that cannot be printed.
• We recommend powering the camcorder using the compact power
adapter.
Operating modes:
!"
#$
118
!
Photos
• Refer also to the printer’s instruction manual.
• If you have no intention to use the optional DW-100 DVD Burner, you
can set
#
(
[USB Connection Type] to [
2
Computer/Printer] so
the device type selection screen does not appear every time you con-
nect the camcorder to a printer.
• For best performance when connecting the camcorder to a PictBridge-
compatible printer, we recommend keeping the number of photos in the
memory to no more than 100 photos.
Printing a Single Photo
With the camcorder correctly connected to the printer and the photo
you want to print displayed in single photo view:
• Printing starts. When the printer finishes printing the photo, the cam-
corder will return to single photo view.
• Touch [Stop]
(
[Yes] to interrupt the printing in progress.
• Drag your finger left/right to select another photo to print.
To change the paper size
NOTES
• Print setting options and the [Default] paper size vary depending on the
printer used. For details, refer to your printer's instruction manual.
When you have finished printing
Disconnect the USB cable from the camcorder and printer and turn off
the camcorder.
[
3
]
(
[Yes]
[MENU]
(
#
(
[Paper Settings]
(
Desired paper size
(
[
#
]
!"
#$
Photos
!
119
Print errors
If an error occurs while printing, an error message (for example, [No
paper]) will appear on the camcorder’s screen. Solve the problem refer-
ring to the error message list (
"
183) and to the printer's instruction
manual.
•
Canon's PictBridge-compatible printers:
If printing does not resume auto-
matically after you solved the problem, touch [Continue] to resume
printing. If that option is not available, touch [Stop] and then restart
printing from the beginning.
•
Other printers or if the error still persists with a Canon printer:
If printing
does not resume automatically, disconnect the USB cable and turn off
the camcorder. After a short while, turn on the camcorder and restore
the USB connection.
Print Orders
You can mark in advance photos you want to print from those recorded
on the memory card, and set the desired number of copies as a print
order. Later, you can easily print out the print orders by inserting the
memory card into the SD memory card slot of DPOF-compatible print-
ers or self-serviced digital photo kiosks. You can set print orders for up
to 998 photos.
Marking Single Photos with Print Orders
1 In single photo view, select the photo you want to mark with a
print order.
Check that you are viewing photos recorded on the memory card. (
"
appears next to the photo number.)
2 Touch the screen to display the playback controls.
3 Mark the photo with a print order.
• The total number of copies in the DPOF print order appears next to
the
4
icon.
Operating modes:
[Edit]
(
[Print Orders]
(
[
!
] or [
"
] to set the number of
copies
(
[Set]
!"
#$
120
!
Photos
• To cancel the print order, set the number of copies to 0.
4 Drag your finger left/right to select another photo to mark with a
print order or touch [
#
].
Setting Print Orders from the Index Screen
1 Open the [Photos] index screen.
Check that you have selected the
"
tab (memory card).
2 Touch [
%
] to open the photo selection screen.
3 Touch on the individual photos you want to mark with a print
order.
• A checkmark
&
will appear on photos selected. Touch a selected
photo again to remove the checkmark.
• To select all the photos at once: Touch [Select All] instead of touching
individual photos. (Remove in advance any checkmarks from photos
you may have selected individually.)
4 Mark the photos with print orders.
Options
NOTES
•
!
To set print orders for photos recorded in the built-in mem-
ory, copy the photos to the memory card in advance.
[One Copy Each]
Sets a print order of 1 copy of each of the
selected photos.
[Remove Print Orders]
Removes all the print orders from the
selected photos.
[Edit]
(
[Print Orders]
(
Desired option
(
[OK]
!"
#$


