Video
!
93
Onscreen Displays and Data Code
You can turn most onscreen displays on or off.
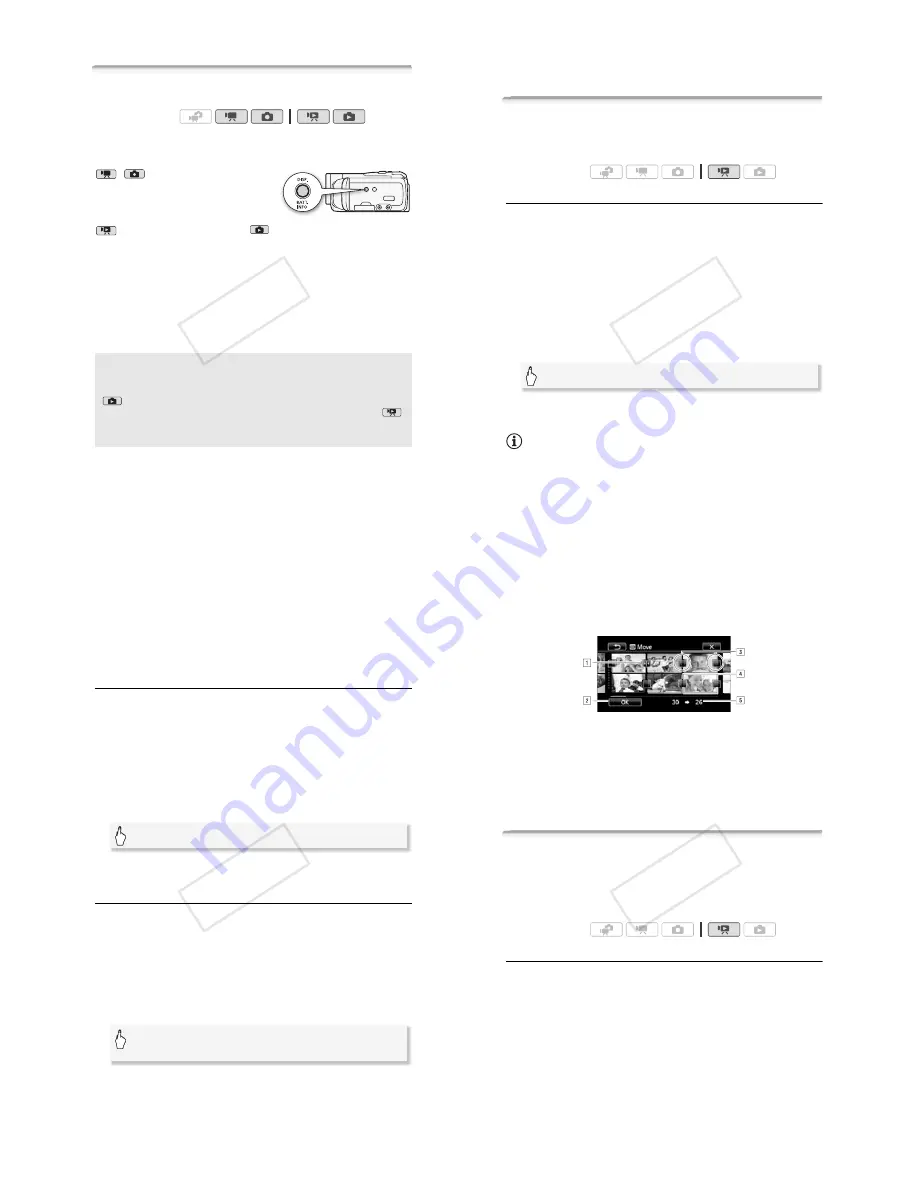
Repeatedly press
!
to turn the onscreen displays on/off in the
following sequence:
,
mode:
• All displays on
• Most displays off
1
1
Pressing
!
will turn off most of the icons and displays that appear automati-
cally but will not remove onscreen displays that were turned on manually (for
example, onscreen markers or the audio level meter).
2
Touch the screen to display the playback controls.
Operating modes:
mode
2
:
• All displays on
• Only data code on
• All displays off
mode
2
:
• All displays on
• Only recording date
and time on
• All displays off
About the Data Code
With every scene or photo recorded, the camcorder keeps a data code
(date/time of recording, information about the camera setup, etc.). In
mode, this information is displayed within the Exif information
panel while the playback controls are displayed on the screen; in
mode, you can select the information to be displayed with the
!
"
[Data Code] setting.
!"
#$
94
!
Video
Playlist and Scene Operations
Editing the Playlist: Adding, Deleting, Moving and Playing Back
Create a playlist to play back only the scenes you prefer and in the
order of your choice. You can play back the scenes in the playlist using
your favorite song as background music (
"
89).
Adding Scenes to the Playlist
1 Open the [Original] or [Video Snapshot]
!
[Original] index screen.
To add to the playlist all the scenes recorded on a specific date, narrow
down the scenes shown to scenes recorded on that date (
"
55).
2 Touch [
%
] to open the scene selection screen.
3 Touch on the individual scenes you want to add to the playlist.
• A checkmark
&
will appear on scenes selected. Touch a selected
scene again to remove the checkmark.
• To select all the scenes at once: Touch [Select All] instead of
touching individual scenes. (Remove in advance any checkmarks
from scenes you may have selected individually.)
4 Add the scenes to the playlist.
•
!
Scenes are added to the playlist on the same memory
they are recorded on.
NOTES
• Deleting or moving scenes in the playlist will not affect the original
recordings.
• Scenes that were edited using the supplied software
ImageMixer 3 SE
and were then written back to the camcorder cannot be added to the
playlist.
Operating modes:
[Edit]
(
[Add to Playlist]
(
[Yes]
(
[OK]
!"
#$
Video
!
95
•
!
You can copy scenes from the built-in memory to the mem-
ory card (
"
126) to include in the memory card’s playlist also scenes
that were originally recorded in the built-in memory.
Deleting Scenes from the Playlist
Deleting scenes from the playlist will not affect your original recordings.
1 Open the [Playlist] index screen.
You can touch [
!
]
(
[Video Snapshot]
(
[Playlist] to open the
playlist of video snapshot scenes.
2 To delete a single scene, touch [
&
] and touch the scene you want
to delete.
• The [Timeline] screen appears.
• This step is not necessary to delete the entire playlist.
3 Delete the scenes from the playlist.
* If you selected to delete all the scenes in the playlist, touch [Stop] to interrupt
the operation while it is in progress. Some scenes will be deleted nevertheless.
Moving Scenes in the Playlist
Move the scenes in the playlist to play them back in the order of your
choice.
1 Open the [Playlist] index screen.
You can touch [
!
]
(
[Video Snapshot]
(
[Playlist] to open the
playlist of video snapshot scenes.
2 Touch [
&
] and touch the scene you want to move.
The [Timeline] screen appears.
3 Move the scene.
[Edit]
(
[Delete]
(
[Yes]*
(
[OK]
[Edit]
(
[Move]
(
Touch an empty box on the screen to
select the desired position
(
[OK]
(
[Yes]
!"
#$
96
!
Video
Capturing Photos and Video Snapshot Scenes from a Movie
You can capture video snapshot scenes, single photos or a series of
continuous photos from a previously recorded scene. For example, you
may want to print photos from video recorded at a party or create a
small video clip using video snapshot scenes from the highlights of an
event.
Capturing a Video Snapshot Scene
1 Open the index screen that contains the scene from which you
want to capture the video snapshot scene.
2 Play back the desired scene.
3 Press
#
to capture the video snapshot scene.
The camcorder captures the video snapshot scene for about 4
seconds (the blue frame serves as a visual progress bar), and then
enters playback pause mode. You can change the length of video
snapshot scene you capture with the
#
(
[Video Snapshot
Length] setting.
4 Touch [
+
] to return to the index screen.
"
Destination icon.
#
Move the scene to the position indicated by the destina-
tion icon.
$
Touch an empty box to select it as the destination.
%
Scene selected to be moved.
&
Original position of the scene and currently selected des-
tination.
Operating modes:
!"
#$


