Setting Preferences and Scanning with ScanGear MF
3-23
S
c
ann
ing
3
5
Click [Scan].
Scanning starts.
NOTE
If white lines appear on one edge of the scanned image, check that the document is
correctly placed on the platen glass. A document should be placed approximately
1
/
8
" (3
mm) from the front edge (i.e., the edge closest to the control panel) of the platen glass.
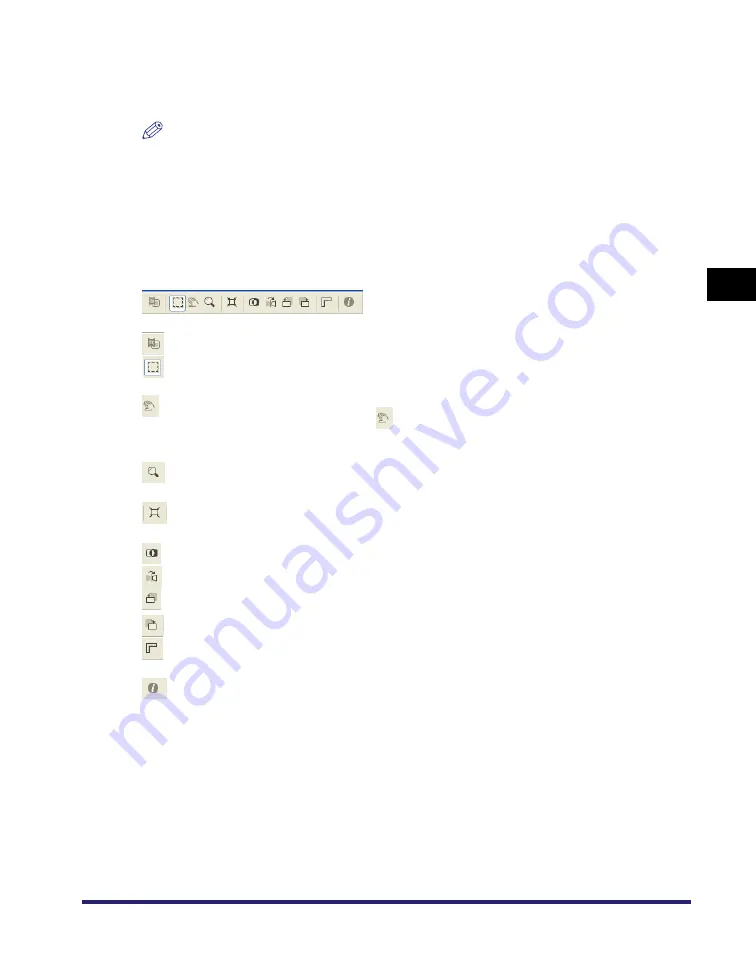
Advanced Mode Toolbar
With the Advanced Mode Toolbar, you can make adjustments to the preview image
and also select a part of the image displayed.
■
To Detach and Move the Toolbar
To detach the Toolbar from the ScanGear MF dialog box, click and hold on the edge
of the Toolbar, then drag the Toolbar. It will return to its original position if you
double-click on the title of the Toolbar.
The Toolbar will adhere to a position if you drag it to the left or right of the preview
area or the bottom frame.
This button is disabled for this model.
(Crop)
Specifies the parameter of a scan. For details, see "Advanced Mode -
Specifying the Parameters of a Scan," on p. 3-24.
(Move)
Moves the image. If the enlarged image is too large to fit on the screen,
on the Toolbar, click
. Then drag the image across the screen until the
part you want to see is displayed. You can move the image in the same
way with the scroll bars.
(Zoom)
Enlarges or reduces the preview image. Click this button on the toolbar
➞
click on the image to enlarge, or right-click on the image to reduce.
(Auto Crop)
Crops the image border automatically. For details, see "Advanced Mode
- Specifying the Parameters of a Scan," on p. 3-24.
(Invert)
Inverts the color in the image.
(Mirror)
Flips the scanned image horizontally.
(Left Rotate)
Rotates the scanned image 90 degrees left.
(Right Rotate)
Rotates the scanned image 90 degrees right.
(Rulers)
Shows the ruler at the upper and left edges of the preview to make
accurate measurements.
(Information)
Lists the scanning information.


