


2
Click the
Binding Settings
button.
Important
•
You cannot click the
Binding Settings
button in the following situations.
•
When the
Image Size
is set to a value smaller than
100%
•
When a graph is selected
•
When page breaks have been set
•
When a sheet or cell is protected
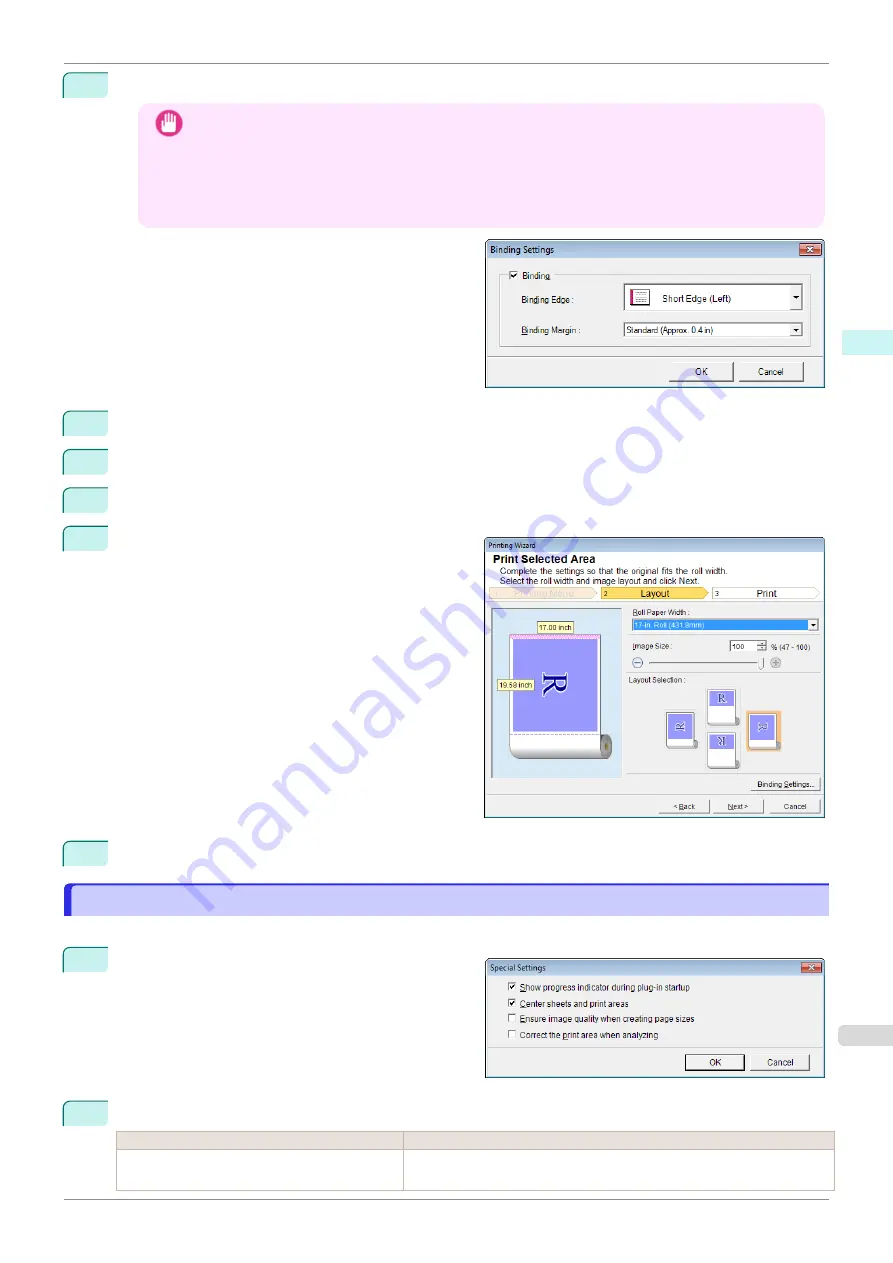
Open the
Binding Settings
dialog box.
3
If the
Binding
checkbox is not checked, select it to turn binding on.
4
Select
Binding Edge
.
5
Select
Binding Margin
.
6
Click the
OK
button.
Return to the
Layout
screen.
Check that the
Binding
settings are applied in the
preview screen.
7
Configure the settings in the
Printing Wizard
dialog box.
Configuring Special Settings
Configuring Special Settings
You can configure
Special Settings
from the
imagePROGRAF Print Plug-In
toolbar.
1
Click
imagePROGRAF
in the toolbar, and select
Special Settings
.
2
Turn the checkbox for the item you want to change on or off.
Item
Details
Show progress indicator during plug-in start-
up
When this setting is off, hides the progress indicator that appears while the
plug-in is starting up.
iPF840
Configuring Special Settings
Windows Software
Print Plug-In for Office
265
Summary of Contents for imagePROGRAFi iPF840 series
Page 14: ...14 ...
Page 28: ...iPF840 User s Guide 28 ...
Page 156: ...iPF840 User s Guide 156 ...
Page 330: ...iPF840 User s Guide 330 ...
Page 424: ...iPF840 User s Guide 424 ...
Page 462: ...iPF840 User s Guide 462 ...
Page 494: ...iPF840 User s Guide 494 ...
Page 634: ...iPF840 User s Guide 634 ...
Page 676: ...iPF840 User s Guide 676 ...


