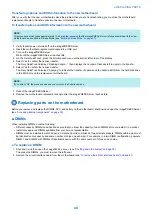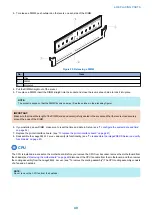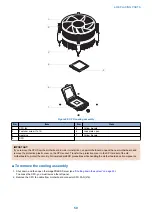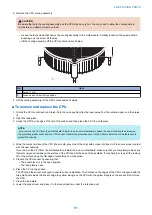
3. Replace any panels that you removed earlier, as described on
“Opening the imagePRESS Server” on page 34
.
4. If you replaced the motherboard, make sure that the new motherboard solves the problem that you are troubleshooting, and
then transfer options to the new motherboard. (see
“Entering Service Mode” on page 47
5. If the
imagePRESS Server
is to be mounted on the furniture with the monitor, see the reassembly instructions that is provided
“Servicing the imagePRESS Server with furniture” on page 62
6. Connect the power cable to the
imagePRESS Server
“Connecting the imagePRESS Server” on page 13
)
7. Connect the
imagePRESS Server
“Connecting to the printer and the network” on page 15
)
8. Print the Test Page and Configuration page.
“Printing imagePRESS Server pages from the monitor, keyboard, and mouse”
• If pages do not print, verify that the interface cables are properly connected.
• If image quality is poor, test the printer (see the service documentation that accompanies the printer).
9. Connect to the network. (see
“To connect imagePRESS Serverto the network” on page 16
)
10. Ask the site administrator to download a test job over the network.
If the job does not print, or has poor image quality, see printing problems and the Troubleshooting sections of the user
documentation.
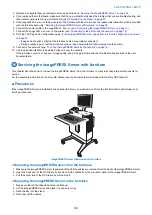
Servicing the imagePRESS Server with furniture
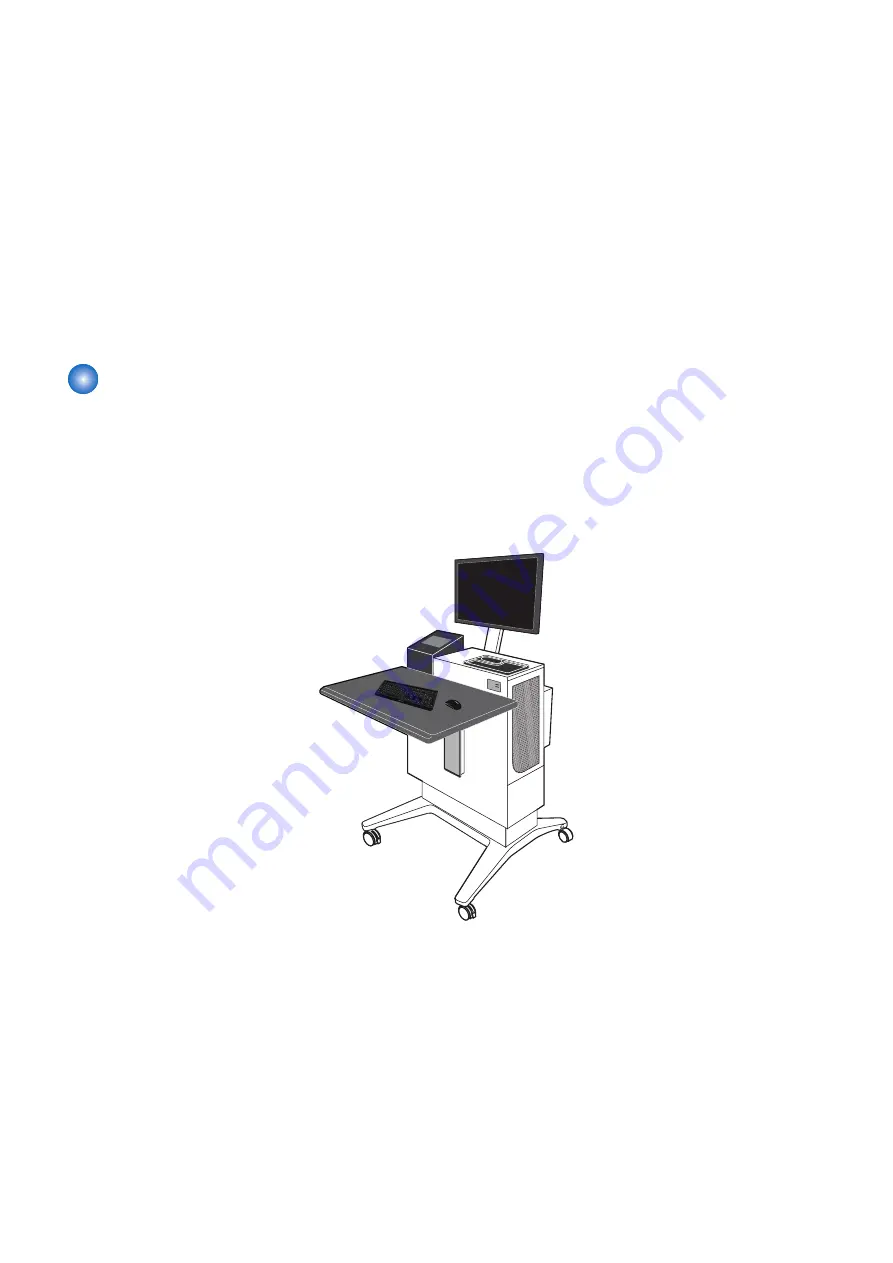
This chapter describes how to remove the imagePRESS Server from the furniture in order to access internal components for
service.
For the assembly instruction on the Fiery NX Station, see the documentation provided with the Fiery NX Station kit.
■ Procedures
If the imagePRESS Server is installed in the optional furniture, you must remove it from the furniture before performing most
service procedures.
imagePRESS Server installed on the furniture
● Removing the imagePRESS Server from the furniture
1. Make sure the imagePRESS Server is powered off and all the cables are removed from the back of the imagePRESS Server.
2. Open the back door of the NX Station and remove all the cables from the connector panel of the imagePRESS Server.
3. Pull the server tray of the NX Station out of the stand.
● Replacing the imagePRESS Server in the furniture
1. Make sure that all the chassis panels are attached.
2. Lift the imagePRESS Server and place it on the server tray.
3. Slide the tray into the stand.
4. Reconnect all the cables.
4. REPLACING PARTS
62
Summary of Contents for ImagePRESS Server H350 V2
Page 8: ...Introduction 1 Introduction 2 Specifications 7 ...
Page 17: ...INSTALLING HARDWARE 2 Installing Hardware 11 ...
Page 26: ...USING THE IMAGEPRESS SERVER 3 Using the imagePRESS Server 20 ...
Page 35: ...REPLACING PARTS 4 Replacing parts 29 ...
Page 86: ...INSTALLING SYSTEM SOFTWARE 6 Installing System Software 80 ...
Page 91: ...TROUBLESHOOTI NG 7 Troubleshooting 85 ...
Page 104: ...INSTALLATION PROCEDURE 8 Installation 98 Removable HDD Kit B5 108 ...

