5. Operations on study logs
-38-
5.3 Study log screens
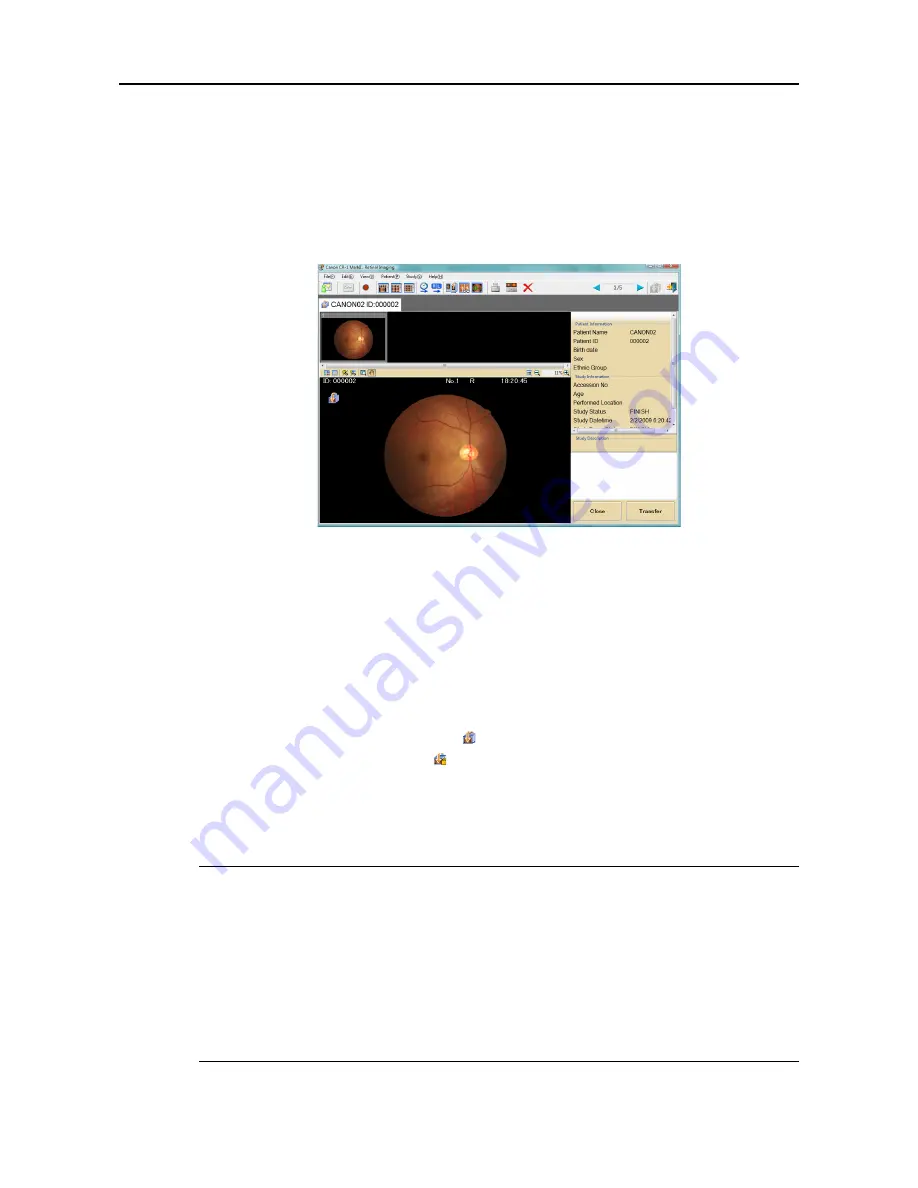
5.3.1 Displaying a study log screen
To display a study log screen, either click the study on the Study Logs screen (Temporarily Saved)
(see
page 31)
or Study Logs screen (Study Log Files)
(see page 37)
and then click
[OK]
or double-click the
study.
Study log screen
What is displayed is basically the same as on the main screen: the differences from the main screen are
described below.
• Images cannot be taken while the Study Logs screen is being displayed.
• The color of image toolbar, Patient Information, Study Information, Study Description,
[Close]
and
[Transfer]
are different.
• Some of the icons on the toolbar cannot be used.
• The study log screen can display only one study.
• On the temporarily saved study log screen, is displayed on the study tab and the main image. On the
Study Logs screen (Study Log Files), is displayed on the study tab and the main image.
•
[Study Cancel]
on the main screen is replaced with
[Close]
on the past study screen; similarly,
[Study
Complete]
on the main screen is replaced with
[Transfer]
on the study log screen.
• More photographs cannot be added to a study log.
Note: Following functions are not available on the study log screen for Study Log Files:
• Tranferring the studies (see page 33)
• Correcting the study descriptions (see page 23)
• Correcting the image comments (see page 46)
• QA (see page 65)
• Rejecting the images (see page 67)
• Correcting the patient information (see page 68)
• Measuring the C/D ratio (see page 54)
• Changing the study (see page 39)
Summary of Contents for CR-1 Mark II
Page 8: ......
Page 38: ...4 Performing studies 30 ...
Page 134: ...8 Before calling the service technician Information 126 ...
Page 137: ......


