


CamRanger Setup
Power on the CamRanger and confirm all four lights briefly appear. The CamRanger will take
approximately 30 seconds unMl it is fully iniMalized.
!
The first Mme the user connects to CamRanger from a Mac, the Mac needs to be registered. See
the CamRanger RegistraMon secMon above.
!
Once registered, connect to the CamRanger network on the Mac. The network name will be
CamRanger-‐###, with the last three characters matching the last 3 characters of the
CamRanger’s serial number. Enter the network password, which is the full 8 characters of the
CamRanger’s serial number. The password MUST BE ENTERED IN ALL CAPS.
!
Connect the CamRanger to the camera with the provided black USB cable (Note: units
purchased through retailers will have a USB mini cable, which will work with most cameras. A
few select Nikons use a different cable, which may be purchased separately or the cable that
came with the camera will also work). The male A end is inserted into the USB port at the end
of the CamRanger, and the other end is connected to the USB port of the camera. Then ensure
the camera is turned on. When the camera is connected and turned on, the green light closest
to the edge of the CamRanger device will light.
!
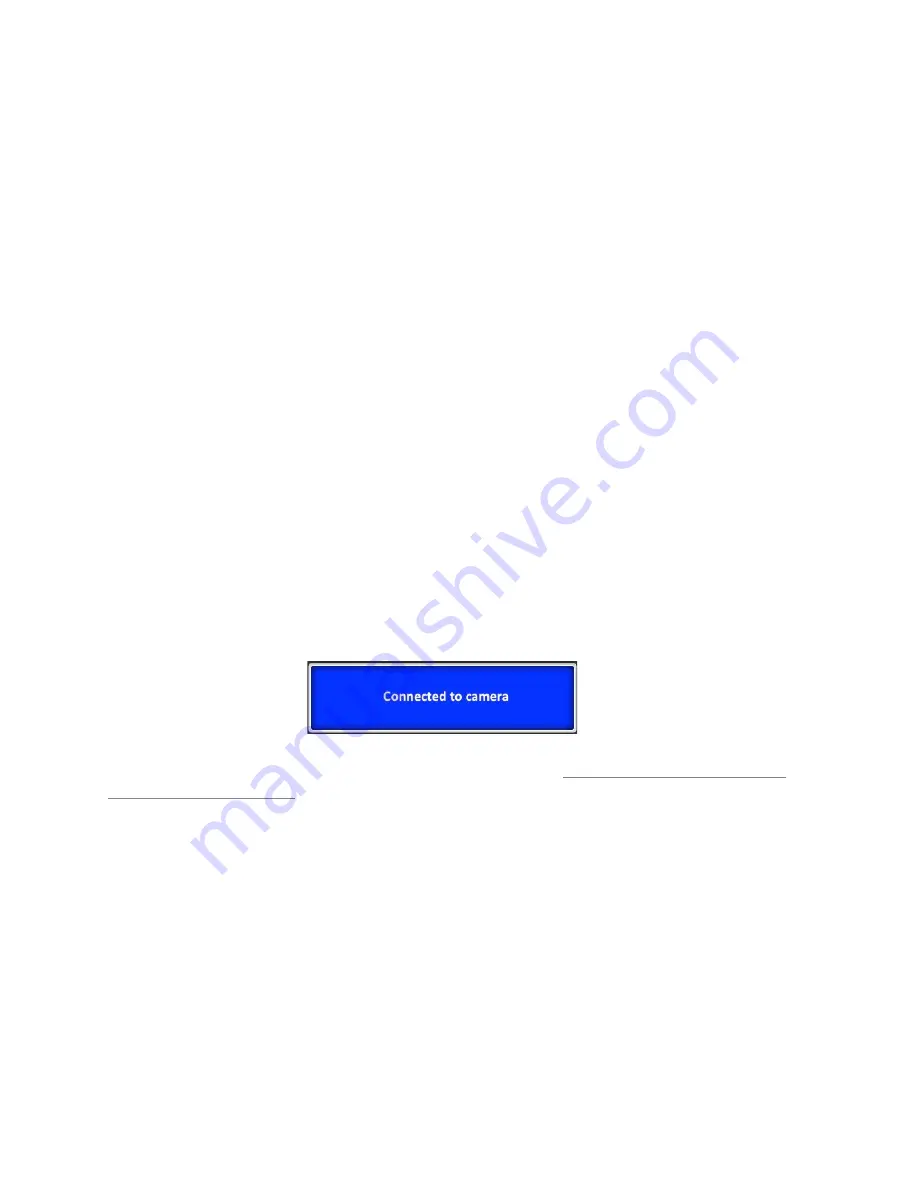
Launch the CamRanger Mac applicaMon. The applicaMon will connect to the CamRanger and the
user will be able to control the camera. To aRempt to manually iniMate a connecMon, on the
Mac menu bar, click “ConnecMon” and then “Connect.” Once connected, the following screen
will appear.
!
For common problems with setup and connecMon refer to the
Troubleshoo*ng sec*on of this
manual found on page 24.
!
5
© CamRanger – Patent Pending


