7. ADJUSTMENTS
S-7300A
121
7-5-2.
Matching the feed pitch on the panel with the actual stitch length
・
This matches the feed pitch on the panel with the actual stitch length.
・
Because the actual stitch length changes depending on the type and stretchiness of the material, the panel display is
best viewed as a guide, but you can use this adjustment to bring the panel display closer to the actual stitch length.
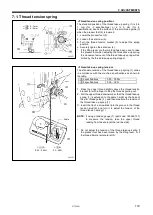
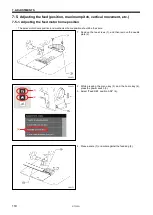
1. Set the feed pitch to "5.00".
2. Carry out actual sewing, and measure the stitch
length.Measure the stitch length 10 or more times, and
divide it by the number of stitches to obtain a single stitch
length measurement.
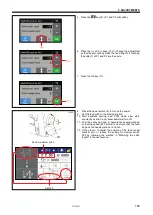
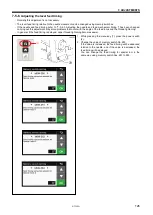
3. While pressing the menu key, turn on the power.
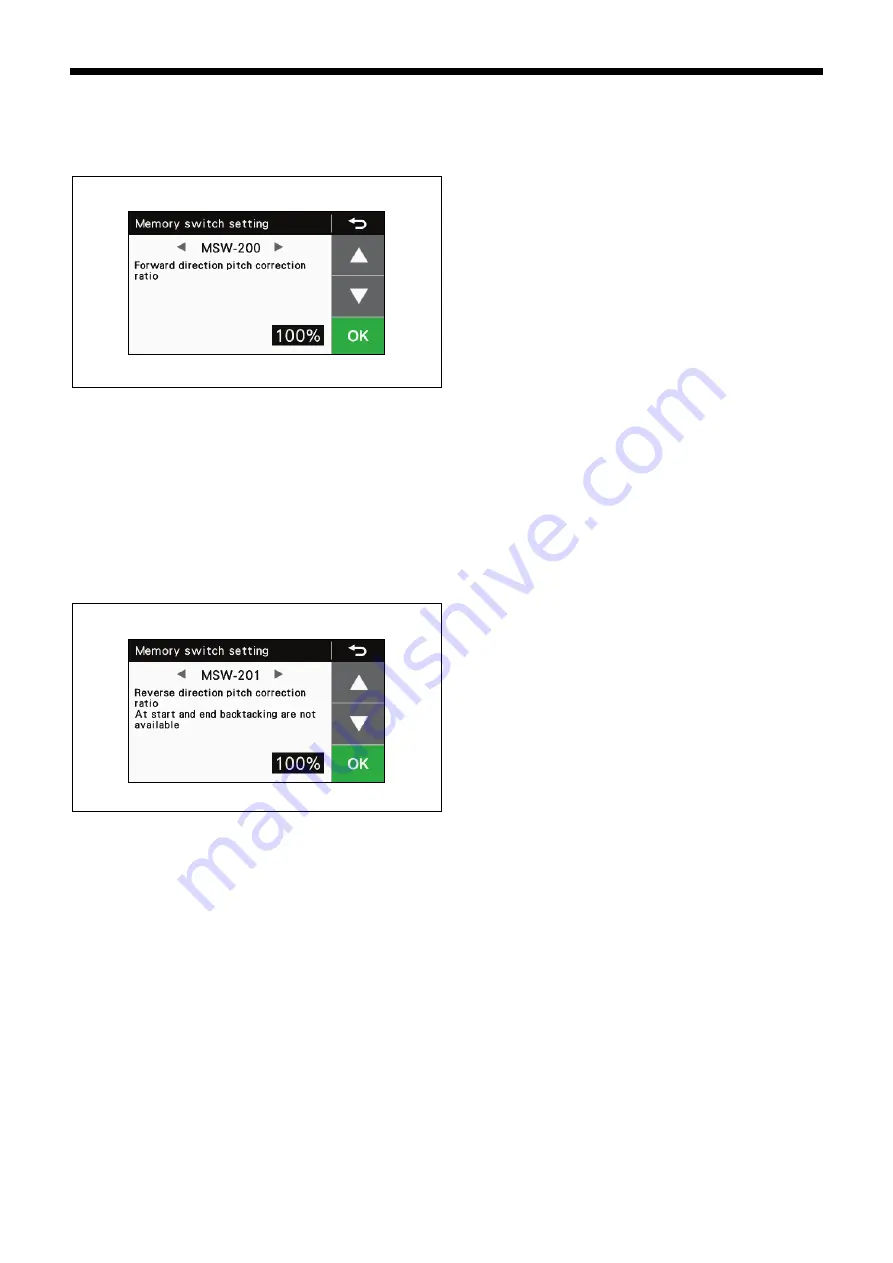
4. Adjust memory switch No. 200. If a larger number is set,
the stitch length will become longer, and if a smaller
number is set, the stitch length will become shorter.
5. Carry out actual sewing, and check the stitch length.
Repeat this operation to bring the panel display value
closer to the stitch length.
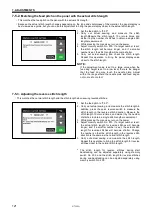
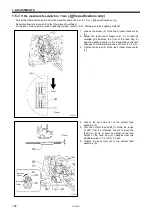
NOTE:
If the adjustment value is set to a large value when the
feed dog height is set to a low level, there is the danger
that the feed dog may touch the needle plate. Adjust
within the range where the needle plate and feed dog do
not come into contact.
7-5-3
.
Adjusting the reverse stitch length
・
This matches the normal stitch length and the stitch length when sewing reverse stitches.
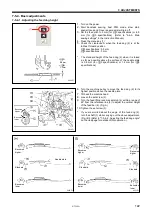
1. Set the feed pitch to "3.00".
2. Carry out actual sewing, and measure the stitch length.In
addition, press the quick reverse switch to measure the
stitch length in the reverse stitch direction. Measure the
stitch length 10 or more times, and divide it by the number
of stitches to obtain a single stitch length measurement.
3. While pressing the menu key, turn on the power.
4. Adjust memory switch No. 201. If a larger number is set,
the actual stitch length for reverse stitches will become
longer, and if a smaller number is set, the actual stitch
length for reverse stitches will become shorter. Change
the number so that the stitch length in the reverse stitch
direction is the same as the normal stitch length.
5. Carry out actual sewing, and measure the stitch length.
Repeat this operation to bring the stitch length for reverse
stitches closer to the normal stitch length.
*
The stitch length for reverse stitches during start
backtacking can be adjusted separately using memory
switch No. 202, and the stitch length for reverse stitches
during end backtacking can be adjusted separately using
memory switch No. 203.

