8-15
Troubleshooting
Step 3: Check that no ink-jet droplets are ejected from the applicable nozzle
(1)
Check locations of the non-ejecting nozzles on the result of the printed nozzle check pattern (1st to 3rd time), and
carry out the following procedures.
Comparison of non-ejection nozzle
positions
Recovery action
The same nozzle always does not
eject ink-jet droplets
Perform the super cleaning -> print out of nozzle check pattern for the third
time in a row.
A different nozzle does not eject
ink-jet droplets
Leave the printer as it is for about 30 minutes, and perform the normal
cleaning -> print out of nozzle check pattern for the third time in a row.
(2)
Check a result of the resultant nozzle check patterns, and carry out the following procedures.
Existence or nonexistence of a
nozzle that does not eject any
ink-jet droplets
Recovery action
Such a nozzle does not exist that
does not eject any ink-jet droplets
Exit
Such a nozzle exists that does not
eject any ink-jet droplets
Proceed to Step 4.
Step 4: Clean the nozzle surface
(1)
Clean the nozzle surface of the print heads.
(2)
Make the clean stick R, cleaning cup, gloves and cleaning solution, which come standard with the printer, available
for use.
<IMPORTANT>
Use a new clean stick R when you start cleaning.
Never touch the tip end of clean stick R with your hand. If any sebaceous matter is attached to the head nozzle, it may
result in the printer malfunction.
(3)
From the menu, select [Maintenance] > [Maintenance Part Clean/Replace] > [Clean nozzle guard and cap], and
press
.
<IMPORTANT>
If any other error or message is displayed on the operation panel or warning message window, follow the message to solve
the problem, then perform the cleaning.
Please complete the task within 15 minutes, in order to prevent the print heads from drying up.
Then, the head cleaning will be performed to prevent any ink from drying up.
(4)
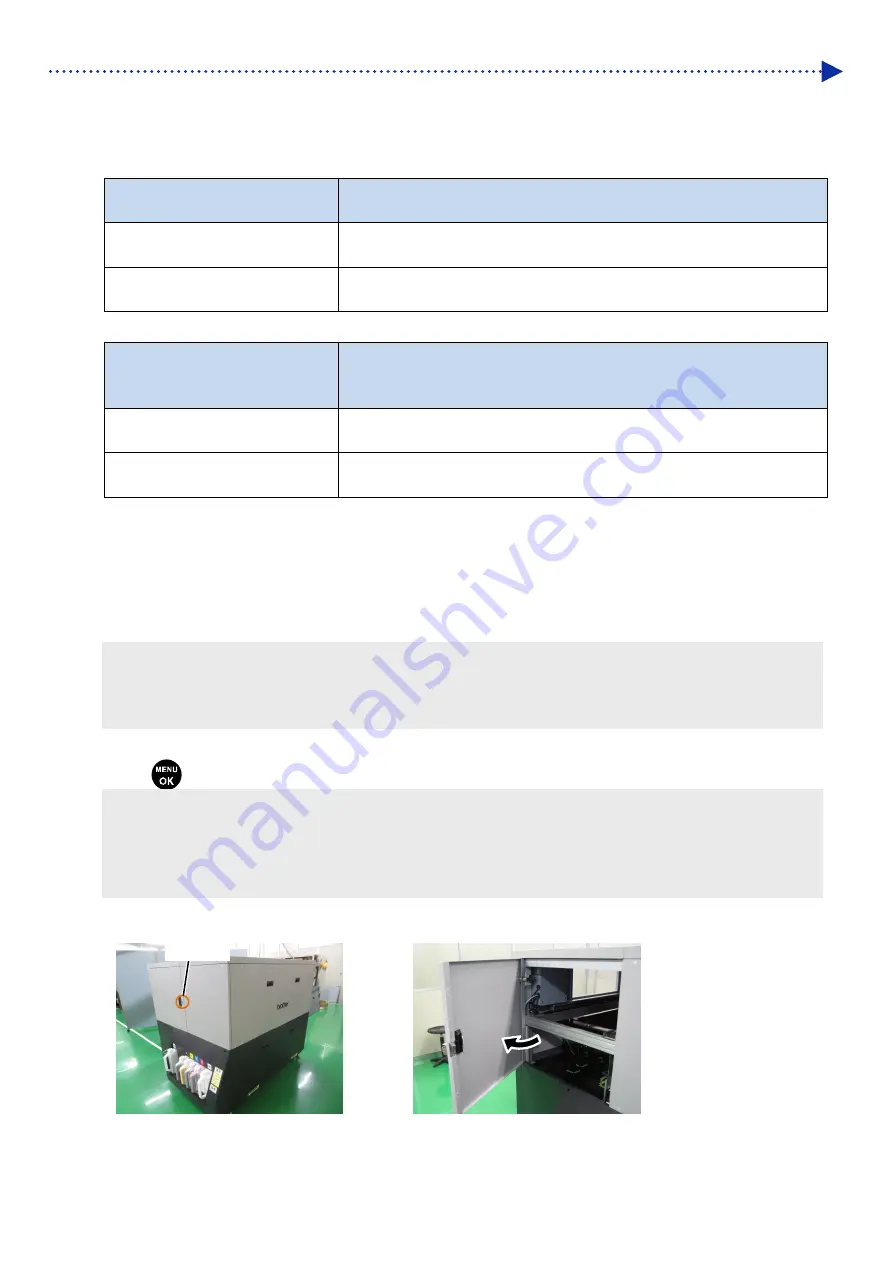
Unlock and open the right-hand-side cover.
Keyhole


