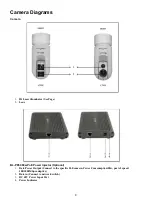
15
Starting the Camera
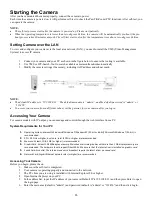
After you have mounted the camera properly, connect the camera to power.
Each time the camera is powered on, it will perform a self-test to check the Pan/Tilt/Zoom (PTZ function). After self-test, you
can operate the camera.
NOTE:
•
The self-test process starts after the camera is powered up. Please wait patiently.
•
When the operating temperature is lower than zero degrees Celsius, the camera will be automatically pre-heat (the pre-
heat process takes 30 minutes at most). The self-test starts only after the temperature rises above zero degrees Celsius.
Setting Camera over the LAN
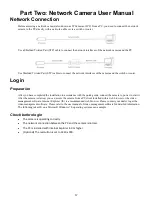
To view and configure your camera via the local area network (LAN), you need to install the VMS (Video Management
System) to access IP camera.
1.
Connect your camera and your PC as shown in the figure below to ensure the routing is available.
2.
Use VMS or IPC-Search-Tool to search available cameras on the network automatically.
3.
Modify the camera settings if necessary, including its IP address and subnet mask.
NOTE:
•
The default IP address is “192.168.0.13”. The default username is “admin”, and the default password is “admin” or
“123456”.
•
To access your camera from a different subnet, set the gateway for your camera after you log in.
Accessing Your Camera
For camera models with IP output, you can manage and control through the web interface from a PC.
System Requirements for Your PC
1.
Operating System: Microsoft Windows 8/Windows 7/Windows XP (32-bit or 64-bit). Microsoft Windows 7 (32-bit) is
recommended.
2.
CPU: 2.0 GHz or higher, dual-core. Intel i3 CPU or higher are recommended.
3.
Memory: At least 1 GB. 2 GB (or higher) is recommended.
4.
Graphic Card: At least 128 MB display memory. Mainstream discrete graphics with more than 1 GB display memory are
recommended. The hardware should support DirectX9.0c.
Make sure that the latest driver is installed on graphic card.
5.
Sound Card: Essential.
The intercom and voice broadcast require the latest driver on sound card.
6.
Network Card: Gigabit Ethernet network cards (or higher) are recommended.
Accessing Your Camera
Before you begin, please check:
1.
Make sure the self-test is completed.
2.
Your camera is operating properly and connected to the network.
3.
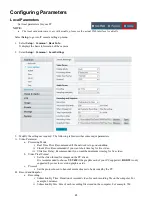
The PC client you are using is installed with Internet Explorer 8.0 or higher.
4.
Open Internet Explorer on your PC.
5.
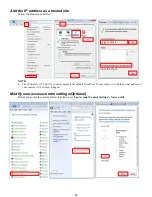
In the address bar, input the IP address of your camera (Default IP is 192.168.0.13) and then press Enter to open
the login page.
6.
Enter the username (default is “admin”) and password (default is “admin” or “123456”) and then click Login.
Summary of Contents for EX1020BHD-L5NXGA
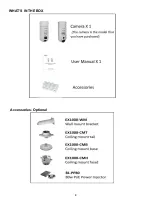
Page 8: ...8 WHAT S IN THE BOX Accessories Optional ...
Page 60: ...60 STARLIGHT Models ...
Page 61: ...61 4K Models ...
Page 62: ...62 Dimensions S Style Unit mm ...
Page 63: ...63 S Style Unit mm ...
Page 64: ...64 Model BL PP80 80w PoE Power injector Unit mm ...
Page 65: ...65 www bolintechnology com 2082 TECHNOLOGY LLC dba BOLIN TECHNOLOGY ...


