


Chapter 10 Recording
User Manual of Veterinary Monitor
--129--
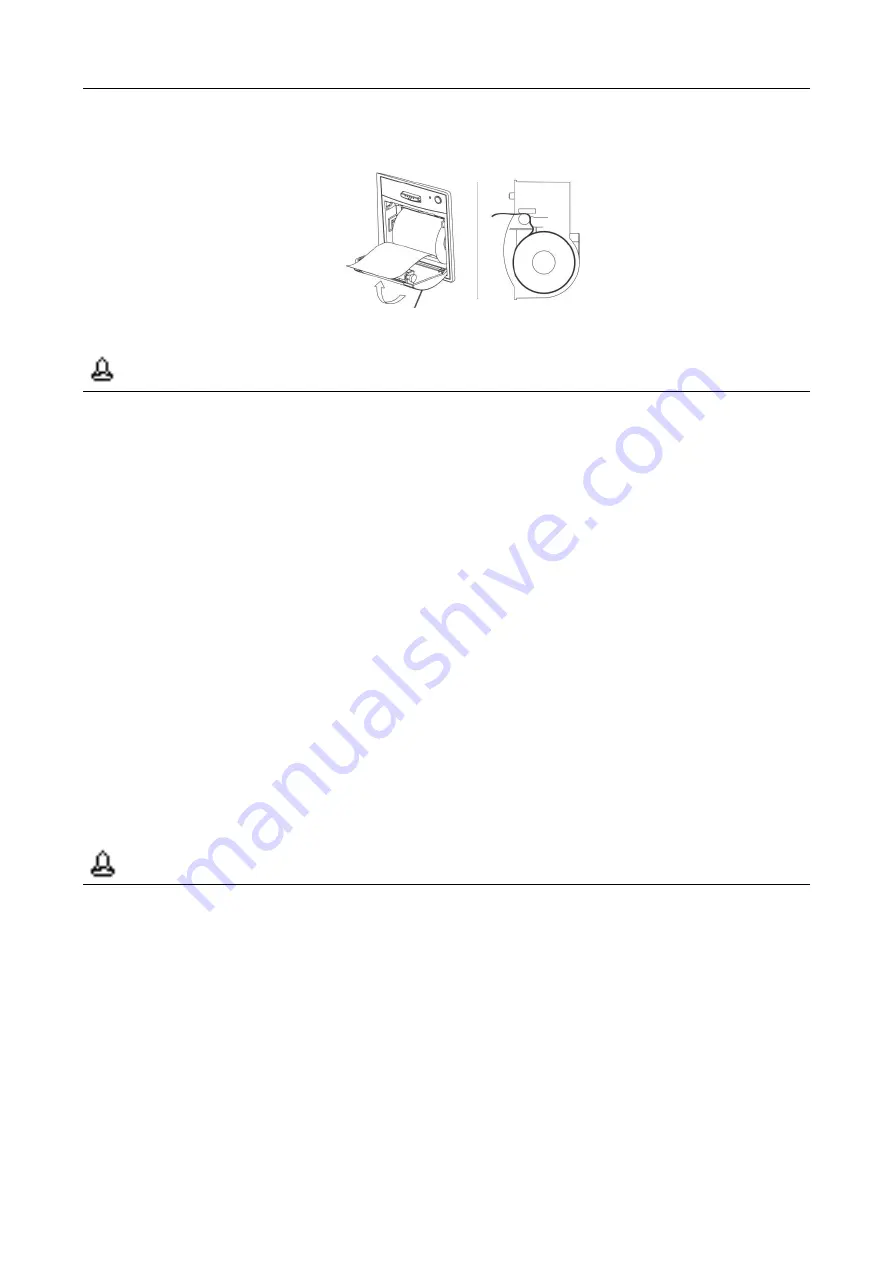
3.
Close the recorder gate.
4.
Check the location of the recording paper, to make sure the recording paper is lined up with the exit.
Figure 10.3 Install Recording Paper Diagram
Attention
Recording paper should be pulled out in accordance with the slot limit of the exit, otherwise
movement may occur in the recording process.
Do use thermo sensitive recording paper that does not meet standards.
In the printing process of the recorder, do not pull the paper, as it could damage the recorder.
Unless you are replacing the recording papers or trouble shooting don
‟t open the recorder gate.
When the sound of the recorder is abnormal or recording paper won
‟t come out, check the recorder
to see if the paper is stuck. If so, open the recorder door, get the recording paper out, eliminate the
stuck part and reinstall recording paper.
10.5 Cleaning of the Thermal Print Head
After a long time using of the recorder, there will be scraps of paper and impurities on the print head, influencing
the recording quality and the life of the print head and roller. So when using, user should clean the recorder
regularly, to make sure the print head is clean.
After turning off, open the cartridge cover of the recording device and get out the recording paper, wipe the
surface of the print head gently with a piece of clean cloth dipped in alcohol. For the material left on the recording
head, you should soak it with alcohol, and then wipe it with a soft cloth. Never scratch the surface of the print
head with a hard object, otherwise the print head will be damaged. Do not put on the cartridge cover back until the
alcohol is completely dry.
Attention
Before cleaning, take necessary measures to prevent damage that static electricity may cause to
the recorder. Such as put on a pair of anti-static-electricity disposable bracelets.
Don
‟t use any objects that may damage the thermal parts, such as abrasive paper.
Don
‟t press hard on the thermal print head.
When using normally, clean the print head at least once a month.
Summary of Contents for iM 12
Page 2: ......
Page 12: ...Content VIII User Manual of Veterinary Monitor The Blank Page ...
Page 14: ...Preface 2 User Manual of Veterinary Monitor The Blank Page ...
Page 22: ...Chapter 1 Operation Safety Information 10 User Manual of Veterinary Monitor The Blank Page ...
Page 44: ...Chapter 3 Basic Operation 32 User Manual of Veterinary Monitor The Blank Page ...
Page 54: ...Chapter 5 User Interface 42 User Manual of Veterinary Monitor The Blank Page ...
Page 134: ...Chapter 8 Freeze and Review 122 User Manual of Veterinary Monitor The Blank Page ...
Page 142: ...Chapter 10 Recording 130 User Manual of Veterinary Monitor The Blank Page ...
Page 154: ...Chapter 14 Maintenance 142 User Manual of Veterinary Monitor The Blank Page ...
Page 180: ...Appendix C Alarm Information 168 User Manual of Veterinary Monitor The Blank Page ...
Page 195: ......


