158
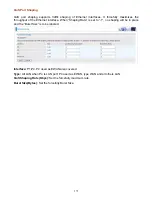
MAC Filtering
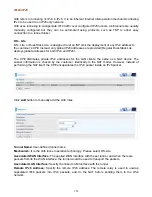
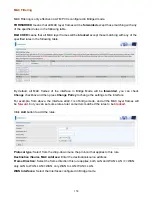
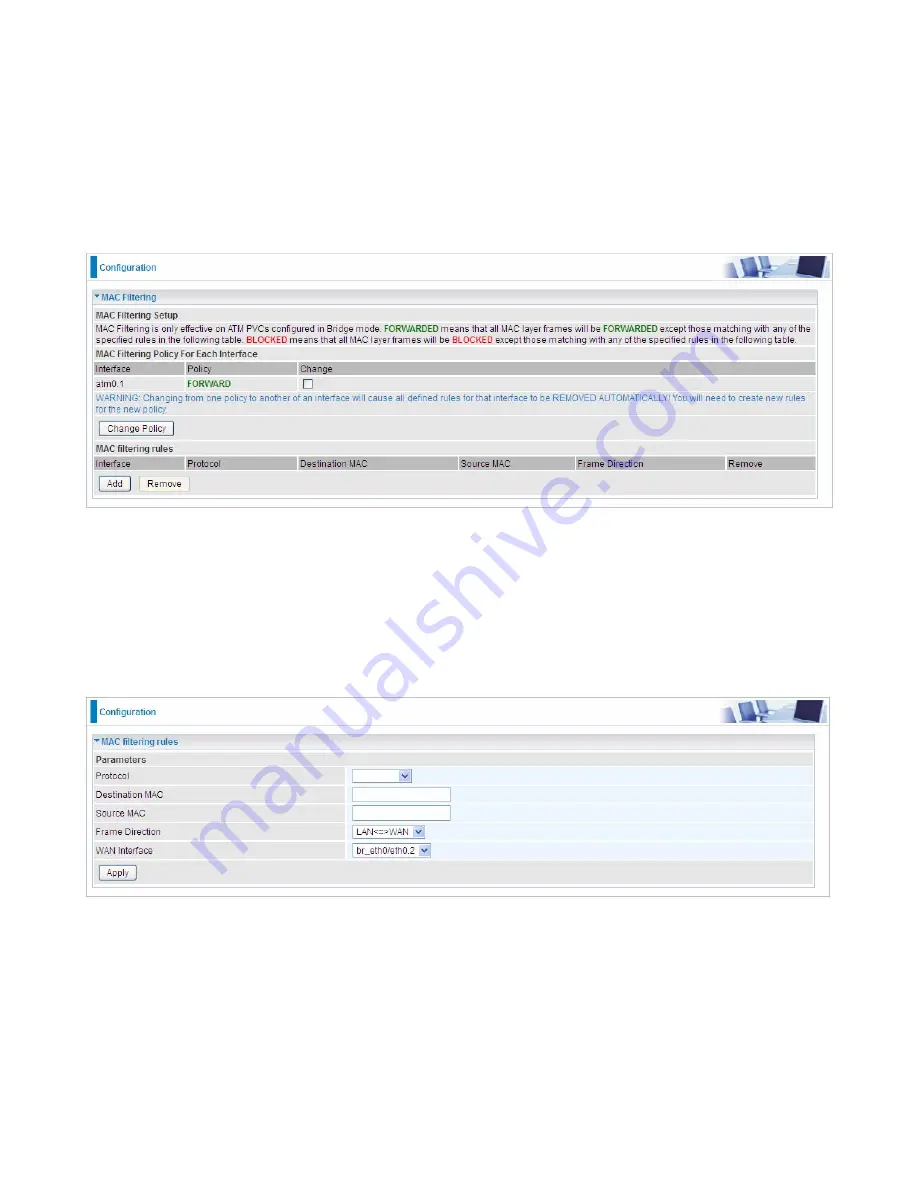
MAC Filtering is only effective on ATM PVCs configured in Bridged mode.
FORWARDED
means that all MAC layer frames will be
forwarded
except those matching with any
of the specified rules in the following table.
BLOCKED
means that all MAC layer frames will be
blocked
except those matching with any of the
specified rules in the following table.
By default, all MAC frames of the interface in Bridge Mode will be
forwarded
, you can check
Change
checkbox and then press
Change Policy
to change the settings to the interface.
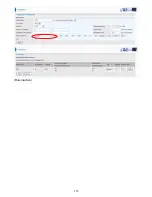
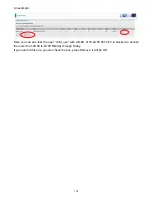
For example, from above, the interface atm0.1 is of bridge mode, and all the MAC layer frames will
be
forward
, but you can set some rules to let some item matched the rules to be
blocked
.
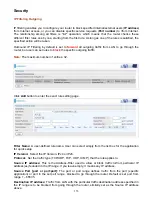
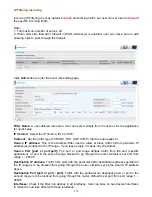
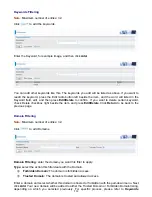
Click
Add
button to add the rules.
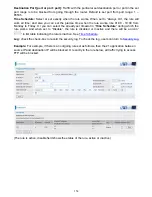
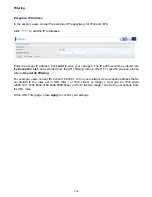
Protocol type:
Select from the drop-down menu the protocol that applies to this rule.
Destination /Source MAC Address:
Enter the destination/source address.
Frame Direction:
Select the frame direction this rule applies, both LAN and WAN: LAN <=>WAN,
only LAN to WAN: LAN=>WAN, only WAN to LAN: WAN=>LAN.
WAN Interfaces:
Select the interfaces configured in Bridge mode.
Summary of Contents for 7800DX
Page 19: ...15 3G LTE Router mode ...
Page 37: ...33 Click link 192 168 1 254 it will lead you to the following page ...
Page 40: ...36 Click 192 168 1 254 it will lead you to the following page ...
Page 43: ...39 Click 192 168 1 254 it will lead you to the following page ...
Page 99: ...95 Configure AP as Enrollee Add Registrar with PIN Method 1 Set AP to Unconfigured Mode ...
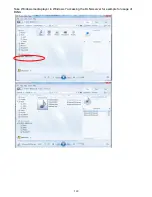
Page 143: ...139 Accessing mechanism of Storage In your computer Click Start Run enter 192 168 1 254 ...
Page 145: ...141 Access the folder public ...
Page 148: ...144 Step 2 Click Add a Printer Step 3 Click Add a network wireless or Bluetooth printer ...
Page 159: ...155 Rule inactive ...
Page 186: ...182 ALG The ALG Controls enable or disable protocols over application layer ...
Page 194: ...190 ...
Page 197: ...193 ...
Page 204: ...200 5 Input the account user name and password and press Create ...
Page 205: ...201 6 Connect to the server ...
Page 206: ...202 7 Successfully connected ...
Page 208: ...204 ...
Page 219: ...215 4 Input Internet address and Destination name for this connection and press Next ...
Page 220: ...216 5 Input the account user name and password and press Create ...
Page 238: ...234 2 ipoe_eth0 with DDNS www hometest1 com using username password test test ...
Page 251: ...247 Click Apply to confirm your settings ...
Page 262: ...258 Example Ping www google com ...
Page 263: ...259 Example trace www google com ...

