136
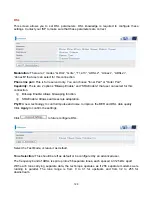
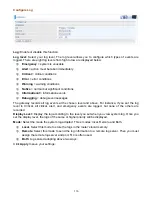
Configure Log
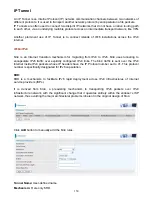
Log:
Enable or disable this function.
Log level:
Select your log level. The log level allows you to configure which types of events are
logged. There are eight log levels from high to low are displayed below:
Emergency
= system is unusable
Alert
= action must be taken immediately
Critical
= critical conditions
Error
= error conditions
Warning
= warning conditions
Notice
= normal but significant conditions
Informational
= information events
Debugging
= debug-level messages
The gateway records all log events at the chosen level and above. For instance, if you set the log
level to Critical, all critical, alert, and emergency events are logged, but none of the others are
recorded
Display Level:
Display the log according to the level you set when you view system log. Once you
set the display level, the logs of the same or higher priority will be displayed.
Mode:
Select the mode the system log adopted. Three modes: local, Remote and Both.
Local
: Select this mode to store the logs in the router’s local memory.
Remote
: Select this mode to send the log information to a remote log server. Then you must
assign the remote log server and port, 514 is often used.
Both
: Logs stored adopting above two ways.
Click
Apply
to save your settings.
Summary of Contents for 7800DX
Page 19: ...15 3G LTE Router mode ...
Page 37: ...33 Click link 192 168 1 254 it will lead you to the following page ...
Page 40: ...36 Click 192 168 1 254 it will lead you to the following page ...
Page 43: ...39 Click 192 168 1 254 it will lead you to the following page ...
Page 99: ...95 Configure AP as Enrollee Add Registrar with PIN Method 1 Set AP to Unconfigured Mode ...
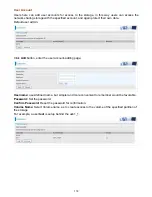
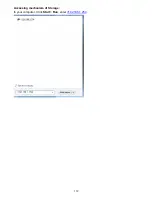
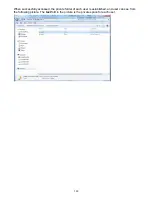
Page 143: ...139 Accessing mechanism of Storage In your computer Click Start Run enter 192 168 1 254 ...
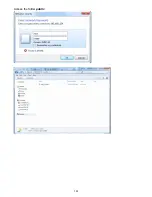
Page 145: ...141 Access the folder public ...
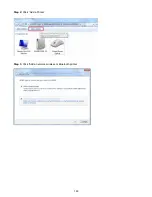
Page 148: ...144 Step 2 Click Add a Printer Step 3 Click Add a network wireless or Bluetooth printer ...
Page 159: ...155 Rule inactive ...
Page 186: ...182 ALG The ALG Controls enable or disable protocols over application layer ...
Page 194: ...190 ...
Page 197: ...193 ...
Page 204: ...200 5 Input the account user name and password and press Create ...
Page 205: ...201 6 Connect to the server ...
Page 206: ...202 7 Successfully connected ...
Page 208: ...204 ...
Page 219: ...215 4 Input Internet address and Destination name for this connection and press Next ...
Page 220: ...216 5 Input the account user name and password and press Create ...
Page 238: ...234 2 ipoe_eth0 with DDNS www hometest1 com using username password test test ...
Page 251: ...247 Click Apply to confirm your settings ...
Page 262: ...258 Example Ping www google com ...
Page 263: ...259 Example trace www google com ...

