Quick Start Guide
www.zyxel.com
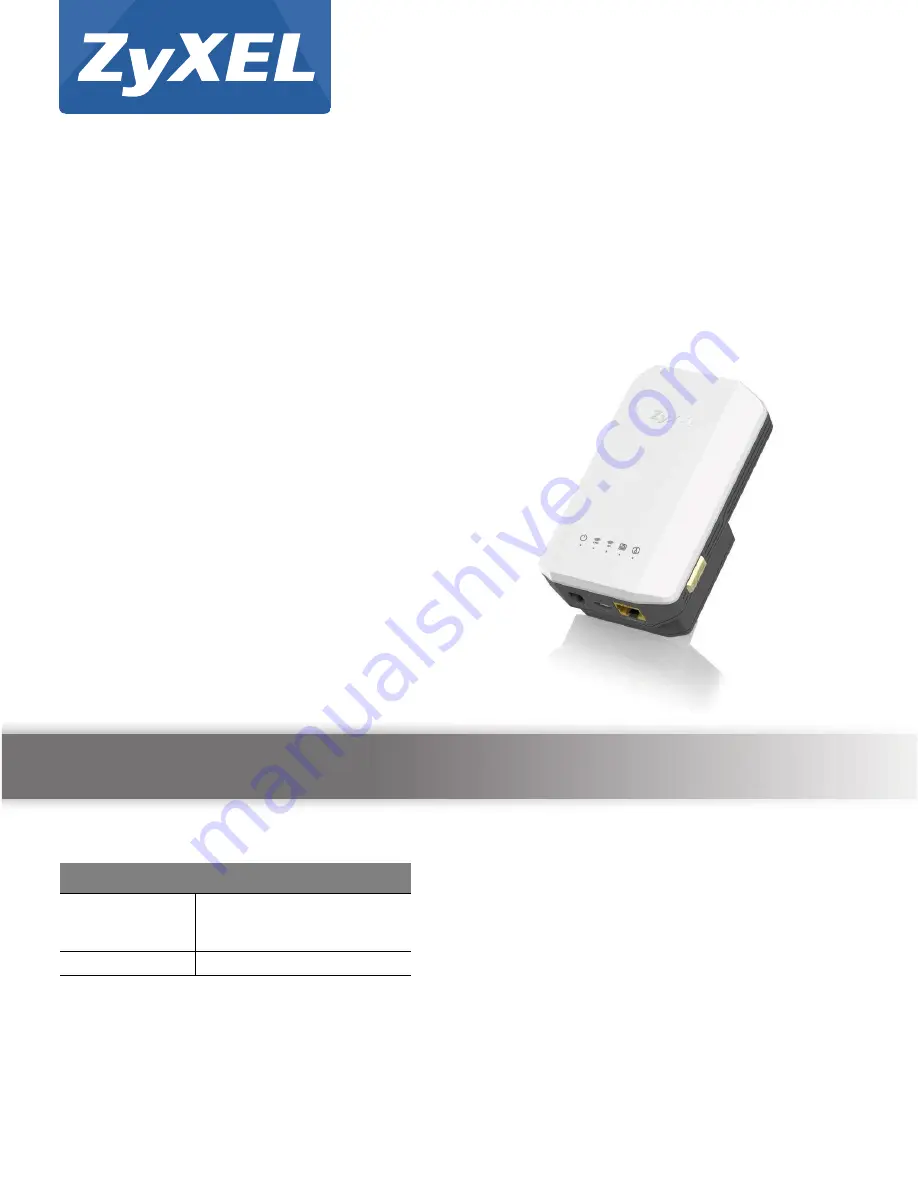
WRE6606
Dual-Band Wireless AC1300 Access Point
Version 1.00 (ABDU.0)
Edition 1, 10/2016
Copyright © 2016 ZyXEL Communications Corporation
User’s Guide
Default Login Details
Web Address
http://zyxelsetup
http://DHCP-assigned IP
http://192.168.1.2
Password
1234


