BenQ DC 5530 User’s Manual
Eng
lish
Taking Photos
15
1.
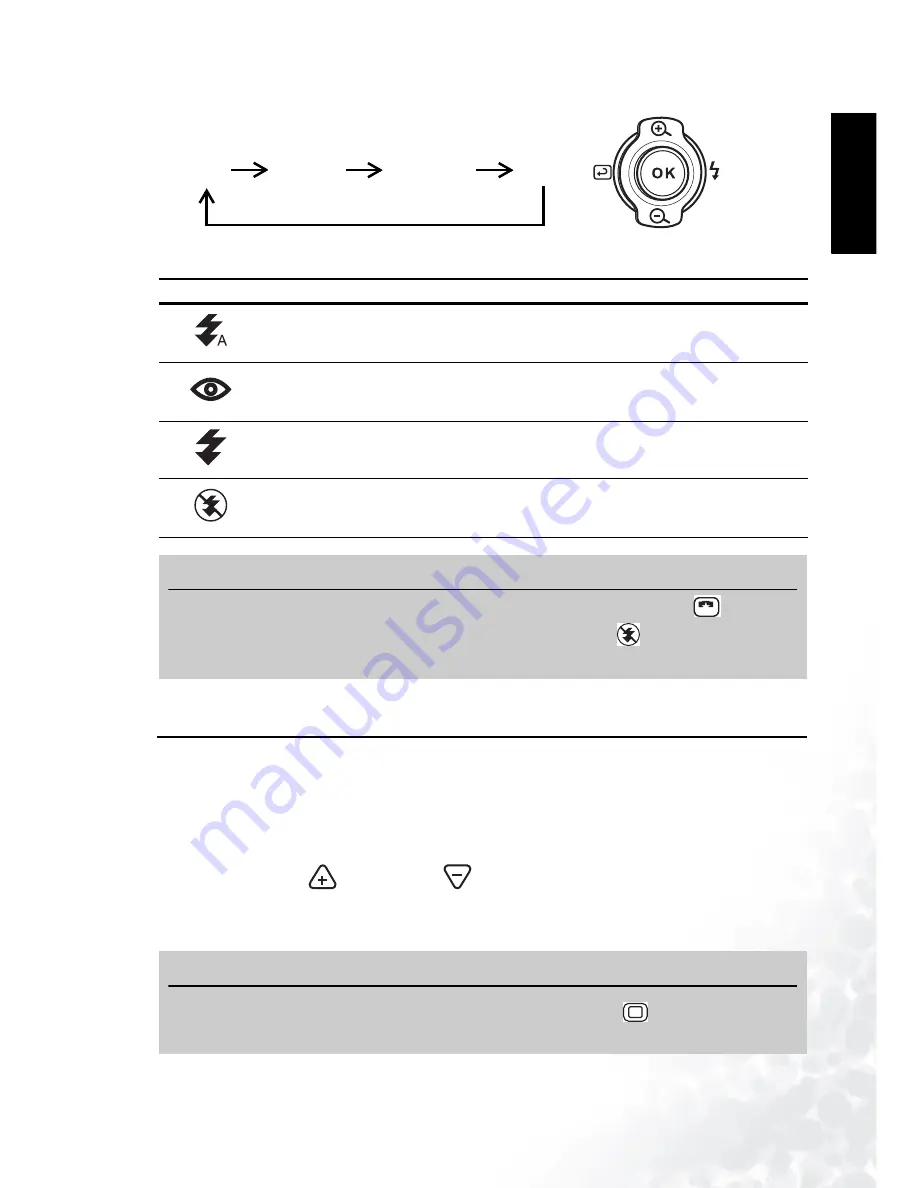
Press the Navigation button to the right to change the
Flash setting.
2.
The LCD screen icon shows the current Flash setting.
3.8
Using the Digital Zoom
The DC E40 is equipped with a 4x digital zoom that enlarges images so that the subject appears
to be closer.
1.
Set the Photo mode (see page 13).
2.
Frame the subject in the LCD screen.
3.
Tap the Zoom In
or Zoom Out
icon on the LCD to adjust the zoom. You can
also use the Navigation button to zoom in or out.
4.
The zoom slider on the LCD moves up or down to indicate the zoom level.
Icon
Flash Setting
Description
Auto
The flash fires automatically according to the ambient light conditions. In
some Scene modes (for example Portrait), Red-Eye Reduction is auto-
matically selected.
Red-Eye
Reduction
The flash fires several times in quick succession before firing the main
flash. This helps to avoid the phenomenon of eye pupils appearing red in
photographs.
Forced On
The flash fires regardless of the light conditions. Select this setting to take
photos of high contrast subjects (back lighting) or dark shadows.
Off
The flash does not fire. Choose this setting when taking photos in areas
where flash photography is prohibited, or when the distance to the sub-
ject is beyond the effective range of the flash.
Note
•
You can change the flash setting only when the Scene mode is set to Auto
.
•
In Continuous Shot mode (see page 16), the flash is set to Off
.
•
Do not use the flash at close distances from young children.
Note
•
The zoom function is disabled when the image size is set to 6M
. See “Image Size” on
page 17.
Press to
the right to
change the
flash
Auto
Red-Eye
Forced On
Off
A
6M
6M


