601–426 /15
F70 Series
46
Image 3–3
Install a lens
1.
Verify that the projector shutter is activated (shutter is activated when the shutter icon on the projector
keypad is red).
2.
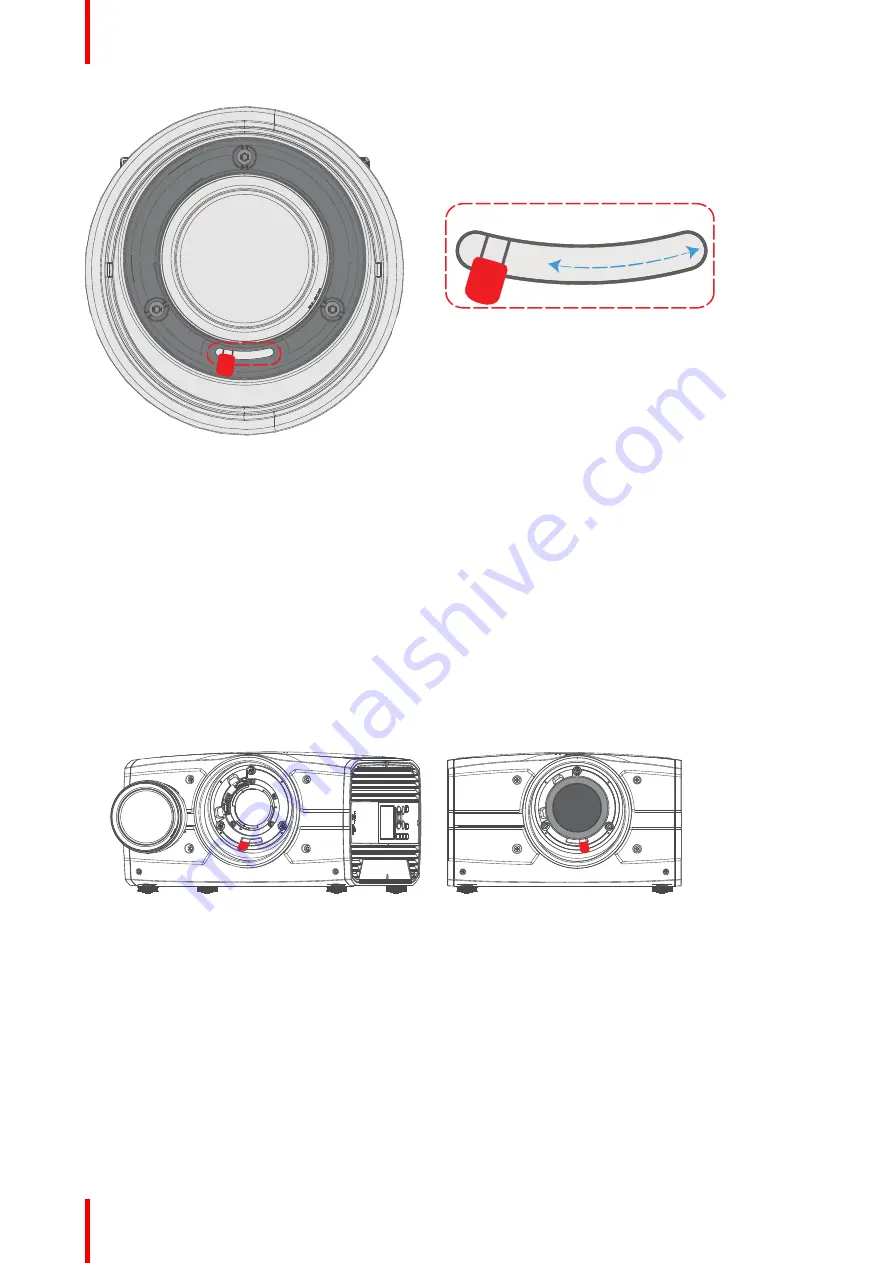
Verify that the lens release lever is in its default position at the far left of the slide, as illustrated.
3.
Remove the protective cap at the lens bayonet end
4.
Align the lens so that the red marking on the bayonet is facing upwards.
5.
Position the lens bayonet into the projector lens mount and support in place with one hand.
6.
Slide the lens lever to the far right.
7.
Verify that the lens is firmly in place before removing your hand from the lens.
Image 3–4
8.
In case the projector is mounted above people, it is mandatory to have a lens safety cable installed. See
“Installing the lens safety cable”, page 48
Remove a lens
1.
Support the lens with one hand.
2.
Use the other hand to slide the lens release lever to the far left position.
3.
Pull the lens straight out of the projector lens mount.
4.
Replace with another lens, or install the projector lens cap.
Summary of Contents for F70 Series
Page 1: ...ENABLING BRIGHT OUTCOMES User Manual F70 Series...
Page 10: ...601 426 15 F70 Series 10...
Page 60: ...601 426 15 F70 Series 60 Lenses Handling and features...
Page 82: ...601 426 15 F70 Series 82 Getting started...
Page 88: ...601 426 15 F70 Series 88 Source menu...
Page 162: ...601 426 15 F70 Series 162 System settings menu...
Page 166: ...601 426 15 F70 Series 166 GUI Status menu...
Page 170: ...601 426 15 F70 Series 170 3D...
Page 171: ...171 601 426 15 F70 Series 13 1 Upgrade procedure 172 Upgrade projector firmware 13...
Page 182: ...601 426 15 F70 Series 182 Technical Specifications...
Page 191: ...191 601 426 15 F70 Series C 1 DMX chart Basic 192 C 2 DMX chart Extended 193 DMX Chart C...
Page 216: ...601 426 15 F70 Series 216 Index...
Page 217: ......


