601–426 /15
F70 Series
118
Image 8–9
How to adjust the image.
1.
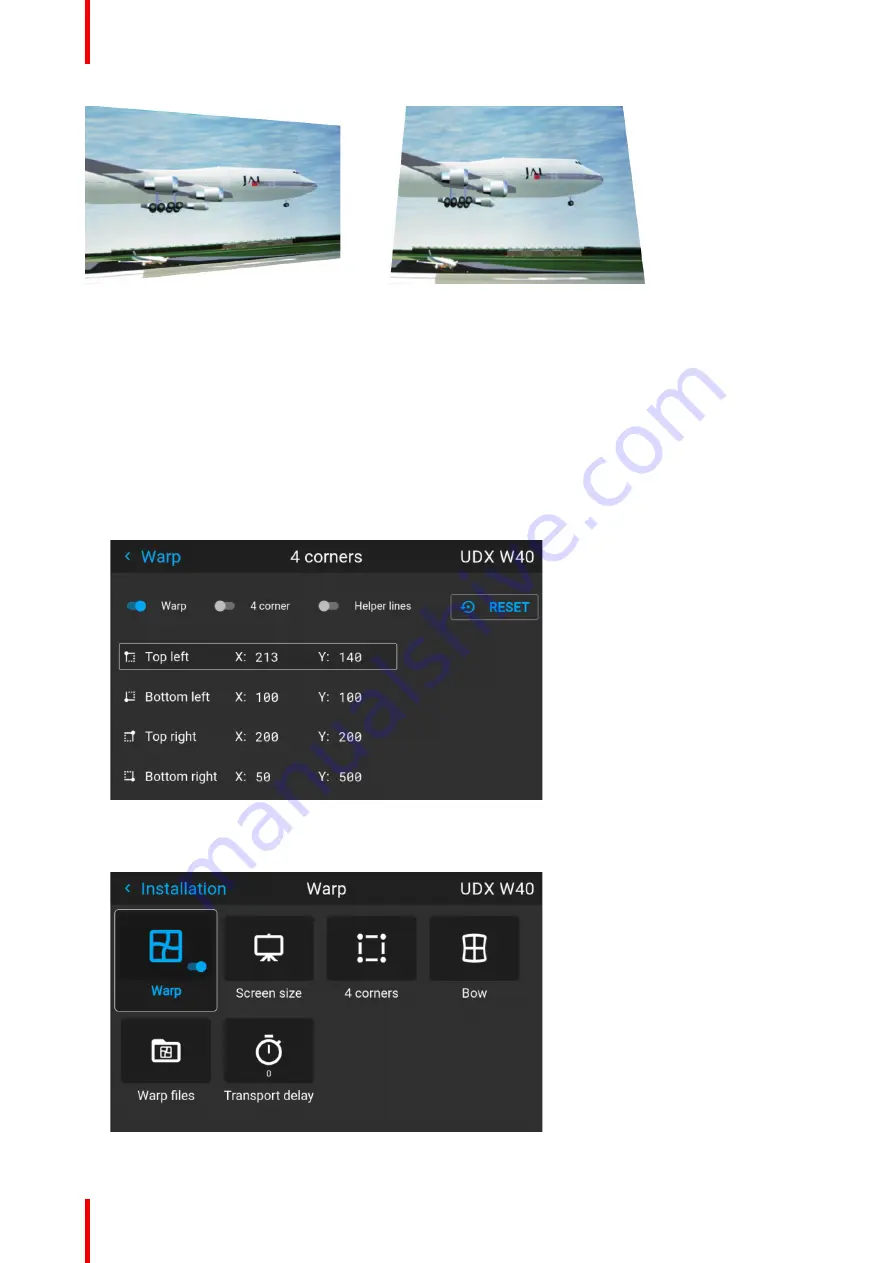
From the warp menu, select the menu
Installation/Warp/4 Corners
.
2.
Select and enter the Helper lines slider. A yellow frame will be visible.
3.
To enable the 4 Corners Warping, Set the Warp slider to the right position. (Select and enter).
4.
Enable the corner that must be warped (Select and enter). If need for warping several corners, select and
adjust the corners one by one.
5.
Adjust the value by the arrow keys. The X value is adjusted by the left/right arrows on the remote control,
and the Y vale is adjusted by the up/down arrow in the remote control. The value represent the movement
of the X and Y coordinates for each corner. When the warping is complete, exit the menu by using the
“Back” button.
Image 8–10
6.
If the picture still has a trapezoid shape, warp is not enabled. Select the
Installation / Warp
menu, and
press enter. The slider moves to the right, and the warp status changes to “On”.
Image 8–11
Summary of Contents for F70 Series
Page 1: ...ENABLING BRIGHT OUTCOMES User Manual F70 Series...
Page 10: ...601 426 15 F70 Series 10...
Page 60: ...601 426 15 F70 Series 60 Lenses Handling and features...
Page 82: ...601 426 15 F70 Series 82 Getting started...
Page 88: ...601 426 15 F70 Series 88 Source menu...
Page 162: ...601 426 15 F70 Series 162 System settings menu...
Page 166: ...601 426 15 F70 Series 166 GUI Status menu...
Page 170: ...601 426 15 F70 Series 170 3D...
Page 171: ...171 601 426 15 F70 Series 13 1 Upgrade procedure 172 Upgrade projector firmware 13...
Page 182: ...601 426 15 F70 Series 182 Technical Specifications...
Page 191: ...191 601 426 15 F70 Series C 1 DMX chart Basic 192 C 2 DMX chart Extended 193 DMX Chart C...
Page 216: ...601 426 15 F70 Series 216 Index...
Page 217: ......


