145
601–426 /15
F70 Series
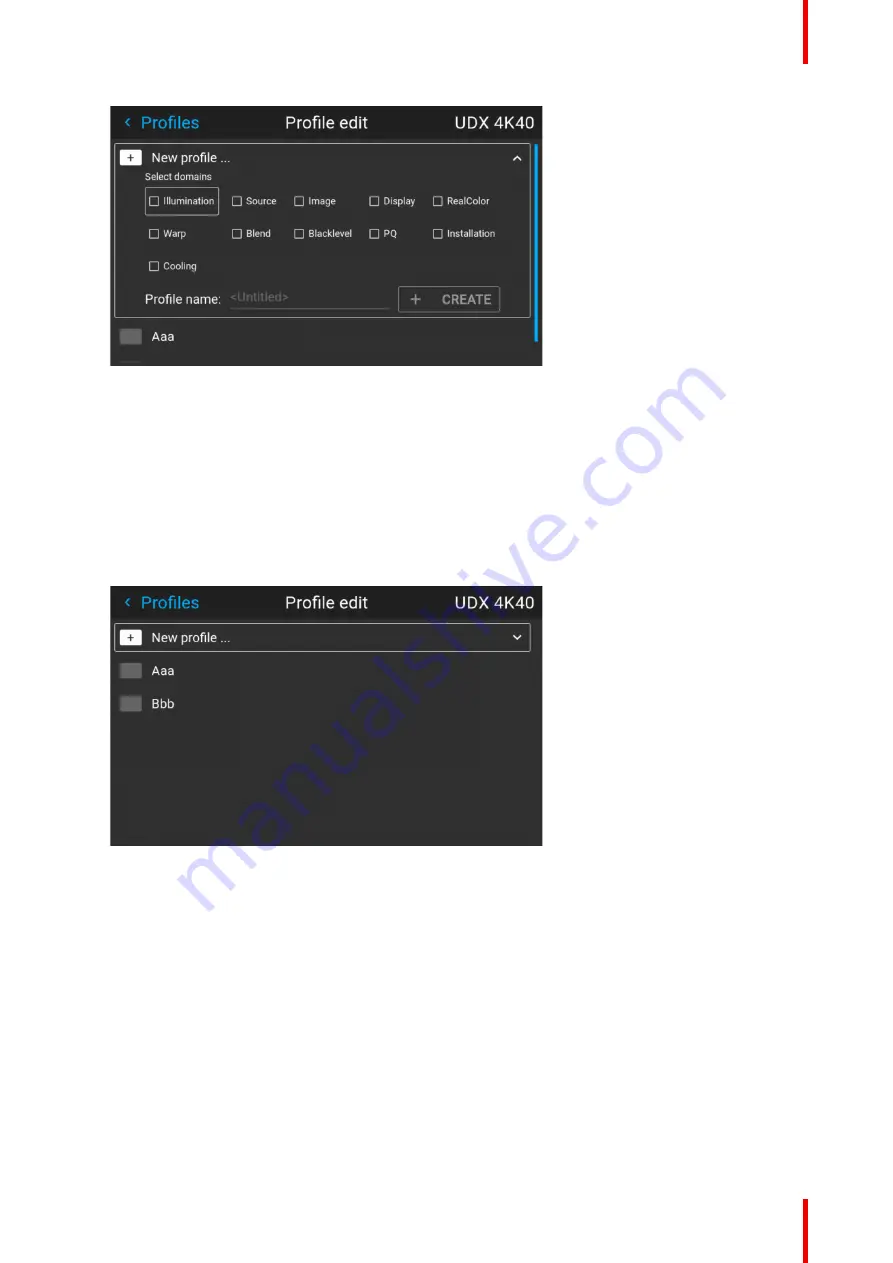
Image 9–6 Select domains
8.
Select “Profile name”. A keyboard will show up, and enter a proper name for the profile.
9.
Select “create”and confirm by the OK button.
The new profile is now created and saved.
10.
Repeat step 1 to 6 for creating of more profiles.
Recall a profile.
1.
Enter the
Menu/ Profile
The stored profiles will be visible in the menu. Select the actual profile.
Image 9–7
or
Select the numeric shortcut from the remote control.
9.4 Deleting a projector profile
How to delete a profile
1.
In the main menu, select
Profiles
→
Edit
.
Summary of Contents for F70 Series
Page 1: ...ENABLING BRIGHT OUTCOMES User Manual F70 Series...
Page 10: ...601 426 15 F70 Series 10...
Page 60: ...601 426 15 F70 Series 60 Lenses Handling and features...
Page 82: ...601 426 15 F70 Series 82 Getting started...
Page 88: ...601 426 15 F70 Series 88 Source menu...
Page 162: ...601 426 15 F70 Series 162 System settings menu...
Page 166: ...601 426 15 F70 Series 166 GUI Status menu...
Page 170: ...601 426 15 F70 Series 170 3D...
Page 171: ...171 601 426 15 F70 Series 13 1 Upgrade procedure 172 Upgrade projector firmware 13...
Page 182: ...601 426 15 F70 Series 182 Technical Specifications...
Page 191: ...191 601 426 15 F70 Series C 1 DMX chart Basic 192 C 2 DMX chart Extended 193 DMX Chart C...
Page 216: ...601 426 15 F70 Series 216 Index...
Page 217: ......


