


105
R5900120 /01
CX-50 Gen2
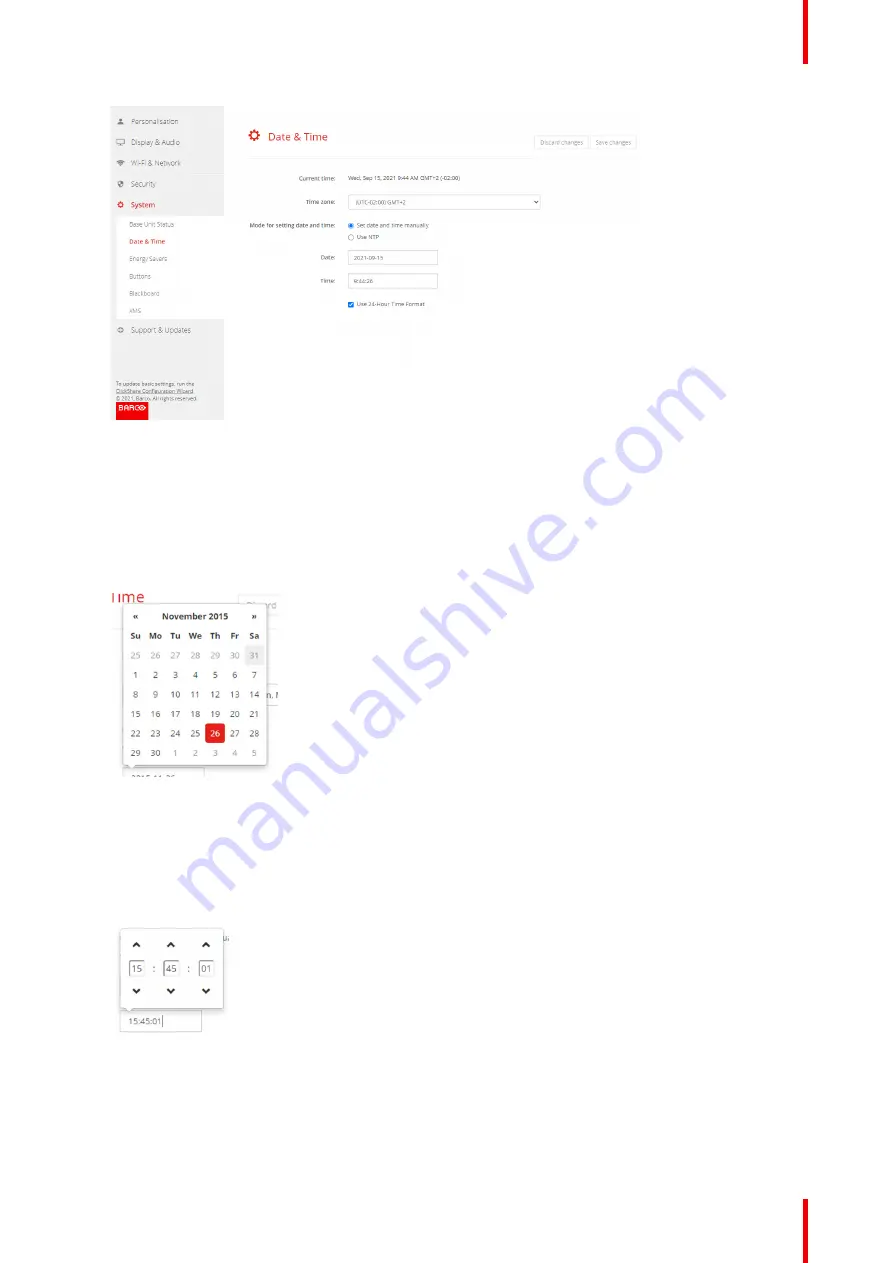
Image 6–44 Manual time & date update
The current time is indicated next to
Current time
.
3.
Select your time zone. Click on the drop down box next to
Time zone
and select the corresponding time
zone.
4.
Check the radio button in front of
Set time and date manually
.
5.
To change the date, click in the input field next to
Date
.
A calendar window opens. The current date is indicated with a red background.
Image 6–45 Date selection
6.
To change the month, click on the left or right arrows next the month name until the desired month and
year are obtained.
Click on a number in the number field to setup the day.
7.
To change the time, click in the time field next to
Time
.
A window with 3 scroll counters open.
Image 6–46 Time setup
8.
Click on the up down arrow of each scroll counter until the correct hour, minutes and seconds are
obtained.
9.
Select the time format.
Checked: use of 24 hour time format
Summary of Contents for CX-50 Gen2
Page 1: ...ENABLING BRIGHT OUTCOMES Installation manual CX 50 Gen2...
Page 2: ......
Page 10: ......
Page 14: ...R5900120 01 CX 50 Gen2 14...
Page 15: ...15 R5900120 01 CX 50 Gen2 Introduction 1...
Page 28: ...R5900120 01 CX 50 Gen2 28 Getting started...
Page 58: ...R5900120 01 CX 50 Gen2 58 CX 50 Gen2 Installation...
Page 119: ...119 R5900120 01 CX 50 Gen2 Firmware updates 7...
Page 121: ...121 R5900120 01 CX 50 Gen2 Troubleshooting 8...
Page 143: ......


