8. Web Interface
By default, the password is set to ’admin’.
The web interface opens.
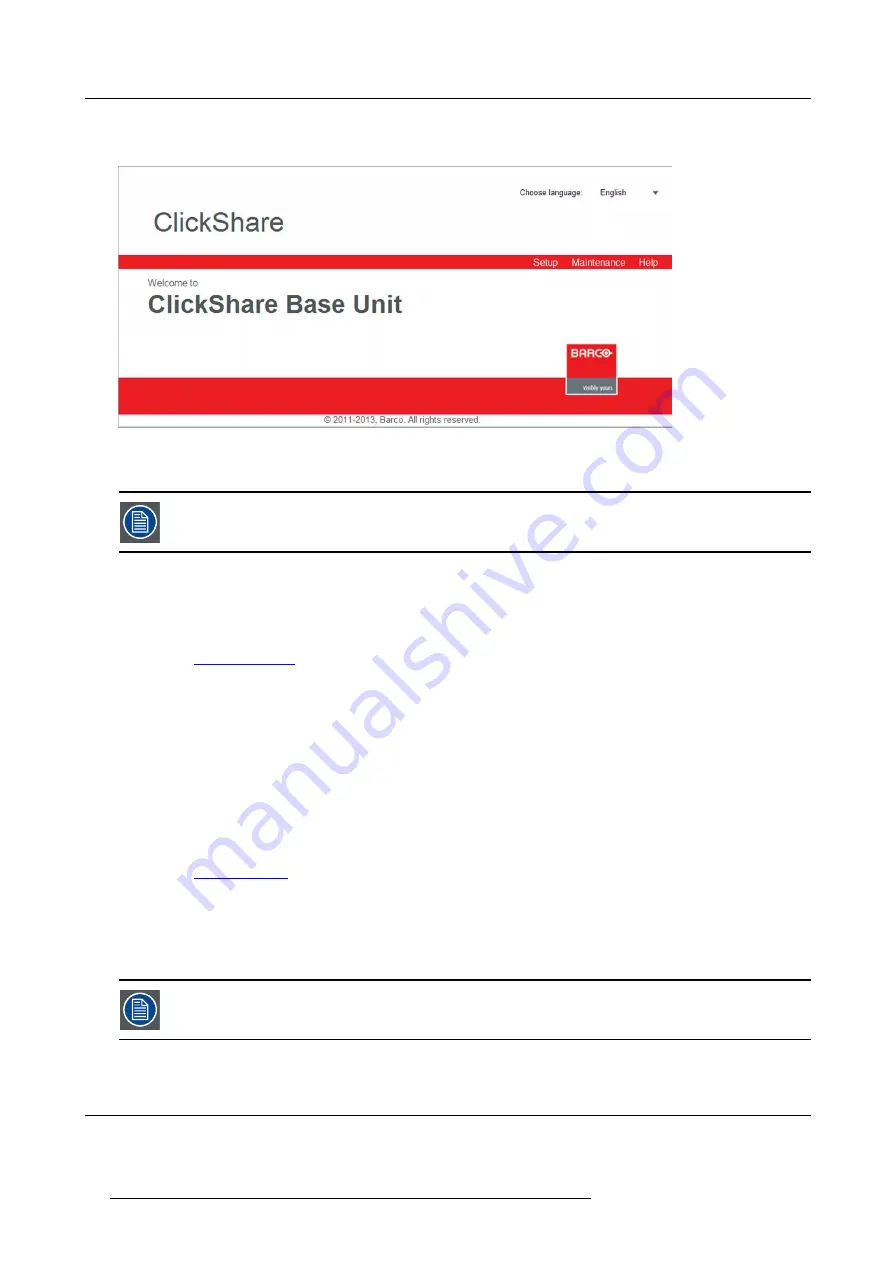
Image 8-1
Web interface, startup screen
The language of the web interface can be changed. It contains also three tabs:
Setup
,
Maintenance
and
Help
.
If you cannot
fi
nd the IP address (e.g. there is no screen available) you should connect to the Base Unit
directly with your laptop via an Ethernet crossover cable and access the web interface using the
fi
xed IP
address 192.168.1.23. Make sure your own LAN adapter is set in the 192.168.1. range.
To access the Web Interface via a direct connection.
1. Connect the Base Unit to your laptop using an Ethernet cable. On some older hardware a crossover cable might be needed.
2. On your laptop, open a browser.
Note:
Supported browsers are Internet Explorer, Firefox and Safari.
3. Browse to
http://192.168.1.23
.
A login screen appears.
4. Enter the user name ’admin’ and the password and click
OK
.
By default the password is set to ’admin’.
The web interface opens.
To access the Web Interface via the Base Unit wireless network
1. On your laptop, connect to the Base Unit wireless network.
The default SSID and password to connect to the Base Unit are respectively ’ClickShare-<serial base number>’ and ’clickshare’.
2. On your laptop, open a browser.
Note:
Supported browsers are Internet Explorer, Firefox and Safari.
3. Browse to
http://192.168.2.1
.
A login screen appears.
4. Enter the user name ’admin’ and the password and click
OK
.
By default the password is set to ’admin’.
The web interface opens.
Older laptops do not support the 5 GHz Frequency Band. If your Base Unit is set to that frequency range,
those devices will not be able to connect to the Base Unit via the wireless network.
8.2
Language setup Web interface
About languages
The ClickShare web interface can be displayed in different languages.
52
R5900006 CLICKSHARE 04/12/2013
Summary of Contents for ClickShare
Page 1: ...ClickShare Service Guide R5900006 03 04 12 2013...
Page 12: ......
Page 24: ...3 ClickShare Service activities Image 3 8 12 R5900006 CLICKSHARE 04 12 2013...
Page 60: ...6 Connecting 48 R5900006 CLICKSHARE 04 12 2013...
Page 96: ...8 Web Interface 84 R5900006 CLICKSHARE 04 12 2013...
Page 106: ...9 Software updating 94 R5900006 CLICKSHARE 04 12 2013...
Page 108: ...10 Maintenance of the product 96 R5900006 CLICKSHARE 04 12 2013...
Page 118: ...12 Frequently Asked Questions 106 R5900006 CLICKSHARE 04 12 2013...
Page 120: ...13 Order info 108 R5900006 CLICKSHARE 04 12 2013...


