8
8
8
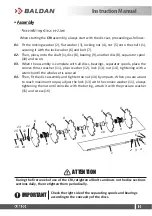
When starting the
CRI
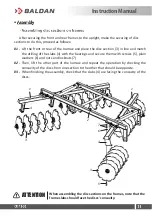
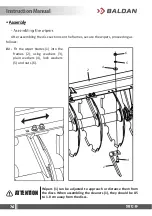
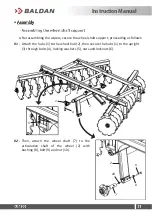
assembly, always start with the disc set, proceeding as follows:
01 -
Fit the locking washer (2), flat washer (3), locking nut (4), nut (5) onto the shaft (1),
securing it with the lock washer (6) and bolt (7).
02 -
Then, place, onto the shaft (1), disc (8), bearing (9), another disc (8), separator spool
(10) and so on.
03 -
When the assembly is complete with all discs, bearings, separator spools, place the
convex thrust washer (11), plain washer (12), lock (13), nut (14), tightening with a
wrench until the whole set is secured.
04 -
Then, fit the disc assembly and tighten the nut (14) by impacts. When you are about
to reach maximum torque, adjust the lock (13) with the convex washer (11), always
tightening the nut until coincide with the boring, attach it with the pressure washer
(15) and screw (16)
8
8
8
7
12
11
6
16 14
2
9
1
10
10
10
9
13
15
5
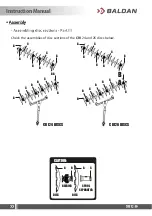
Check the right side of the separating spools and bearings
according to the concavity of the discs.
IMPORTANT
During the first week of use of the CRI, retighten all bolts and nuts on the disc
sections
sections daily, then retighten them periodically.
ATTENTION
3 4
Instruction Manual
Summary of Contents for CRI
Page 1: ...Drag Type Offset Disc Harrow Remote Control CRI 12 30...
Page 2: ......
Page 59: ...InstructionManual...
Page 62: ......
Page 64: ......
Page 67: ......


