DHN Series Network Video Recorder User Manual
22
3.
Enter the admin password. By default, the password is 12345.
4.
To change the admin password, check the
New Admin Password
checkbox. Enter the new password and
confirm the password in the given fields.
5.
Click the
Next
button to enter the date and time settings window.
6.
After the time settings, click
Next
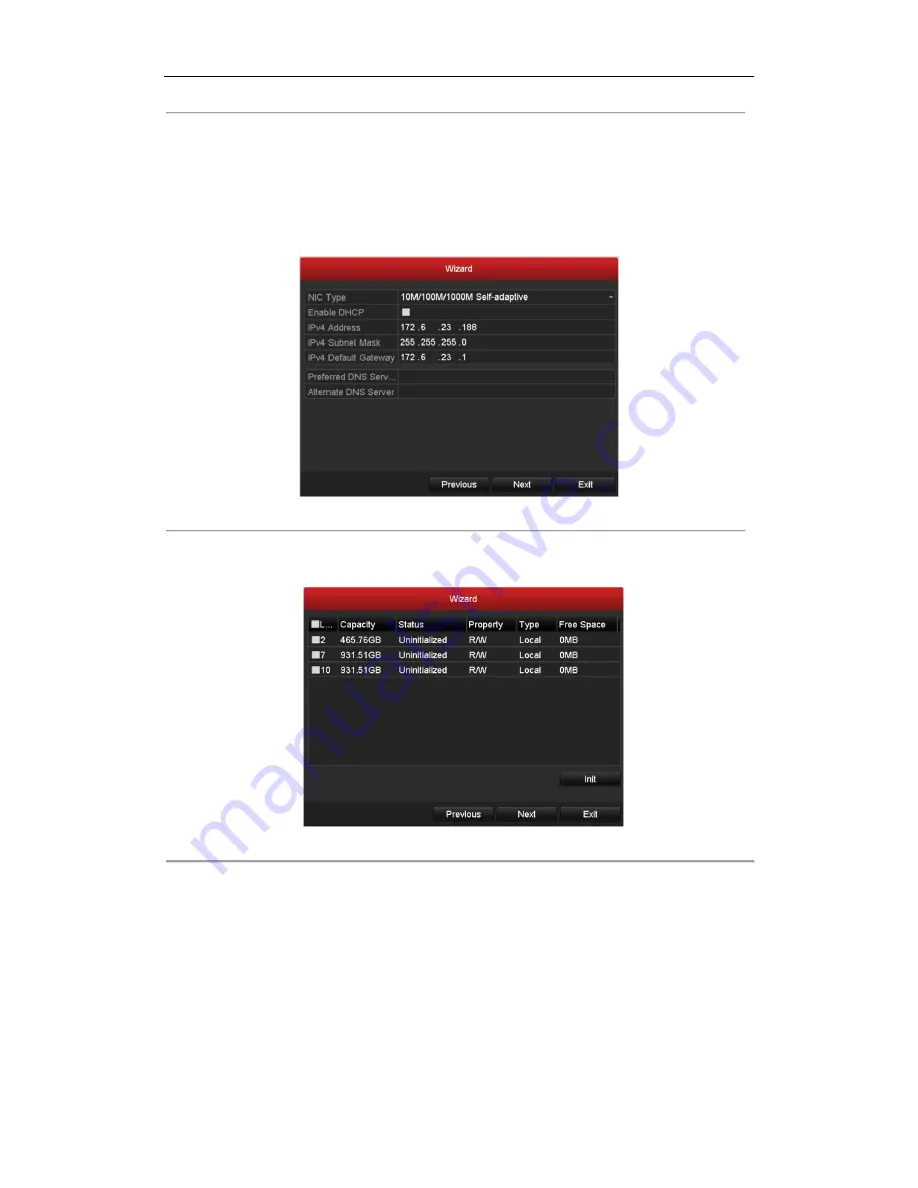
button which takes you back to the Network Setup Wizard window, as
shown in Figure 2. 44.
Figure 2. 4
Network Configuration
7.
Click
Next
button after you configured the network parameters, which takes you to the
HDD Management
window, shown in Figure 2. 55.
Figure 2. 5
HDD Management
8.
To initialize the HDD, click the
Init
button. Initialization removes all the data saved in the HDD.
9.
Click
Next
button. You enter the
Adding IP Camera
interface.
10.
Click
Search
to find online IP Camera. Select the IP camera to be added, and click the
Add
button.
Summary of Contents for DHN Series
Page 1: ...DHN Series Network Video Recorder User Manual REV 20140423...
Page 99: ...DHN Series Network Video Recorder User Manual 98 Figure 7 35 Synchronizing...
Page 146: ...DHN Series Network Video Recorder User Manual 145 Figure 10 26 View HDD Status 2...
Page 155: ...DHN Series Network Video Recorder User Manual 154 Figure 12 6 HDD Information Interface...


