EFD1000 E5 Dual Electronic Flight Instrument (EFI) Install Manual
DOCUMENT # 900-00041-001
PAGE 60-226
REVISION D
© Copyright 2019 Aspen Avionics Inc.
6.8.6
Quick Connector Installation
1)
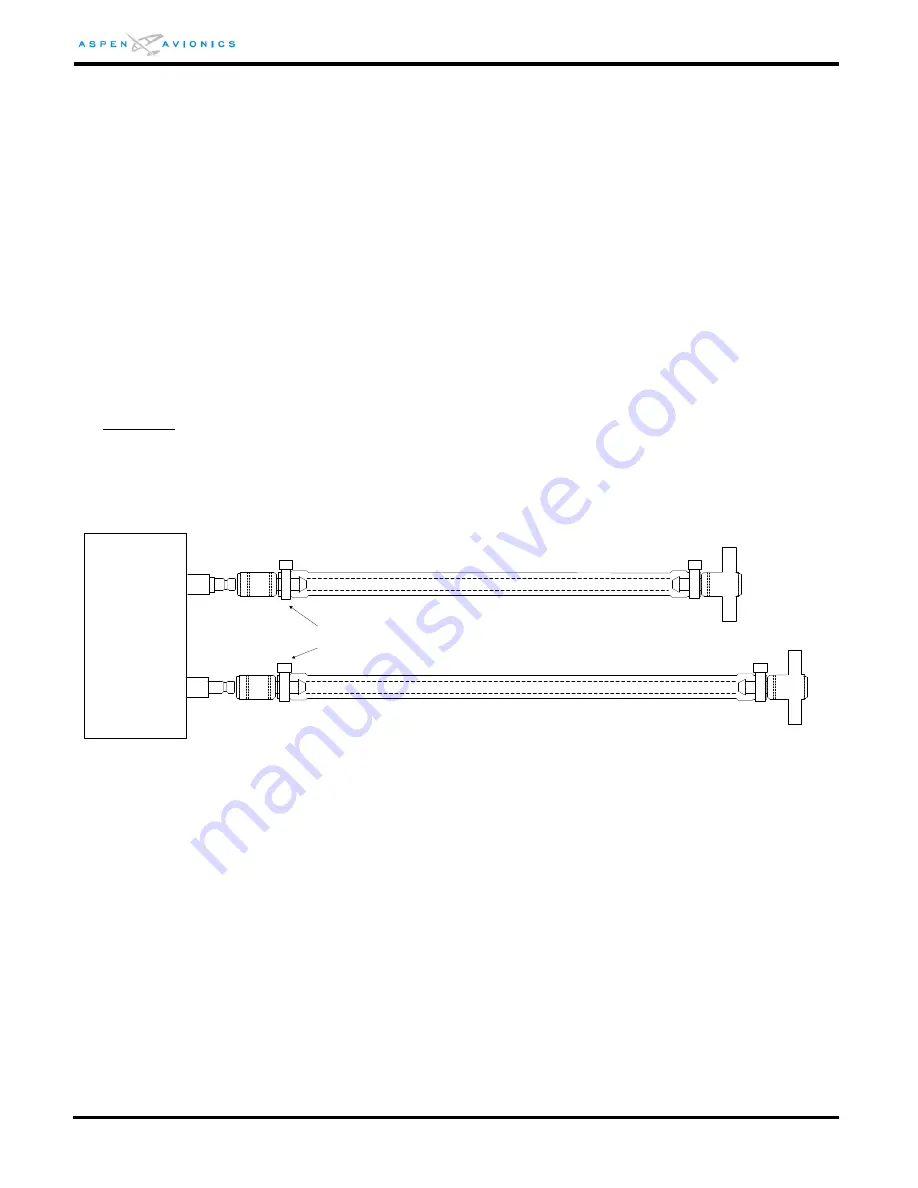
Insert “T” fitting into existing aircraft Pitot line and secure with the supplied hose clamp
(see Figure 6-10).
2)
Connect a length of pitot line tubing between the “T” fitting and the “P” quick connector.
Verify the length of tubing can be installed with no drip loop and that it can be secured
away from flight controls. Secure each end with the supplied hose clamps.
3)
Insert “T” fitting into existing aircraft Static line and secure with the supplied hose clamp
(see Figure 6-10).
4)
Connect a length of static line tubing between the “T” fitting and the “S” quick connector.
Verify the length of tubing can be installed with no drip loop and that it can be secured
away from flight controls. Secure each end with the supplied hose clamps.
5)
Secure pitot and static lines as necessary to prevent interference with other aircraft
structures and components and to prevent them from kinking when the EFD is slid in to
place.
CAUTION: Secure pitot and static lines so that they will not interfere with flight controls and are not
at risk of mechanical damage. The lines can soften when the EFD warms and should be
secured in a way that prevents the line from kinking.
Figure 6-10: Pitot & Static Line Connections
6.8.7
Leak Check Requirements
A pitot static leak check is required after the installation of the quick connectors and the
EFD1000 E5 is installed. The quick connectors are designed such that they seal when
disconnected.
STATIC
PITOT
STATIC QUICK
CONNECTOR
P/N 275-00001-001
PITOT QUICK
CONNECTOR
P/N 275-00001-002
(KEYED
– Yellow Band)
EFD1000
3/16
” ID TUBING
PITOT
STATIC
“T” FITTING SPLICE INTO PITOT LINE
“T” FITTING SPLICE INTO STATIC LINE
HOSE CLAMP
3/16
” ID TUBING


