3-100
GZ342
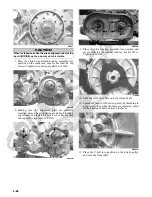
5. Tighten the 6 mm cap screws to 8 ft-lb and the 8 mm
cap screws to 20 ft-lb using the pattern shown and
turning the shafts frequently to ensure there is no
binding.
NOTE: Rotate the shafts back and forth to ensure
no binding or sticking occurs.
GZ457A
NOTE: Cap screw number eight (8) is installed from
the right side.
NOTE: If the secondary drive/driven assemblies
have been disassembled, refer to Servicing Center
Crankcase Components sub-section for proper gear
tooth contact and backlash.
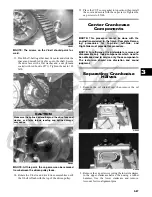
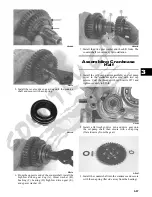
6. Install the locating ring in the crankcase assembly;
then install the secondary driven shaft assembly and
secondary drive assembly making sure the locating
ring and bearing engage correctly.
GZ269A
GZ448A
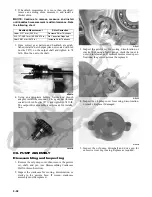
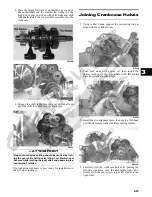
7. Make sure the locating pins on the front and rear
bearings are correctly seated in the crankcase.
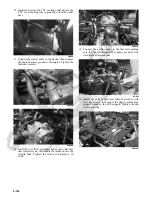
8. Install two alignment pins into the upper crankcase
assembly; then apply a thin bead of silicone sealant
to the lower crankcase cover.
GZ452A
GZ451
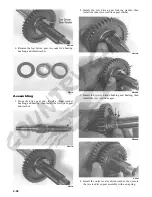
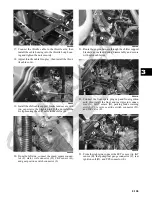
9. Carefully place the lower crankcase cover onto the
joined crankcase halves; then secure with the cap
screws. Tighten the 6 mm cap screws to 8 ft-lb and
the 8 mm cap screws to 20 ft-lb.
Summary of Contents for 2013 Prowler XT
Page 1: ...Prowler XT XTX XTZ ...
Page 3: ......
Page 5: ......
Page 149: ...4 16 NOTES ...
Page 211: ...7 8 NOTES ...
Page 232: ...8 21 8 NOTES ...
Page 233: ... Printed in U S A Trademarks of Arctic Cat Inc Thief River Falls MN 56701 p n 2259 530 ...

