6-26
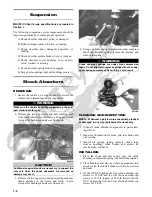
PR713A
PR715
7. Using an appropriate seal removal tool, carefully
remove the seals from the brake caliper housing; then
remove four O-rings from the brake caliper housing
noting the location of the different sized O-rings. Dis-
card all seals, O-rings, and crush washers.
CLEANING AND INSPECTING
1. Clean all caliper components (except the brake pads)
with DOT 4 brake fluid. Do not wipe dry.
2. Inspect the brake pads for damage and excessive
wear.
NOTE: For measuring brake pads, see Section 2.
3. Inspect the brake caliper housings for scoring in the
piston bores, chipped seal ring grooves, or signs of
corrosion or discoloration.
4. Inspect the piston surface for scoring, discoloration,
or evidence of binding or galling.
5. Inspect the caliper holder for wear or bending.
ASSEMBLING/INSTALLING
1. Install new seals into the brake caliper housing and
apply a liberal amount of DOT 4 brake fluid to the
cylinder bore of the housing, seals, and brake piston.
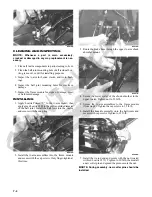
PR715
PR717A
2. Press the piston into the caliper housing using hand
pressure only. Completely seat the piston; then wipe
off any excessive brake fluid.
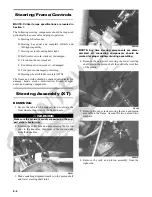
PR711A
PR712
3. Apply high-temperature silicone grease (supplied
with the O-ring kit) to the inside of the caliper holder
bores and O-rings; then install the four O-rings into
the caliper.
! WARNING
Make sure to hold the towel firmly in place or the piston
could be ejected from the housing causing injury.
CAUTION
Make sure the seals are properly in place and did not
twist or roll during installation.
Summary of Contents for 2013 Prowler XT
Page 1: ...Prowler XT XTX XTZ ...
Page 3: ......
Page 5: ......
Page 149: ...4 16 NOTES ...
Page 211: ...7 8 NOTES ...
Page 232: ...8 21 8 NOTES ...
Page 233: ... Printed in U S A Trademarks of Arctic Cat Inc Thief River Falls MN 56701 p n 2259 530 ...


