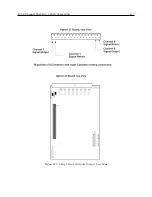
B.10 Four Additional Outputs and Dry Contacts; +25/50 Vdc
151
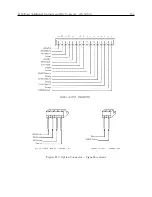
Pin
Function
Setup Jumpers: Default Settings
1 (Rightmost)
CMOS Output 1
JMP4: Signal Select Default = 1 PPH
2
Ground
–
3
CMOS Output 2
JMP3: Signal Select Default = 1 PPM
4
Ground
–
5
CMOS Output 3
JMP2: Signal Select Default = Prog. Pulse
6
Ground
–
7
CMOS Output 4
JMP1: Signal Select Default = IRIG-B
8
Ground
–
9
Ground
–
10
SSR Output 1
JMP5: Signal Select Default = 1 PPM
11
SSR Output 1
JMP7: Standard/50ms Default = 50 ms
12
+25/50 Vdc 1
JMP10: +25/50 Vdc Default = 50 Vdc
13
Ground
–
14
SSR Output 2
JMP6: Signal Select Default = 1 PPM
15
SSR Output 2
JMP8: Standard/50 ms Default = 50ms
16 (Leftmost)
+25/50 Vdc 2
JMP11: +25/50 Vdc Default = 50 Vdc
Table B.5: Output Connectors and Setup Jumpers
B.10.3
Firmware Configuration
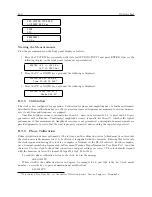
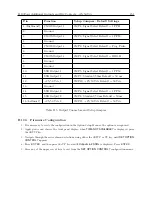
1. It is necessary to verify the configuration in the Option Setup Menu so the option is recognized.
2. Apply power and observe the front panel display, when
TIME NOT AVAILABLE?
is displayed, press
the SETUP key.
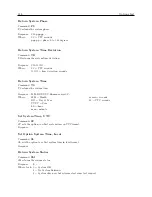
3. Navigate through the series of menu selections, using either the SETUP or UP key, until
SET OPTION
CONTROL?
appears.
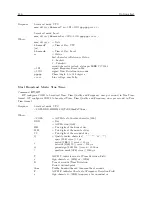
4. Press ENTER, and then press the UP key until
4 Outputs & 2 SSRs
is displayed. Press ENTER.
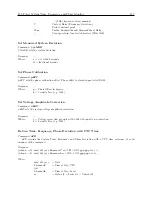
5. Press any of the upper row of keys to exit from the
SET OPTION CONTROL?
configuration menus.
Summary of Contents for 1201B
Page 4: ...iv ...
Page 153: ...B 7 Four Fiber Optic Outputs 135 Figure B 4 Jumper Locations ...

