


A54-3002-027
• Rev B
39
APCON, Inc.
Bypass Switch TAP/Aggregator User Manual
Chapter 4 Install and configure the unit
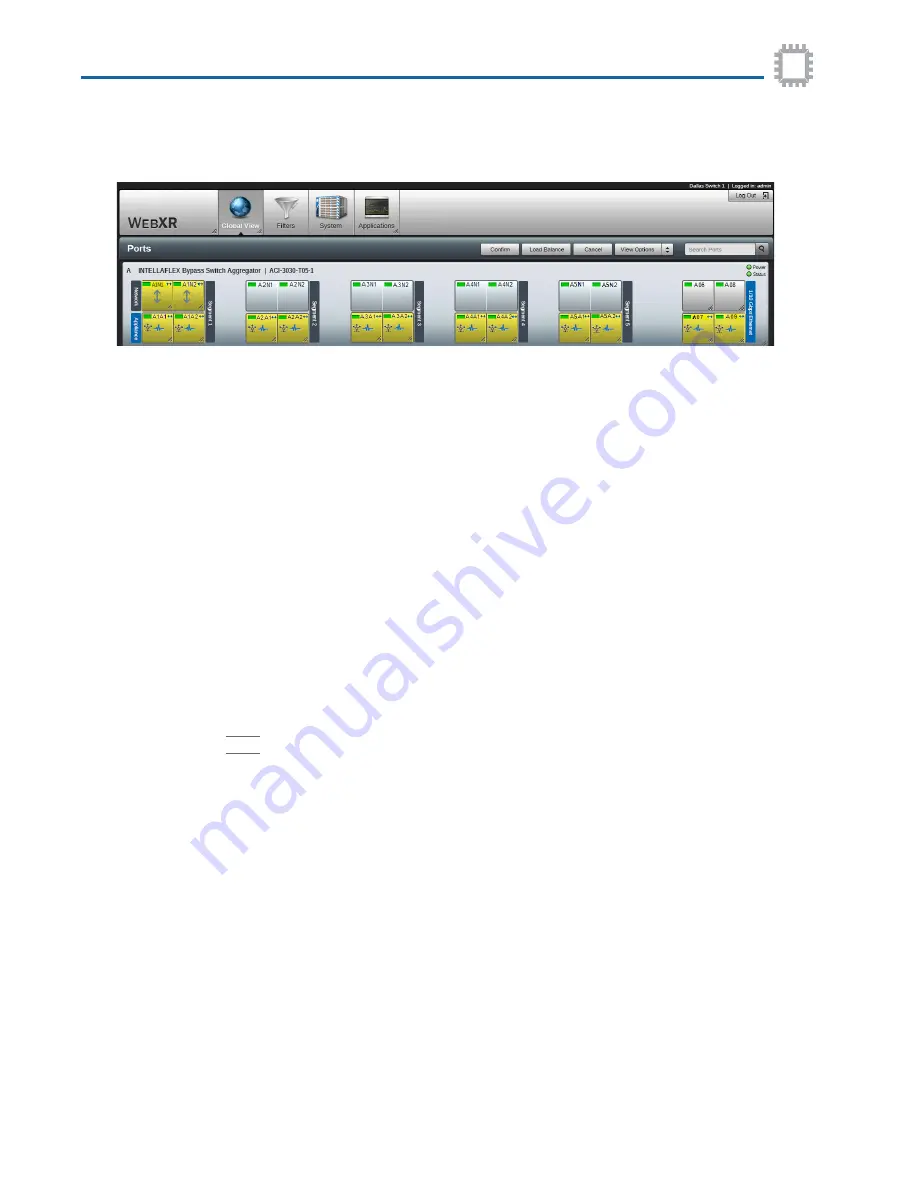
• A5A1/A5A2
• A07/A09
Activate/remove a trunk port
A trunk line is defined as a single simplex link between switches.
Using the Port Properties window, a port can be designated as a trunk. This feature can be set
on individual ports only (not for all ports on a blade at one time)
.
This feature must first be activated (enabled) before setting up a trunk connection. For details
on how to set up and manage a trunk connection, refer to the
W
EB
XR User Manual
.
♦
To designate a trunk connection on a port:
1. Go to W
EB
XR on the first chassis and click the soft arrow for the Global View icon.
2. From the pop-up menu, select Ports.
3. On the Ports page, select the port that is to function as a trunk connection between the
two chassis and click the soft arrow.
4. From the pop-up menu, select Port Properties.
On the Port Properties window, by default, Show as Trunk is OFF.
5. Click the slider to turn ON Activate Trunk. A trunking icon displays on the egress port.
6. Click
Save
.
The port is now available to be used as a trunk connection.
7. Repeat these steps for the ingress port that is to be used for trunking on the second
chassis.
♦
To deactivate or remove a trunk:
1. Go to the W
EB
XR on the first chassis and click the soft arrow for the Global View icon.
2. From the pop-up menu, select Ports.
3. Right-click on the port that displays a trunk icon.
4. From the pop-up menu, choose Deactivate Trunk.
5. The trunk is disconnected and the icon is removed from the port.
6. Repeat the above steps for the ingress port on the second chassis used for trunking.


