8
-EN
2
1
1
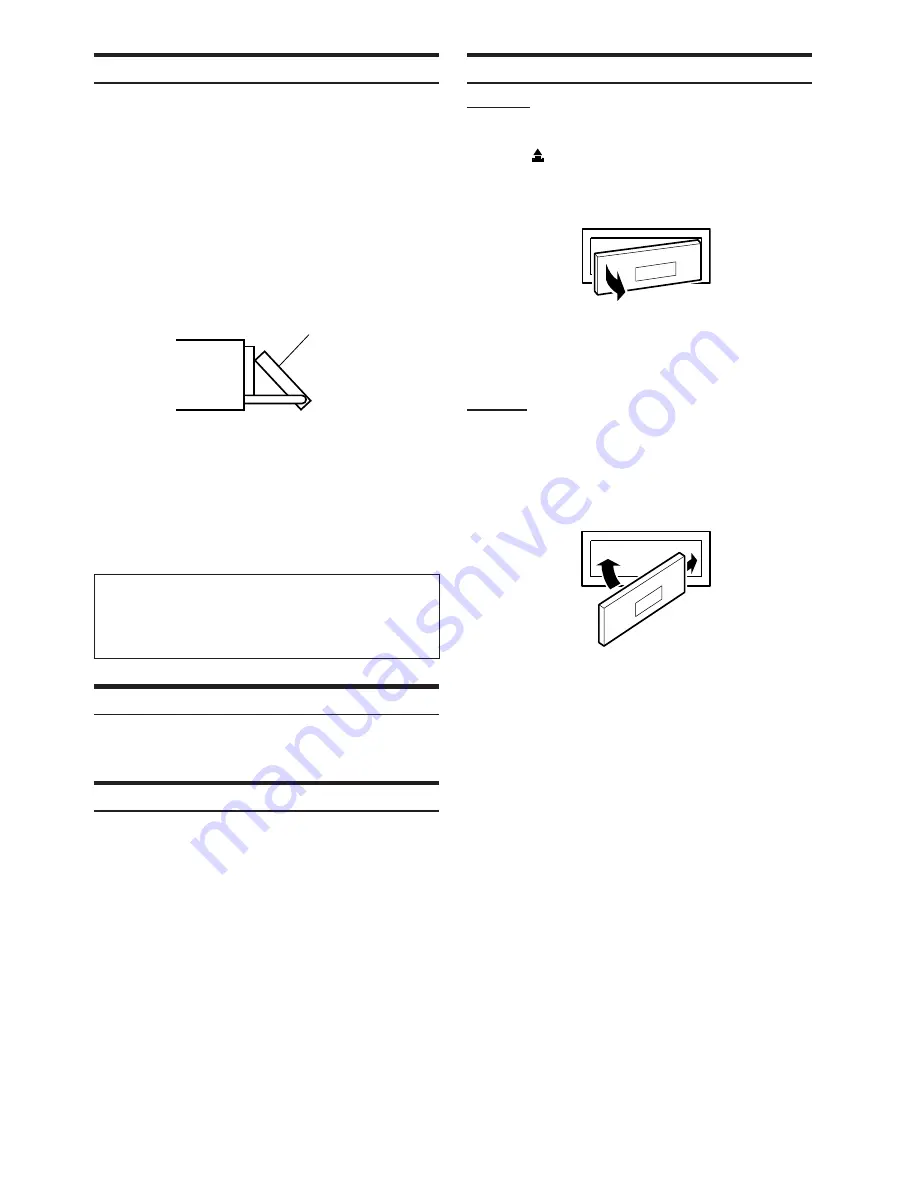
Movable display
Display Tilt Adjustment
The movable display may be adjusted to 3 different angles depending
upon user preference.
1
Press
MENU
.
2
Select TILT ADJUST by sliding your finger on the
GlideTouch bar
to the left or right. Press the
GlideTouch bar
under TILT ADJUST.
3
Touch UP or DOWN on the
GlideTouch bar
to
adjust the display angle.
• Selecting RETURN will return to the previous screen.
4
After setting, press and hold
MENU
for at least 2
seconds to return to normal mode.
• The adjusted tilt angle of the display is stored in memory. There is
no need to re-adjust the tilt angle when the power is turned back on.
• If
MENU
is pressed while adjusting or setting the items in the
MENU mode, the unit will return to the previous selection screen.
• By pressing the
GlideTouch bar
under RETURN in the MENU
mode, the unit will return to the normal mode.
Caution
Keep hands (or any other object) away from the display while it is
opening or closing to avoid damage or injury. The back of the
movable display will get very warm under normal operating
conditions. This is not a malfunction. Do not touch.
Adjusting Volume
Turn the
Rotary encoder
until the desired sound is
obtained.
Lowering Volume Quickly
Activating the Audio Mute function will instantly lower the volume
level by 20 dB.
Press
MUTE
to activate the MUTE mode.
The audio level will decrease by about 20 dB.
Pressing
MUTE
again will bring the audio back to its
previous level.
Detaching and Attaching the Front Panel
Detaching
1
Turn off the unit power.
2
Press
(Release) at the upper left side until the
front panel pops out.
3
Grasp the left side of the front panel and pull it out.
• The front panel may become hot in normal usage (especially the
connector terminals on the back of the front panel.) This is not a
malfunction.
• To protect the front panel, place it in the supplied carrying case.
Attaching
1
Insert the right side of the front panel into the main
unit. Align the groove on the front panel with the
projections on the main unit.
2
Push the left side of the front panel until it locks
firmly into the main unit.
• Before attaching the front panel, make sure that there is no dirt or
dust on the connector terminals and no foreign object between the
front panel and the main unit.
• Attach the front panel carefully. Hold the panel by its sides to avoid
pushing any buttons by mistake.


