27
-EN
Setting the AUX Mode (V-Link)
AUX IN ON / AUX IN OFF (Initial setting)
You can input TV/video sound by connecting an optional Ai-NET/
RCA Interface cable (KCA-121B) or Versatile Link Terminal (KCA-
410C) to this component.
You can change the AUX name display when AUX ON is set. Select the
AUX name by sliding your finger on the
GlideTouch bar
to the left or
right. Then press the
GlideTouch bar
.
If the KCA-410C is connected, it is possible to select two AUX names.
• Via KCA-410C, up to 2 external devices with RCA output can be
connected. In this case, press
SOURCE/POWER
to select AUX
mode and then press
BAND
to select your desired device.
Setting the External Digital Input
D-AUX ON / D-AUX OFF (Initial setting)
When an ALPINE Ai-NET compatible digital audio processor (PXA-
H510, PXA-H701) and a DVD player (DVE-5207) not compatible
with Ai-NET are connected, set D-AUX to ON to enjoy 5.1-channel
surround sound.
• After setting D-AUX to ON, make the setting in “Connecting an
Optical Digital Compatible Audio Processor and an Ai-NET Non-
Compatible DVD Player.”
• Press
SOURCE/POWER
, and select the D-AUX mode, and adjust
the volume, etc.
• Depending on the connected audio processor, DVD player sound
may continue to be output, even though the source is changed to
another one. If this occurs, set the DVD player's power to OFF.
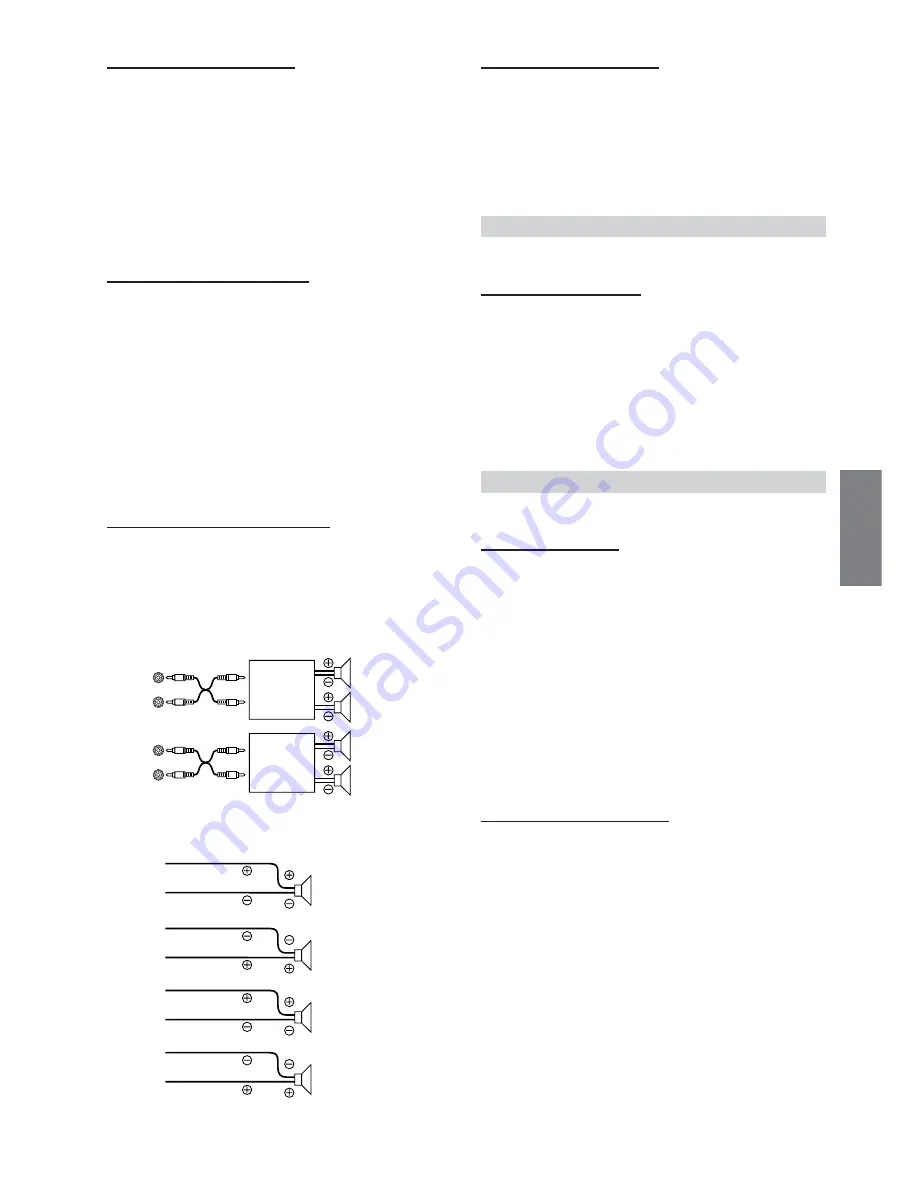
Connecting to an External Amplifier
POWER-IC ON (Initial setting) / POWER-IC OFF
When an external amplifier is connected, sound quality can be
improved by stopping the power supply of the built-in amplifier.
POWER-IC OFF
: Use this mode when the front and rear pre-
amplifier of the unit are used to drive an external amplifier
connected to the speakers. In this setting, the head unit’s
internal amplifier has no output to drive speakers.
POWER-IC ON
: The speakers are driven by the built-in amplifier.
• No sound is produced by the system when the power output is set to
OFF.
Setting the Steering Position
STEERING RIGHT / STEERING LEFT (Initial setting)
According to the car's steering position, set to left or right.
LEFT
:
Set to LEFT for a left-hand drive. The right switch has
priority when two switches on the
GlideTouch bar
are
pressed.
RIGHT
: Set to RIGHT for a right-hand drive. The left switch
has priority when two switches on the
GlideTouch bar
are pressed.
Tuner Setting
Tuner is selected on the setup main menu in step 3.
Switching the Tuner Mode
STABLE / NORMAL (Initial setting) / HI-FI
This unit incorporates the MAX TUNE PRO for the highest quality
tuner audio. Moreover, you can choose between three settings to suit
your own personal sound preferences and usage.
NORMAL
: Standard setting
HI-FI
:
Sound quality priority setting
STABLE
:
Noiseless priority setting
• If you find the sound is very noisy while listening to the tuner in Hi-
Fi mode, we recommend you change to Normal mode.
Audio Setting
Audio is selected on the setup main menu in step 3.
Subwoofer On and Off
SUBWOOFER ON (Initial setting) / SUBWOOFER OFF
When the subwoofer is on, perform the steps below to adjust the
subwoofer output phase and level.
1 Press the
Rotary encoder
repeatedly to select the
SUBWOOFER mode.
SUBWOOFER
→
BALANCE
→
FADER
→
DEFEAT
→
VOLUME
→
SUBWOOFER
• If you set the 2WAY/3WAY switch (pages 39 to 41) to 3WAY, you
cannot adjust the FADER mode.
2 Press
g
or
f
.
The subwoofer output phase is toggled SUBWOOFER
NORMAL (0°) or SUBWOOFER REVERS (180°).
To adjust the level, turn the Rotary encoder.
Setting the Subwoofer System
SUBW SYSTEM1 (Initial setting) / SUBW SYSTEM2
Select either SYSTEM1 or SYSTEM2 for the desired subwoofer
effect.
SYSTEM1
: Subwoofer level changes according the main
volume setting.
SYSTEM2
: Subwoofer level change is different from the main
volume setting. For example, even at low volume
settings, the subwoofer is still audible.
Amplifier
Amplifier
Front
left
Front
right
Rear
left
Rear
right
Speakers
Front
left
Front
right
Rear
left
Rear
right
SPEAKER
RIGHT FRONT
SPEAKER
RIGHT REAR
SPEAKER
LEFT REAR
SPEAKER
LEFT FRONT


