Configuring SNMP
Page 178
To add an SNMP notification filter:
1.
Click the
Add
button. The
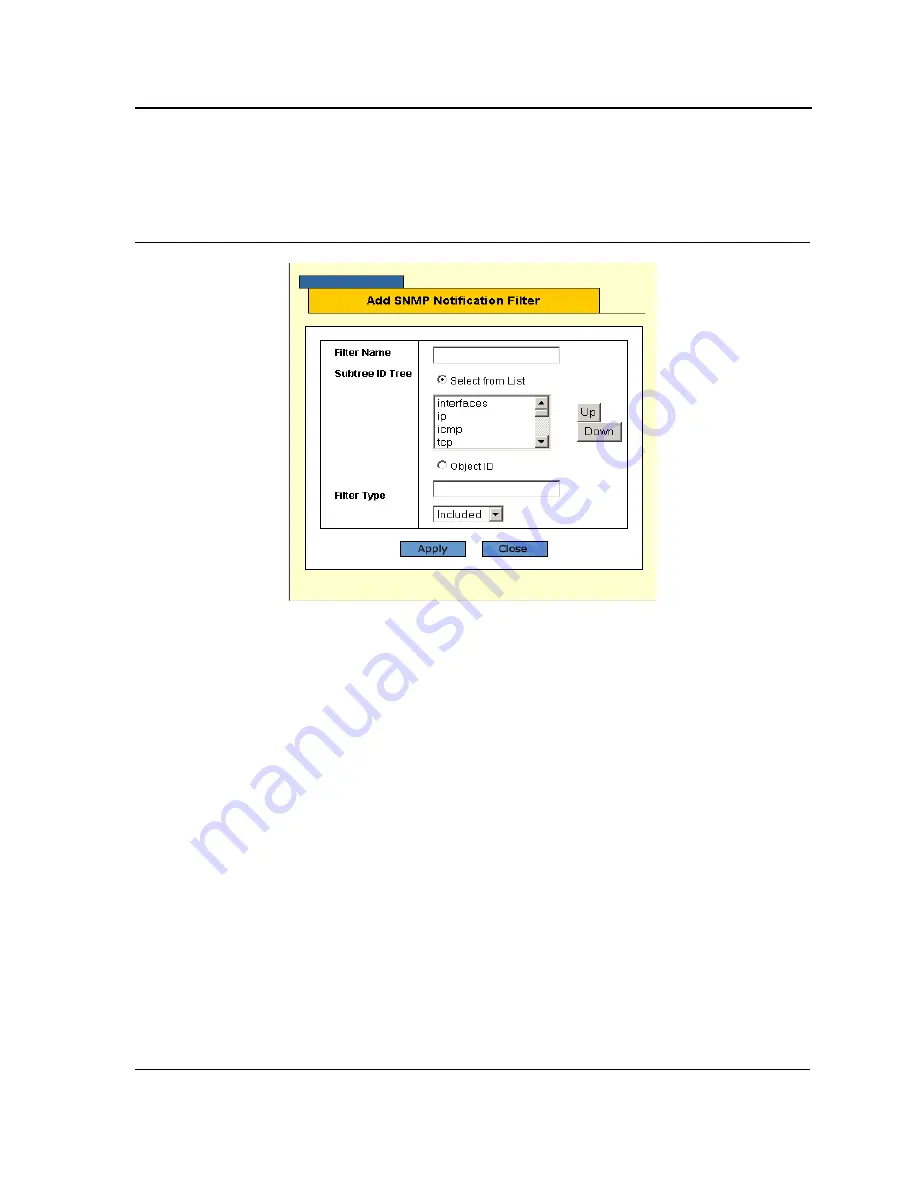
Add SNMP Notification Filter Page
opens:
Figure 125:Add SNMP Notification Filter Page
The
Add SNMP Notification Filter Page
contains the following fields:
•
Filter Name
— Contains a list of user-defined notification filters.
•
Subtree ID Tree
— Displays the OID for which notifications are sent or blocked. If a filter is attached to an
OID, traps or informs are generated and sent to the trap recipients. Object IDs are selected from either the
Select from List
or the
Object
ID field. There are two configuration options:
–
Select from List
— Select the OID from the list provided. Pressing the
Up
and
Down
buttons allows you
to change the priority by moving the selected subtree up or down in the list.
–
Object ID
— Enter an OID not offered in the
Select from List
option.
•
Filter Type
— Indicates whether informs or traps are sent regarding the OID to the trap recipients.
–
Excluded
— Restricts sending OID traps or informs.
–
Included
— Sends OID traps or informs.
2.
Define the relevant fields.
3.
Click
Apply.
The SNMP Notification Filter is added to the list, and the device is updated.
4.
Click
Save Config
on the menu to save the changes permanently.


