14
www.Observint.com
SECTION 2: INITIAL NVR SETUP
In the
Camera
field drop down list, select the camera you want to configure. In the example shown,
[D1]IPCamera 01
is
selected.
2. Check or un-check the boxes to display the Name and Date. Also, edit the name in the
Camera Name
field, and select the
date and time options you prefer.
NOTE
Cameras you manage with the NVR may be setup internally to show on-screen information, such as name and timestamp. To
change these settings, you must reconfigure the camera directly; the NVR cannot change these internal settings.
3. Drag the both the yellow box for the camera name and the red box for the timestamp data to positions in the window that will
not obscure important information.
4. Change the date and time format, and the Display Mode if needed using the drop down menus.
5. Click
Apply
to save your settings for this camera.
6. Repeat sub-steps
2
through
5
above for each camera managed by the NVR.
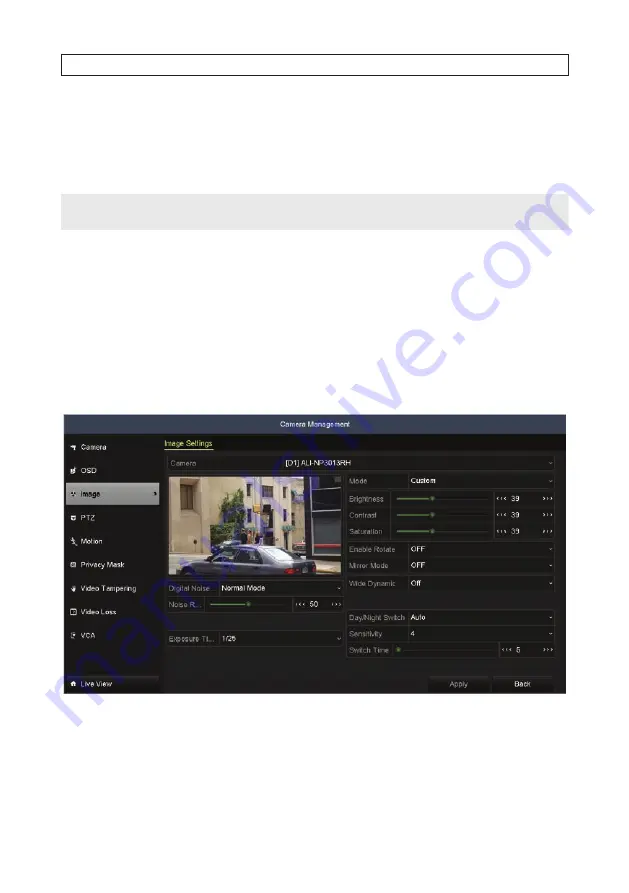
2.3.2 Camera Image setup
1. Click
Image
in the left frame to open the Image submenu.
2. In the
Camera
field drop down list, select the camera you want to configure. In the example above,
[D1]IPCamera 01
is
selected.
3. Drag the
Brightness
,
Contrast
,
Saturation
and
Hue
adjustment markers left or right to perfect the image from the
camera. For some adjustments, you can click the up (
5
)or down (
6
)icons near the adjustment value (on the right side) to
incrementally change the value of those adjustment.
Summary of Contents for ALI-NVR71128R
Page 8: ...viii www Observint com NOTES ...
Page 232: ...224 www Observint com ...


