


MAP 600 – User’s Manual
Page 33
4
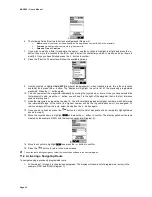
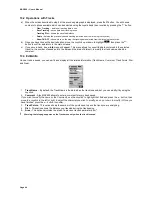
6. The following fields (from top to bottom) are displayed (Diagram 4):
•
Name
(name of the route), written with an
R
and a progressive number (R002 in the example)
•
Comment
to add reminder comments (e.g., home-work)
•
Date and Time of Creation
7. If you wish to modify a field (for example, the name), use the Joystick to highlight that field and press the
button, then move the Joystick to the left or right to select the character you wish to modify, and up or down to
modify it. Once you have finished, press the
button to confirm.
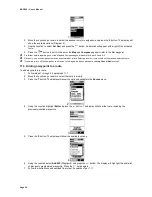
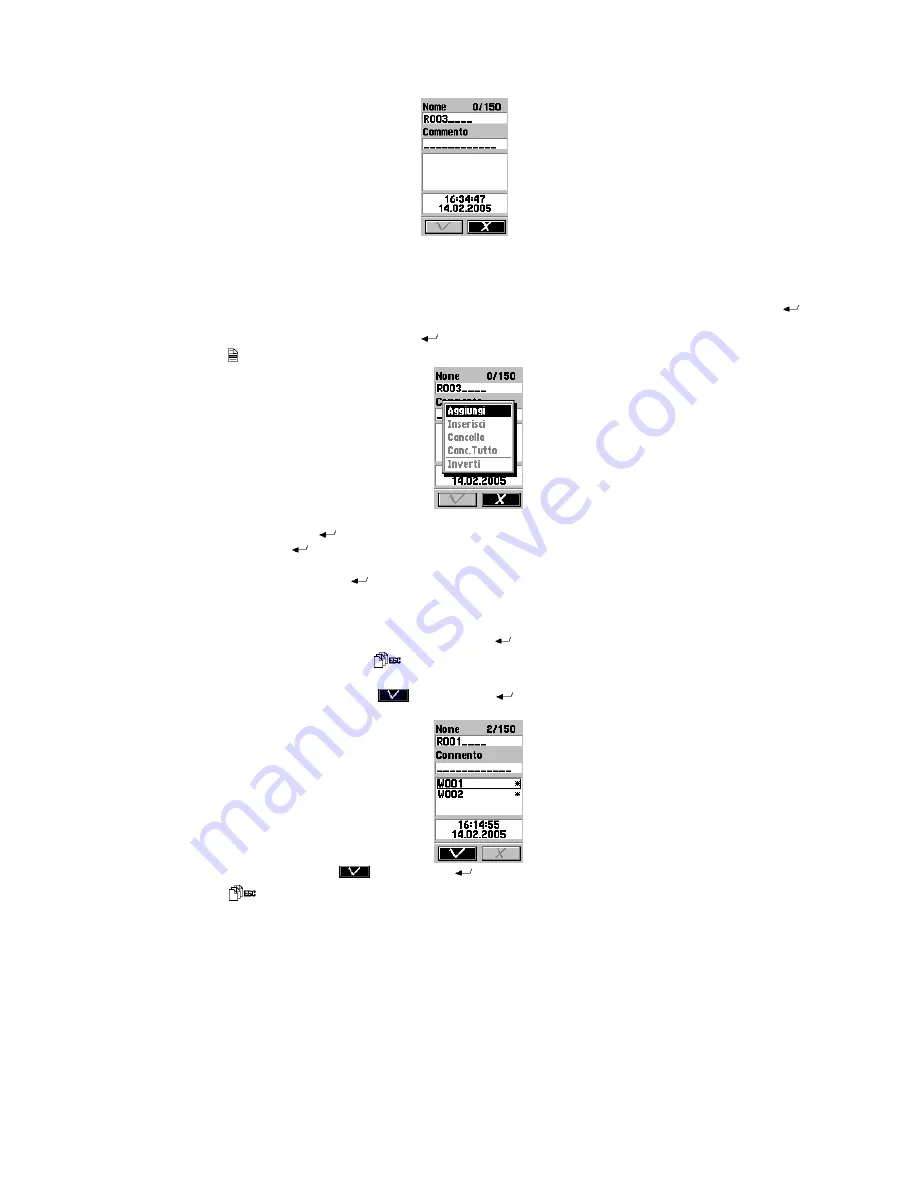
8. Press the button. The display will show the available options
5
9. Use the Joystick to highlight
Add WP
(Diagram 5) (add waypoint – when creating a route, this is the only option
available) and press the
button. The display will highlight the entire list of the previously programmed
waypoints. Press the
button again.
10. You can now select the waypoints individually by moving the Joystick up or down. Once you have selected the
first waypoint to add, press the
button: you will see
1
to the right of the waypoint, that is the first reference
used as starting point.
11. Add other waypoints by repeating the step 10. You will note that progressively higher numbers, which determine
the intermediate legs of the route (the highest number will be the trip destination point), are assigned. To
remove a waypoint from the route, select it and press the
button again.
12. Once you have finished, press the
button to exit (the list of waypoints will be completely highlighted, as
shown in step 9).
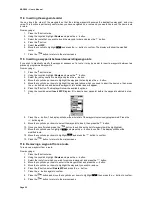
13. Move the Joystick down to highlight
and press the
button to confirm. The display will show the route
created (in the example, R001) with the inserted waypoints (Diagram 6).
6
14. Move the Joystick to highlight
and press the
button to confirm.
15. Press the
button to return to the main screens.
2
To use the route during navigation, follow the instructions outlined in the next paragraph.
11.2 Activating a Navigating Route
To navigate using a previously programmed route:
1. Follow steps 1 through 3 in the previous paragraph. The display will show a list of programmed routes (in the
example, R001 and R002) (Diagram 1):
Summary of Contents for MAP600
Page 1: ......


