EDIT SAMPLE
S3000XL Operator’s Manual
Page 131
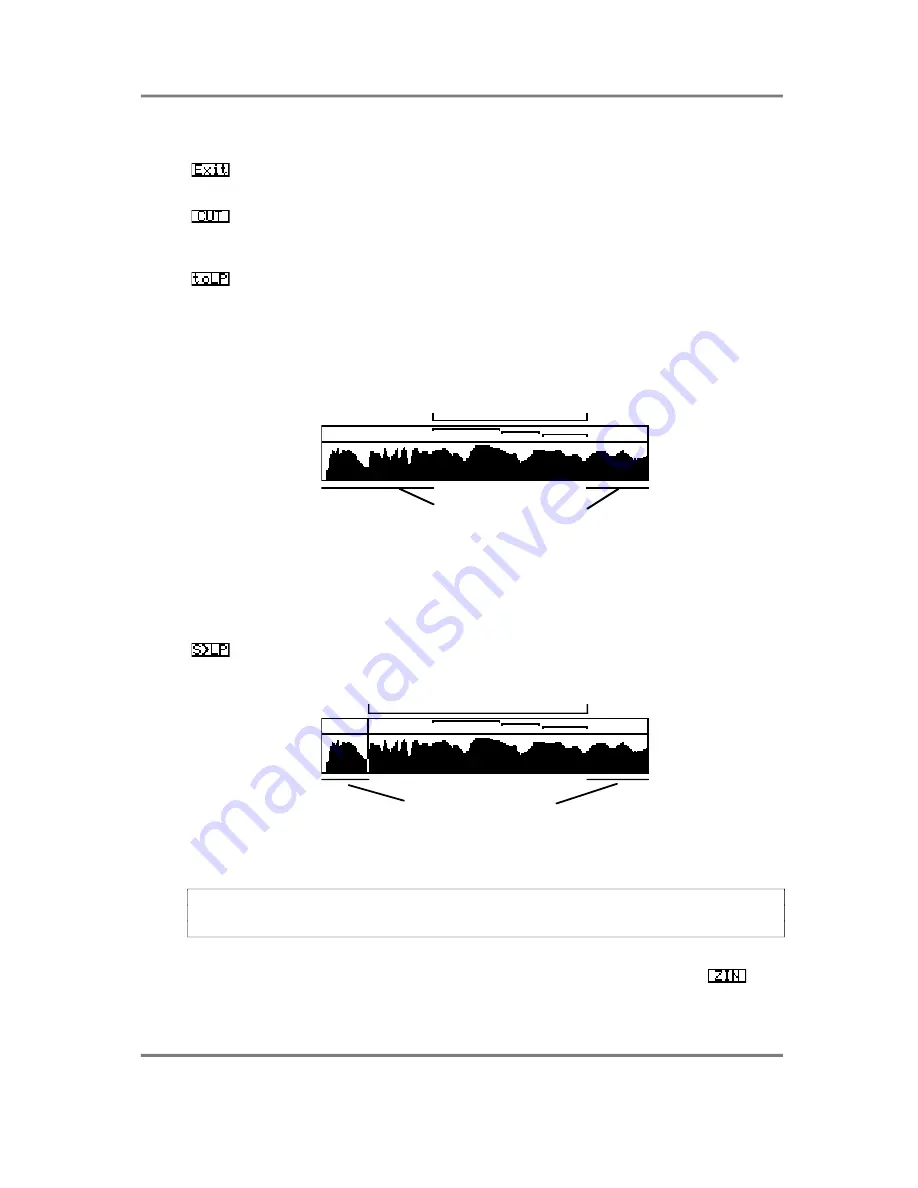
The four cut options are:
This will take you out of the CUT screen and return you to the normal
TRIM page. Use this if you change your mind when trimming.
This will discard audio before the start point and after the end point you
have set manually. You will note that if the start or end points are within an
active loop zone, the CUT action will be ignored.
This will automatically cut audio to a few sample points before the start of
the first loop and a few sample points after the end of the last loop
irrespective of where you may have manually set the start and end points
on the TRIM page. Usually, most people use only one loop and so audio
will be discarded just before the start and just after the end of that loop. In
the case where more than one loop is used, the S3200 will automatically
work out where the end of the last loop is and where the cut will be made.
This area retained
These areas discarded
This may be used when editing sounds that don’t have a definite attack.
For example, when sampling detuned synth waveforms, you only really
need the loop portion in the middle of the sample so audio either side of
that can be discarded. Similarly, when sampling single cycle synth
waveforms, you can free a lot of space by discarding audio either side of
the loop points.
This will discard sample data before the start point you have set manually
and after the end of the last active loop.
This area retained
These areas discarded
This option should be used when editing sounds that have a pronounced
attack which you don’t wish to lose but where there is audio data after the
loop points which is unnecessary and which can be discarded.
NOTE: This is a destructive process and, unless you have saved this sample to disk,
pressing any of the CUT options here will irrevocably erase the data either side of the start
and end points.
Whilst it is possible to edit by ear with very good precision, it is sometimes desirable to see
what you are doing. It is possible to zoom in on the waveform using the
key.
Repeatedly pressing this will enlarge the waveform display until you are looking at
individual samples that are an inch wide! The display centres around the start point. Of


