AirLive
POE200CAMv2
User’s
Manual
63
Remove SubArea
Select eMap icon, then click the Remove All Areas button. A warning message pops up confirming if you want
to remove all areas and devices under area. Click “OK” to confirm.
Rename the Area
Select Area icon, then click the Rename Area button. You can modify this area name.
Remove Area
Select Area icon, then click the Remove Area button. A warning message pops up to get your confirmation.
Click “OK” to confirm.
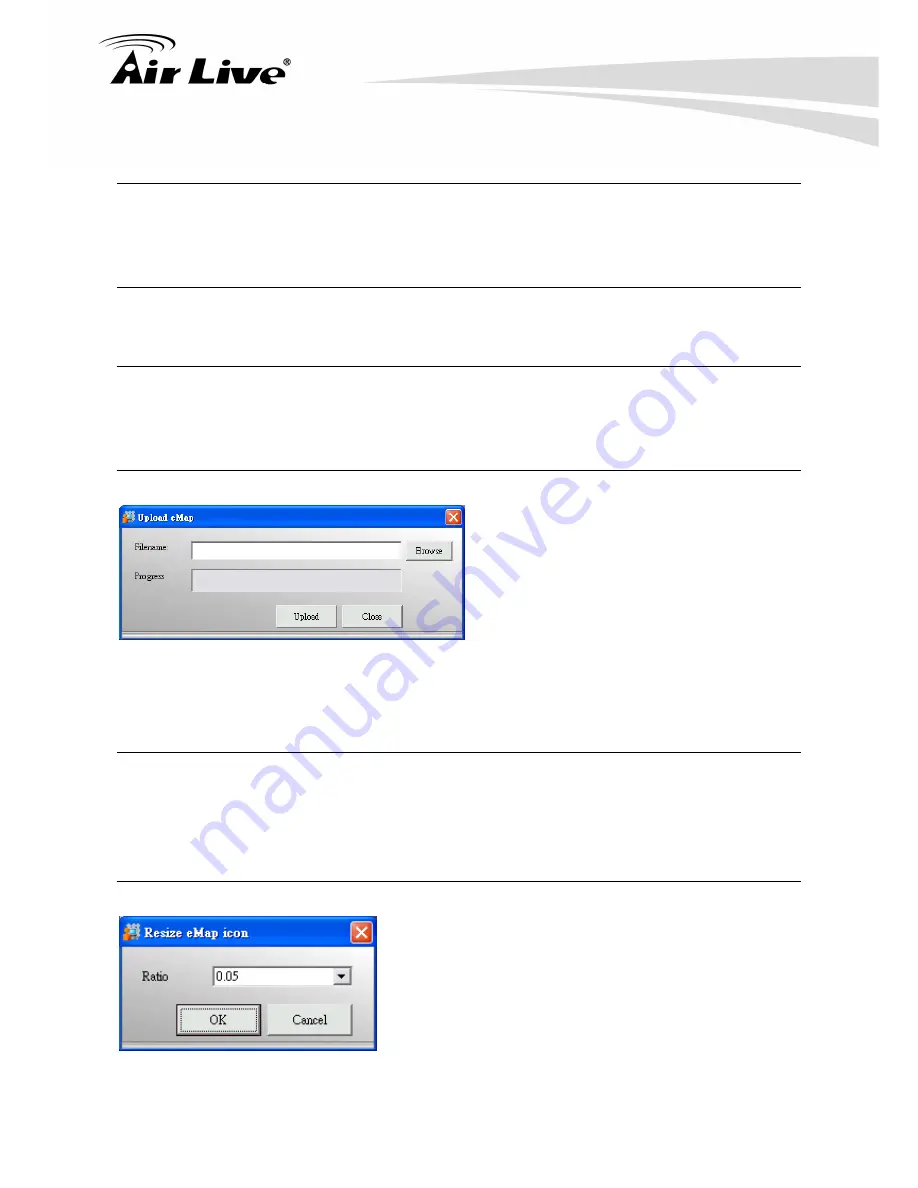
Upload eMap
【
Step1
】
Select Upload eMap button in the
Menu Bar. An Upload eMap window will pop up.
【
Step2
】
Click “Browse” to navigate the image
file representing the area that you wish to
secure, and then click “Upload” button.
【
Note
】
Image files can be in the format of *.jpg, *.gif, *.bmp, *.wmf, *.emf, *.ico.
Refresh eMap
For the system performance, all the admin setting are kept by cache, so if the server eMap is changed from
the client PC, then the others PC, no matter server nor client is, need to refresh the eMap background
manually by clicking the Refresh eMap button.
Resize eMap Icon
【
Step1
】
Select Device Ratio button in the
Menu Bar. A
Resize eMap icon window pops up.
【
Step2
】
Select the ratio of device and click “OK”, the icon
display in eMap interface will change it’s ratio accordingly.


