


www.advancedco.com
105
7.8.6.2.4 Print Troubles
To print information on any troubles, highlight the Troubles option and press the
✔
button to confirm. The display
will show the following:
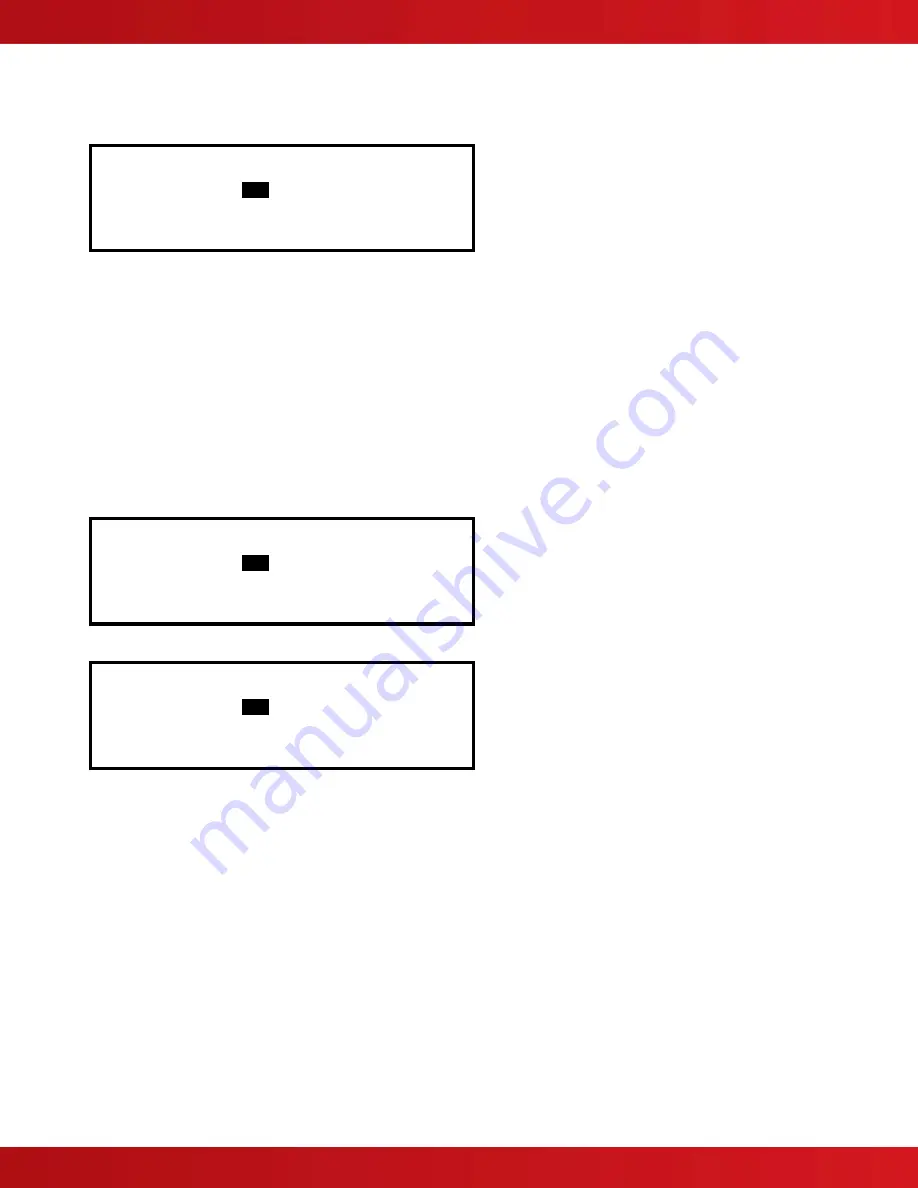
[ 2 Zones in Trouble]
First Zone :
1
Last Zone : 5
(Press
→
to Start Print)
The panel will analyze the network and the display will prompt the zones in trouble condition to be printed.
Use the arrow (
)
buttons to highlight the first and last zone number and use the number keys to change the
zone number as required.
Press the
key to start printing.
The printout will show the location and state of all input and output points in a trouble condition for the zones
selected.
Note: If there are no trouble conditions present then selecting this menu option will have no effect.
7.8.6.2.5 Print Disables
To print information on any disabled device or zone, highlight the Disabled option and press the
✔
button to confirm.
The display will show the following depending on the disabled conditions present:
If there are zones with inputs disabled:
[ 2 Zone(s) with Inputs Disabled]
First Zone :
1
Last Zone : 5
(Press
→
to Start Print)
If there are zones with outputs disabled:
[ 1 Zone(s) with Outputs Disabled]
First Zone :
1
Last Zone : 5
(Press
→
to Start Print)
The panel will analyze the network and the display will prompt the zones in a disabled condition to be printed.
Use the arrow (
)
buttons to highlight the first and last zone number and use the number keys to change the
zone number as required.
Press the
key to start printing.
The printout will show the location and state of all input and output points in a disabled condition for the zones
selected.
The display always presents the zones with inputs disabled first (if any exist). After printing the inputs, the display
will present the information on disabled outputs (if any exist).
Note: If there are no disabled conditions present then selecting this menu option will have no effect.
7.8.6.2.6 Print Log
To print information from the History Log, highlight the Print Log option and press the
✔
button to confirm. A pop-up
window will be shown asking if all events, or just alarms should be printed. Highlight the required option using the
buttons
and press the
✔
button to confirm.
When the History Log is completely printed the display will automatically revert to the Print Options Menu.


