4 System BIOS
80
Main setup
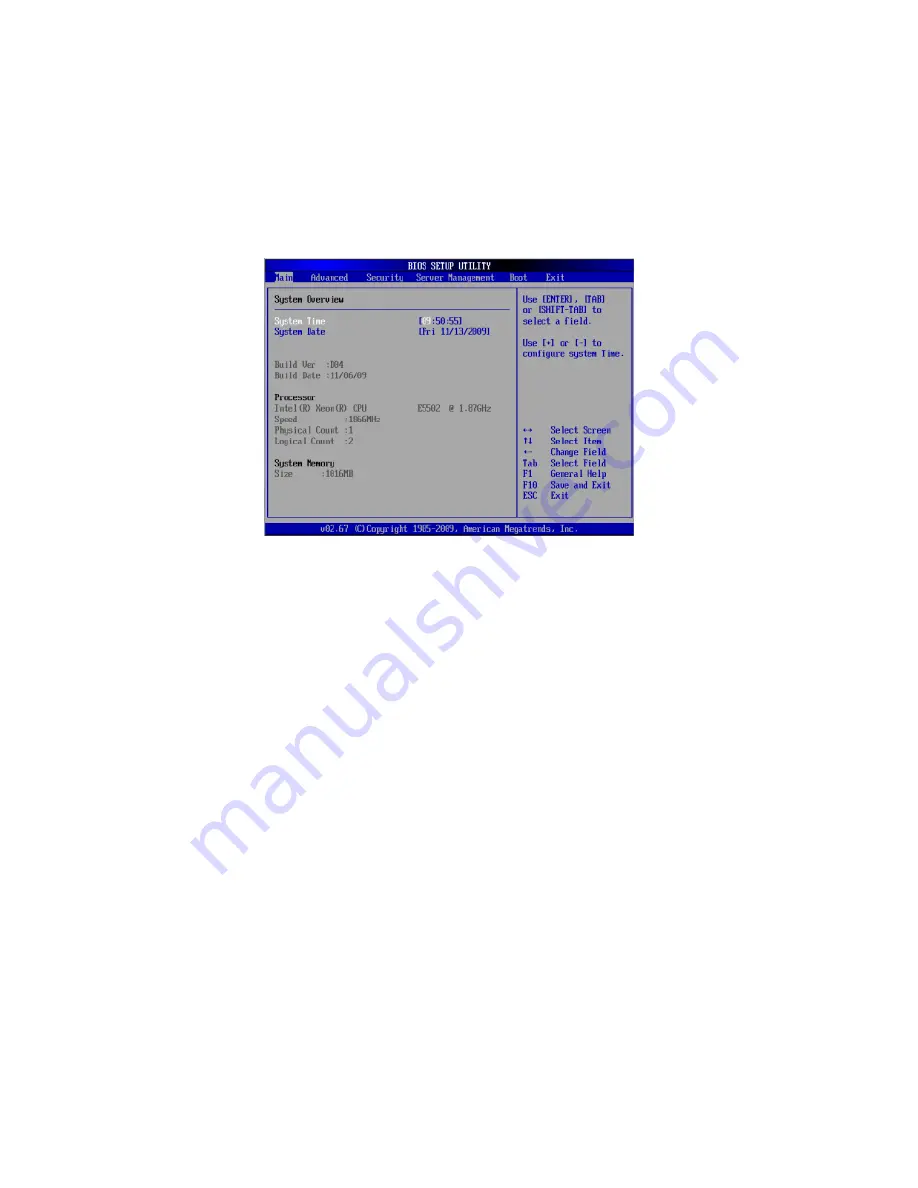
When you first enter the BIOS setup utility, you will enter the main
setup screen. You can always return to the main setup screen by
selecting the main tab on the top of the screen. The main BIOS setup
screen is shown below.
System Overview
System Time/System Date
Use this option to change the system time and date. Highlight System
Time or System Date using the arrow keys. Enter new values using the
keyboard. Press the <Tab> key or the arrow keys to move between
fields. The date must be entered in MM/DD/YY format. The time is
entered in HH:MM:SS format. (Note: The time is in the 24-hour format.
For example, 5:30 P.M. appears as 17:30:00.)
BIOS Build Ver: This item displays the BIOS revision used in your system.
BIOS Build Date: This item displays the date this BIOS was completed.
Processor
The BIOS will automatically display the status of the processor used in
your system and indicate the CPU type used.
Speed: This item displays the speed of the CPU detected by the BIOS.
Physical Count: This item displays the number of processors installed in
your system as detected by the BIOS.
Summary of Contents for AR360 F1 Series
Page 1: ...AR360 F1 Series User Guide ...
Page 16: ...xvi ...
Page 17: ...1 System tour ...
Page 32: ...1 System tour 16 ...
Page 33: ...2 System setup ...
Page 40: ...2 System setup 24 ...
Page 41: ...3 System upgrades ...
Page 42: ...3 System upgrades 26 ...
Page 80: ...3 System upgrades 64 2 Insert the riser into the mainboard 1 and fasten the two 2 screws 2 ...
Page 84: ...3 System upgrades 68 The figure below shows the server in a rack mount position ...
Page 92: ...3 System upgrades 76 ...
Page 93: ...4 System BIOS ...
Page 130: ...4 System BIOS 114 ...
Page 131: ...5 System troubleshooting ...
Page 141: ...Appendix A Server management tools ...
Page 146: ...Appendix A Server management tools 130 ...
Page 147: ...Appendix B Rack mount configuration ...
Page 157: ...Appendix C Acer Smart Console ...
Page 186: ...Appendix C Acer Smart Console 170 ...


